Category Archives: Recipes

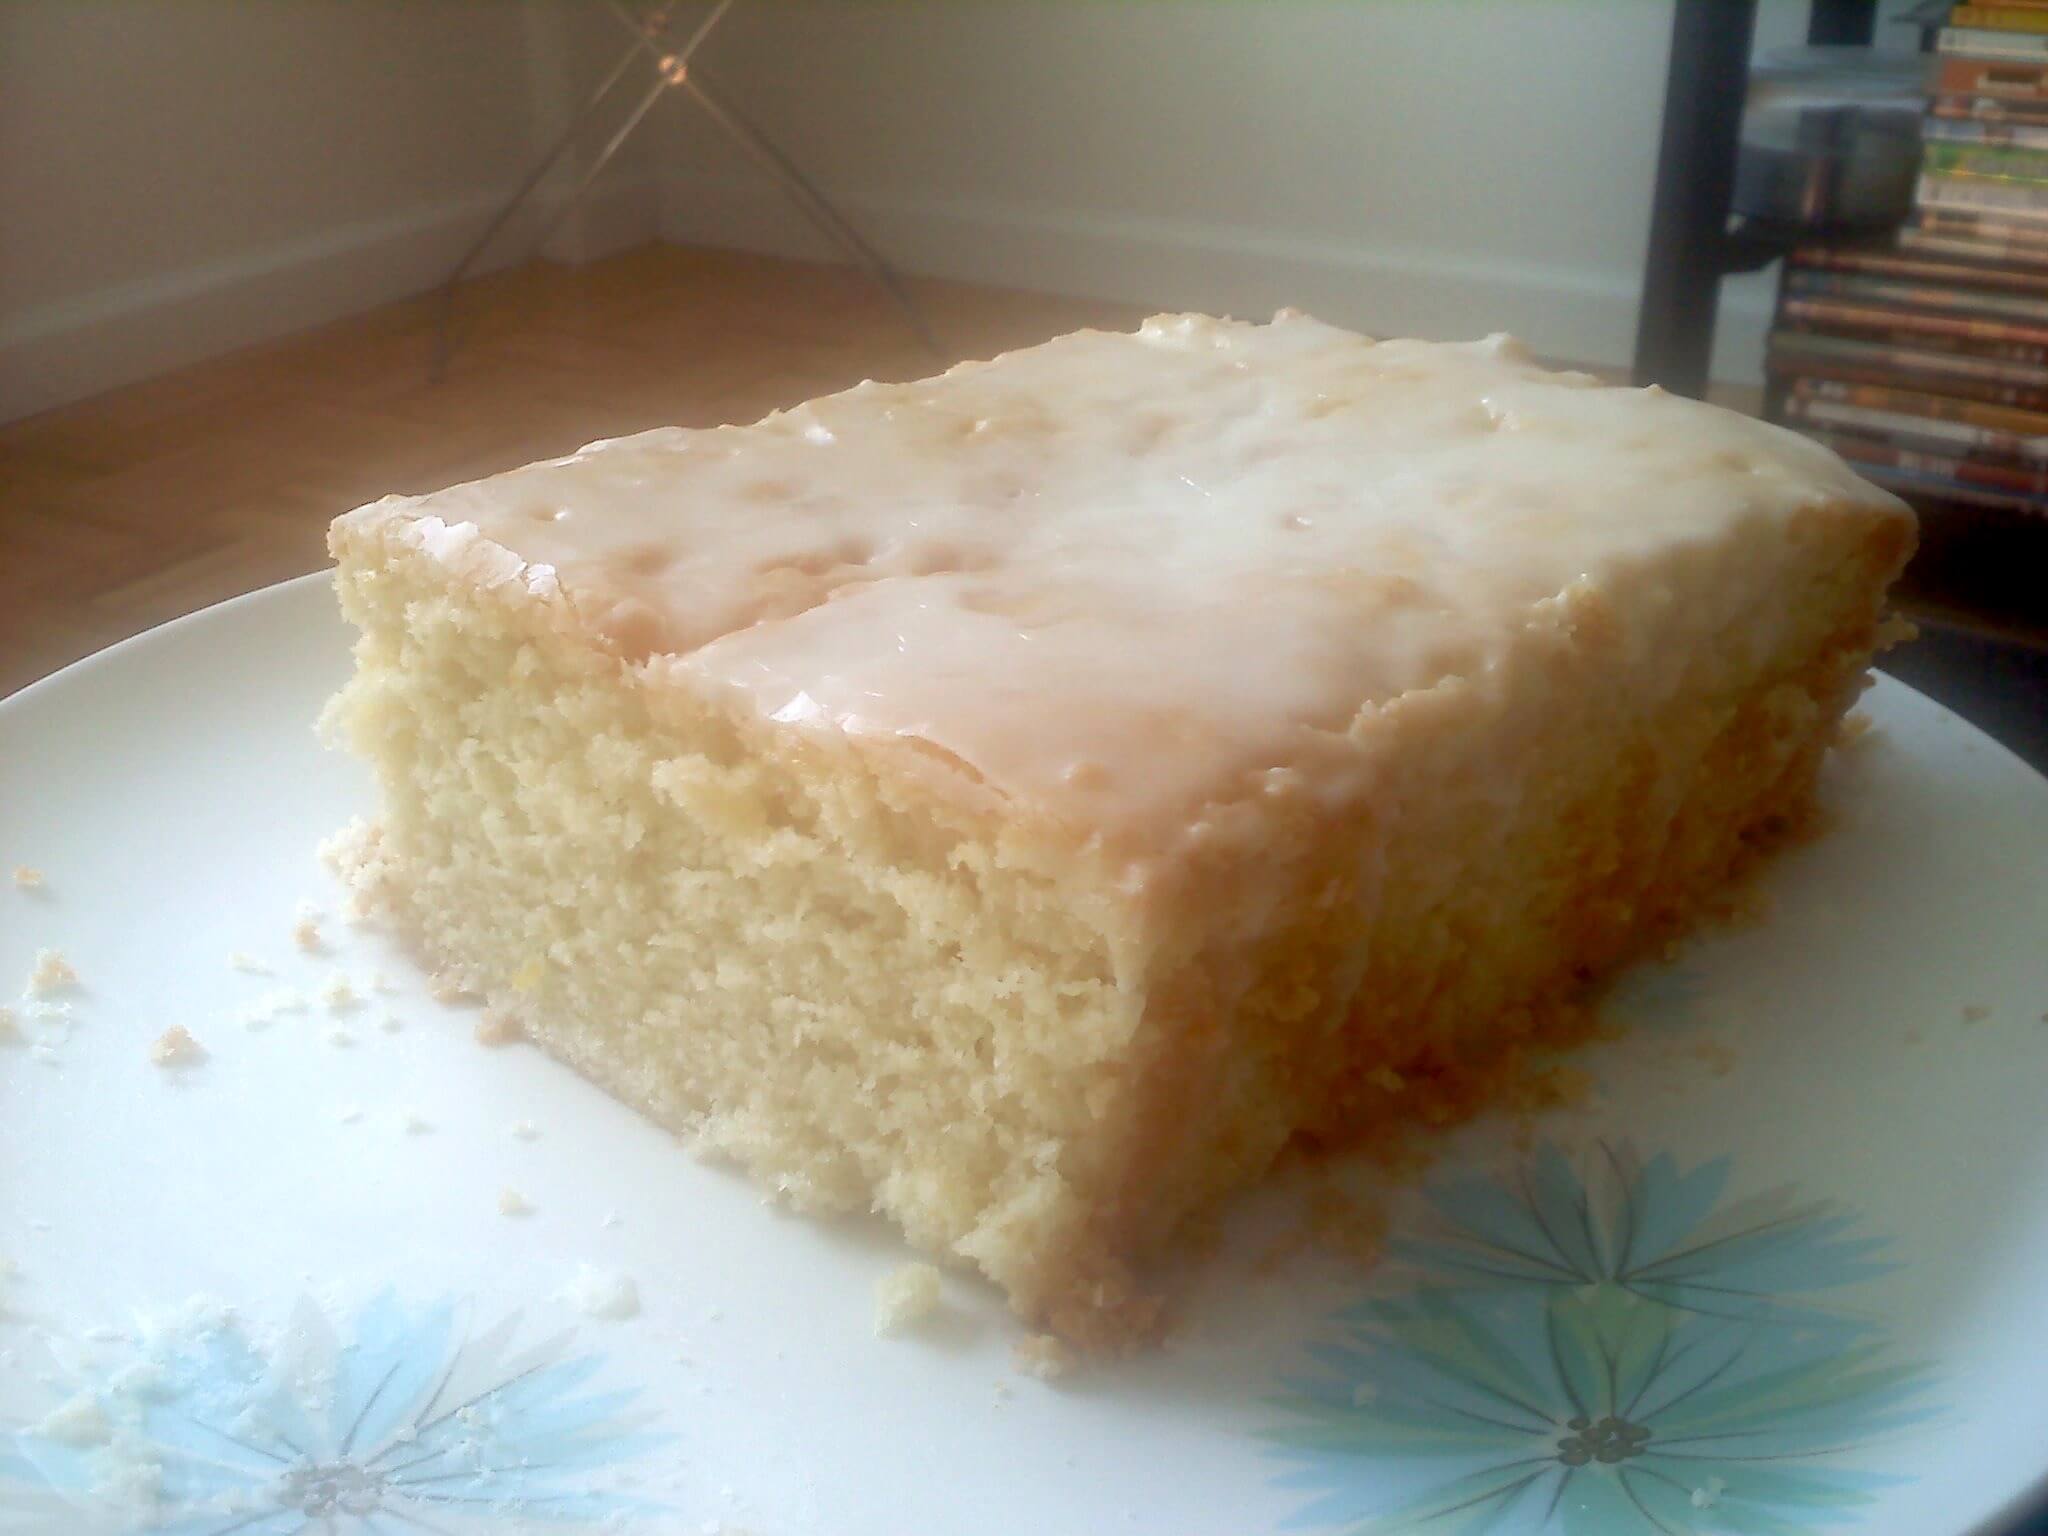
Citrus Cream Cheese Pound Cake

One problem with being home all the time now is that I want to bake all. the. time. On my kitchen counter right now I have M&M cookies, unfrosted cupcakes in anticipation of a ladies’ lunch tomorrow, and a citrus cream cheese loaf that The BF asked me to make last week. I should invest in some sort of healthy eating cookbook or something.

In any case, this cake is not healthy by any means but for some reason it screams “brunch!” to me. How much less healthy could it be than cinnamon French toast or something? That’s my rationale and I’m sticking to it.

Note: this makes an awkward amount of batter, and you’ll have enough batter for one loaf cake and 8 cupcakes. Just go with it.

On the menu:
Citrus Cream Cheese Pound Cake
Makes 1 9x3x4 sized loaf

8 oz. cream cheese, room temperature
1 cup butter, room temperature
1 3/4 sugar
5 eggs
2 tsp vanilla
2 cups flour
1 1/2 tsp baking powder
1/2 tsp salt
1 Tbsp lemon zest
1 Tbsp lime zest

Glaze
1 cup powdered sugar
1/2 lime, juiced
1/2 lemon juiced
2 Tbsp orange juice

Preheat oven to 325 degrees. Grease and flour a 9 x 3 x 4 pan. Put 8 cupcake liners in a cupcake tin.

Cream together cream cheese and butter with an electric mixer. Add sugar and blend to combine. Add eggs one at a time, blending after each egg is added. Blend in vanilla until combined.

In a separate bowl, whisk together the flour and baking powder and salt. Add zest and whisk in. Slowly add dry mixture to wet mixture and stir by hand just until combined. Do NOT overmix.

Pour 2/3 of the batter into the loaf pan. Divide rest among the cupcake cups. Bake cupcakes for 25 minutes; bake loaf cake for 60 minutes. Tip: set the timer for 25 minutes and put cupcakes and loaf in together. Once the timer goes off, take out the cupcakes and set the timer for 35 minutes to finish off the loaf.

Let the cakes cool and then make the glaze. Stir together the powdered sugar and the citrus juices. Remove the cakes from their respective pans and put the loaf on a plate, the cupcakes on parchment paper to catch the drips. Pour 3/4 over the cake and dip the cupcakes in the remaining glaze. Let the glaze harden and enjoy.

NOTE: This recipe originated here and here and the first one calls it a Philly Fluff. Does that name tug at your heart strings? Tell me why! I’m from upstate New York and have no idea.

Leave a comment

Filed under Cooking, Recipes

Banana Muffins with Brown Sugar Glaze


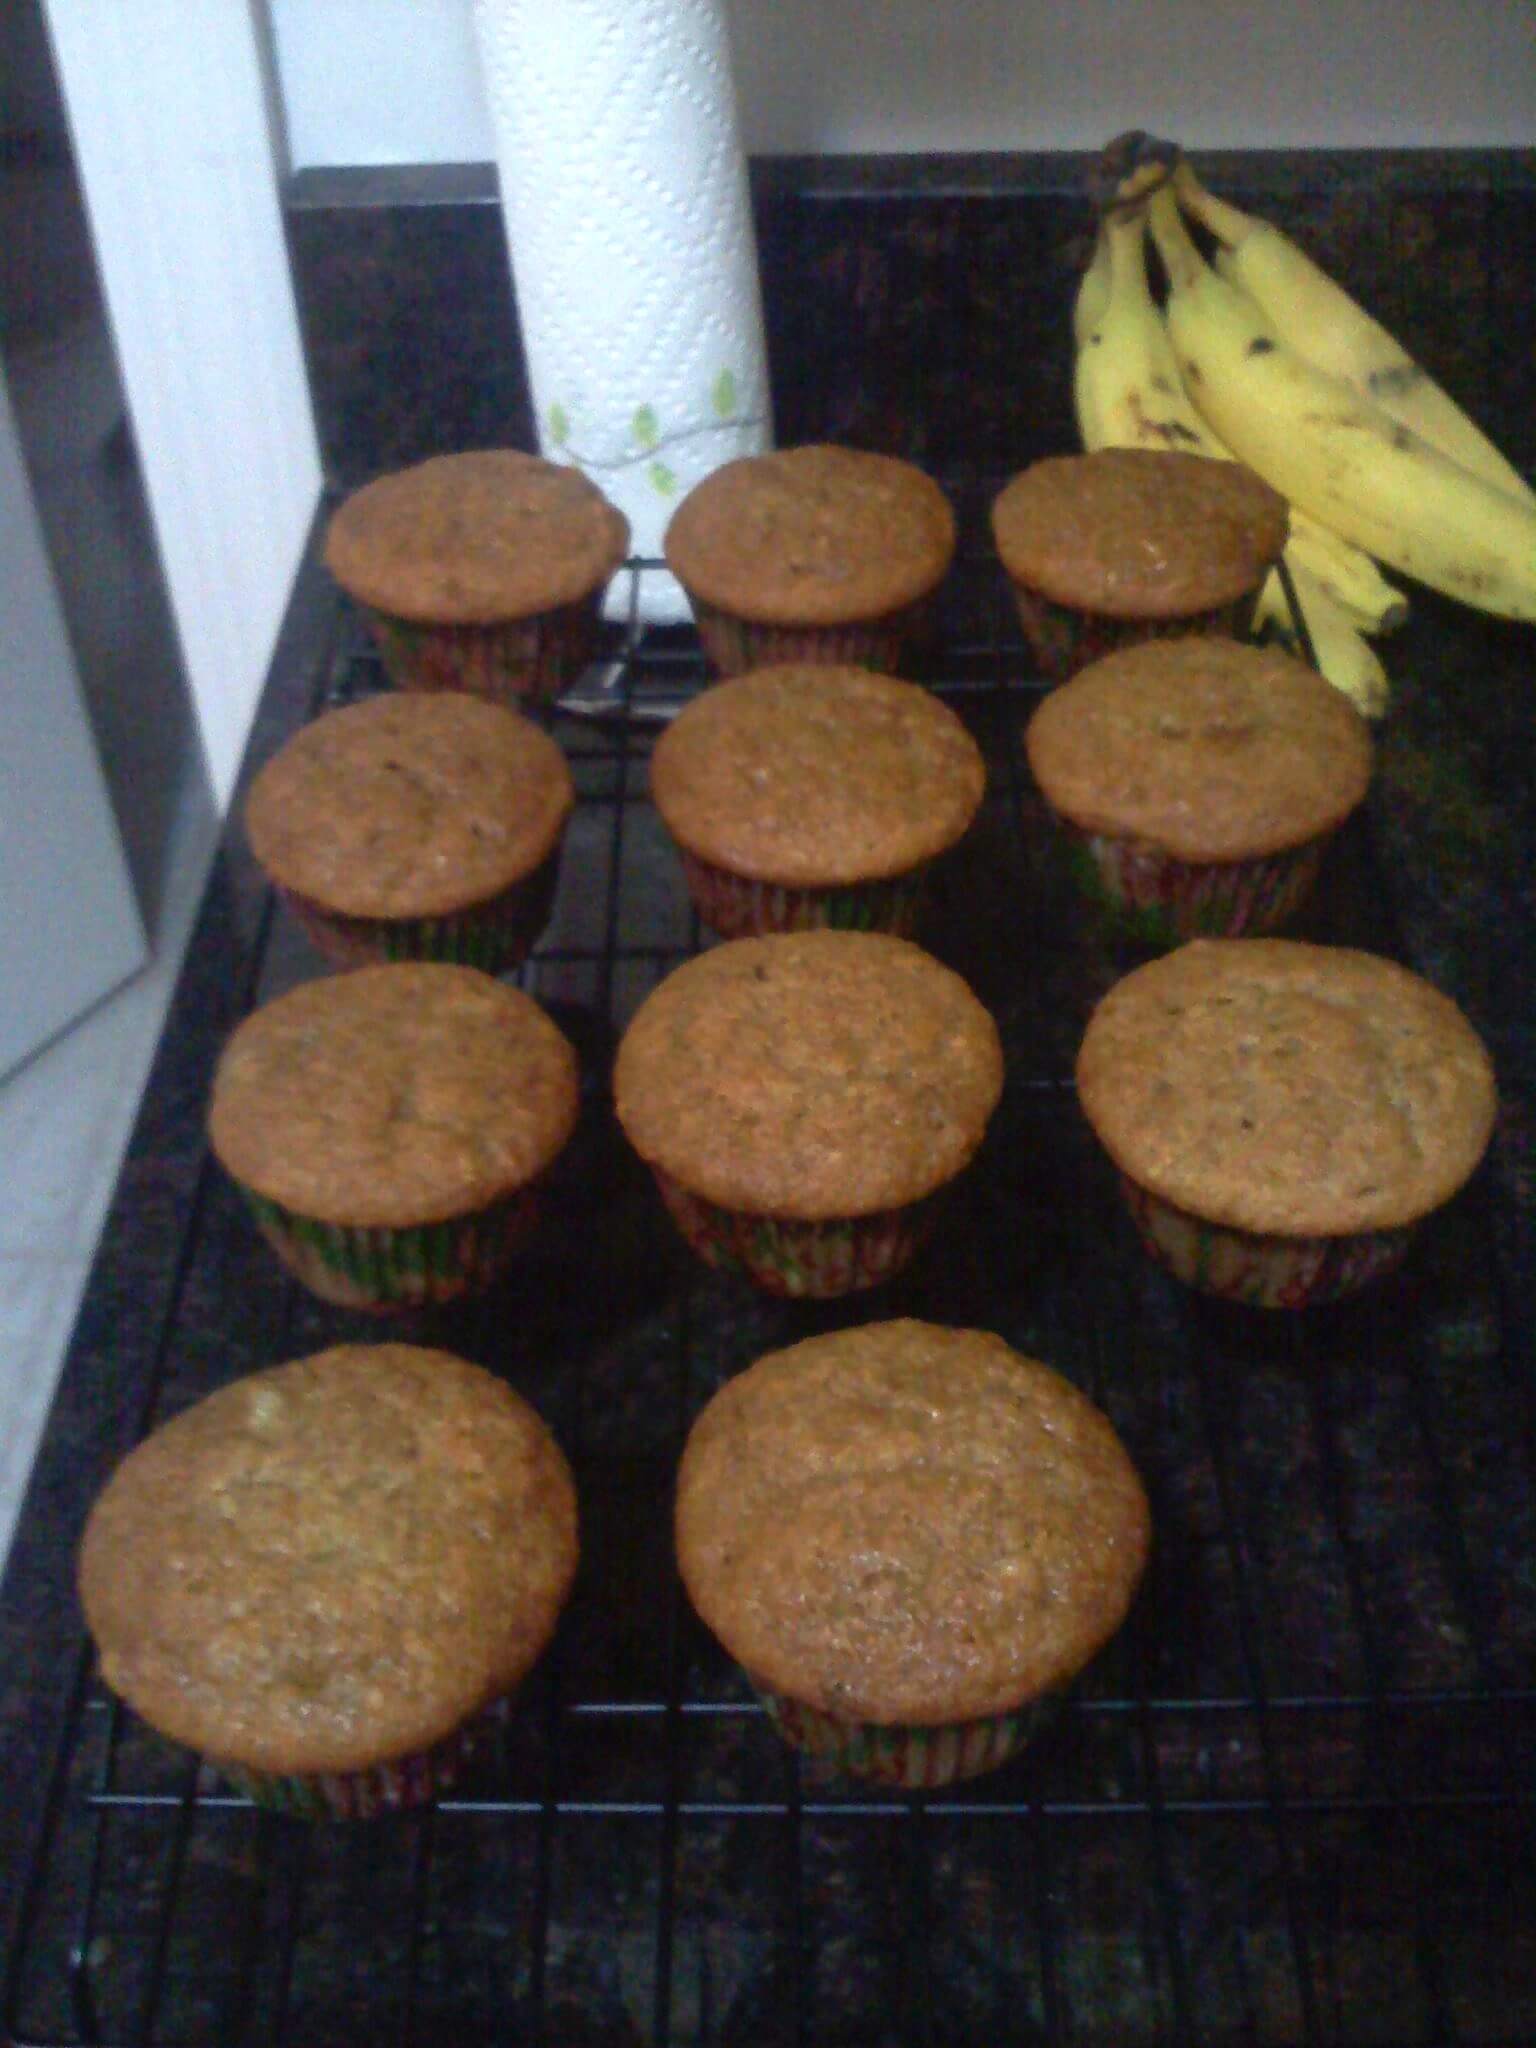
I found this recipe on a great food blog called That’s So Yummy and they call for brown sugar cream cheese frosting. But you all know how I feel about waiting for baked goods to cool before I frost them. So I combined this recipe with my donut muffin topping and VOILA. When The BF tasted one he said, “Is there BUTTER on these?! You’re gonna give me a coronary…” And then he happily ate 2 more. We call that success.

On the menu:
Banana muffins with brown sugar glaze
Makes 14 muffins
Adapted from this recipe at That’s So Yummy

1/2 cup unsalted butter, softened to room temperature
1 cup sugar
1 egg
3 very ripe bananas, mashed
2 cups flour
1 tsp baking soda
2 tsp baking powder
1 tsp cinnamon
1/4 tsp nutmeg
1/4 tsp salt
1/2 cup milk
2 tsp vanilla

Preheat oven to 350 degrees and line a cupcake tin with muffin papers.

In a large bowl, combine butter and sugar with an electric mixer. Blend in the egg. Add mashed bananas and stir with a spoon until incorporated. Add flour, then baking soda, then baking powder, then cinnamon, then nutmeg, then salt. Mix all ingredients together by hand with a large spoon. Add milk and vanilla and stir until combined.

Fill each muffin cup to almost full (5/6 full). Bake for around 37 – 40 minutes or until tops are light brown in color. Remove muffins from tin and let cool for 5 minutes before glazing.

Glaze:
1/4 cup light brown sugar
1/4 cup butter
1/2 tsp cinnamon

In a small saucepan, melt butter and brown sugar together over low heat. Pour into a shallow bowl and whisk in cinnamon. Note: this mixture will probably separate, so you might have to whisk it back together every 3 – 4 muffins.

Dip the top of the muffin in the butter/sugar mixture and let cool on a wire rack. Or, eat every single muffin before they cool. I won’t blame you.

Leave a comment

Filed under Cooking, Recipes

Butter Cookies


If you know me at all, you know I hate crispy cookies. Sure, they have their place and time (a thin wafer tucked in a scoop of ice cream or a biscotti alongside a cup of coffee on a Sunday, for example) but in general I love me a giant, soft, chewy cookie. It’s a running source of debate in my family whether the chocolate chip cookies should be baked soft or crispy – dad likes them crispy, I like them soft. We’re like the Hatfields and the McCoys over here.

So needless to say when The BF requested cookies that resembled “the cookies that come in the blue tin!” I rolled my eyes. CRISPY COOKIES?! IN MY HOUSE?! But I kinda like him so I caved. Here’s my secret: I under-baked them so they’re still a TINY bit soft on the inside. He still loves them because they taste kinda like Danish butter cookies, and I love them because they’re still the tiniest bit soft. Win win.

On the menu:
Butter cookies
Makes 24 cookies

1 cup butter, softened to room temperature
1 cup white sugar
1 egg
2 2/3 cups flour
1/4 tsp salt
2 tsp vanilla

Preheat oven to 400 degrees.

In a large bowl, beat together the butter and sugar with an electric mixer until combined. Add the egg and blend for around 3 minutes until the mixture is lighter in color and texture. By hand, stir in the flour and salt, then the vanilla.

If you are going to use a cookie press: you can use the dough now and skip to the next step. If you’re going to cut these cookies into rounds like I did, you’ll need to form a log with the dough and chill it for about an hour in the refrigerator. After the dough is chilled, cut 1/4 inch thick slices* with a sharp knife. Place on cookie sheet. Press M&Ms into the dough if desired.

Bake cookies for 8 – 10 minutes or until the edges are brown. Remove and let cool on wire racks.

*These cookies would be completely crispy if you sliced them just a bit thinner. Just adjust your bake time accordingly so they don’t burn.

1 Comment

Filed under Cooking, Recipes

Balsamic Chicken Sandwich with Goat Cheese and Sundried Tomatoes

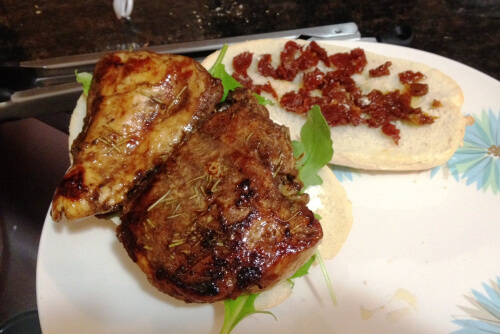
In an effort to keep my spending low, pending my upcoming lack of paychecks and whatnot, I took a quick survey of my cupboard and tried to plan the week’s meals while also using up odds and ends that I already have in the house. This meal is the result of that, and if I do say so myself, it turned out quite nicely. Added bonus: I kept half my sandwich for today’s lunch. #TwoBirdsOneStone

On the menu:
Balsamic chicken sandwich with goat cheese and sundried tomatoes
Serves 2

1 large chicken breast, cut in half length wise, cut in half width wise
2 Tbsp olive oil
1 Tbsp balsamic vinegar
2 tsp rosemary (fresh or dried)
2 garlic cloves, peeled and halved

2 Portuguese rolls
1/2 cup sundried tomatoes in oil, chopped
2 Tbsp goat cheese
1 cup spring mixed greens

In a large bowl, mix together olive oil, balsamic vinegar, and rosemary. Rub chicken breasts with garlic cloves and then add chicken and garlic to the olive oil/vinegar mixture. Toss chicken to coat. Let sit at least one hour or overnight.

Cook chicken any way you like: if you have a grill, these are perfect grilled. If you’re a city dweller and are grill-less, you can cook these in a frying pan over medium heat with a little olive oil until the outside is barely crispy (the balsamic will glaze the chicken and keep it super moist).

Halve the rolls and toast them. Spread one half with goat cheese and the other half with sundried tomatoes. Layer greens and then chicken. Serve hot.

2 Comments

Filed under Cooking, Recipes

Roasted sausage with garlic and cherry tomatoes


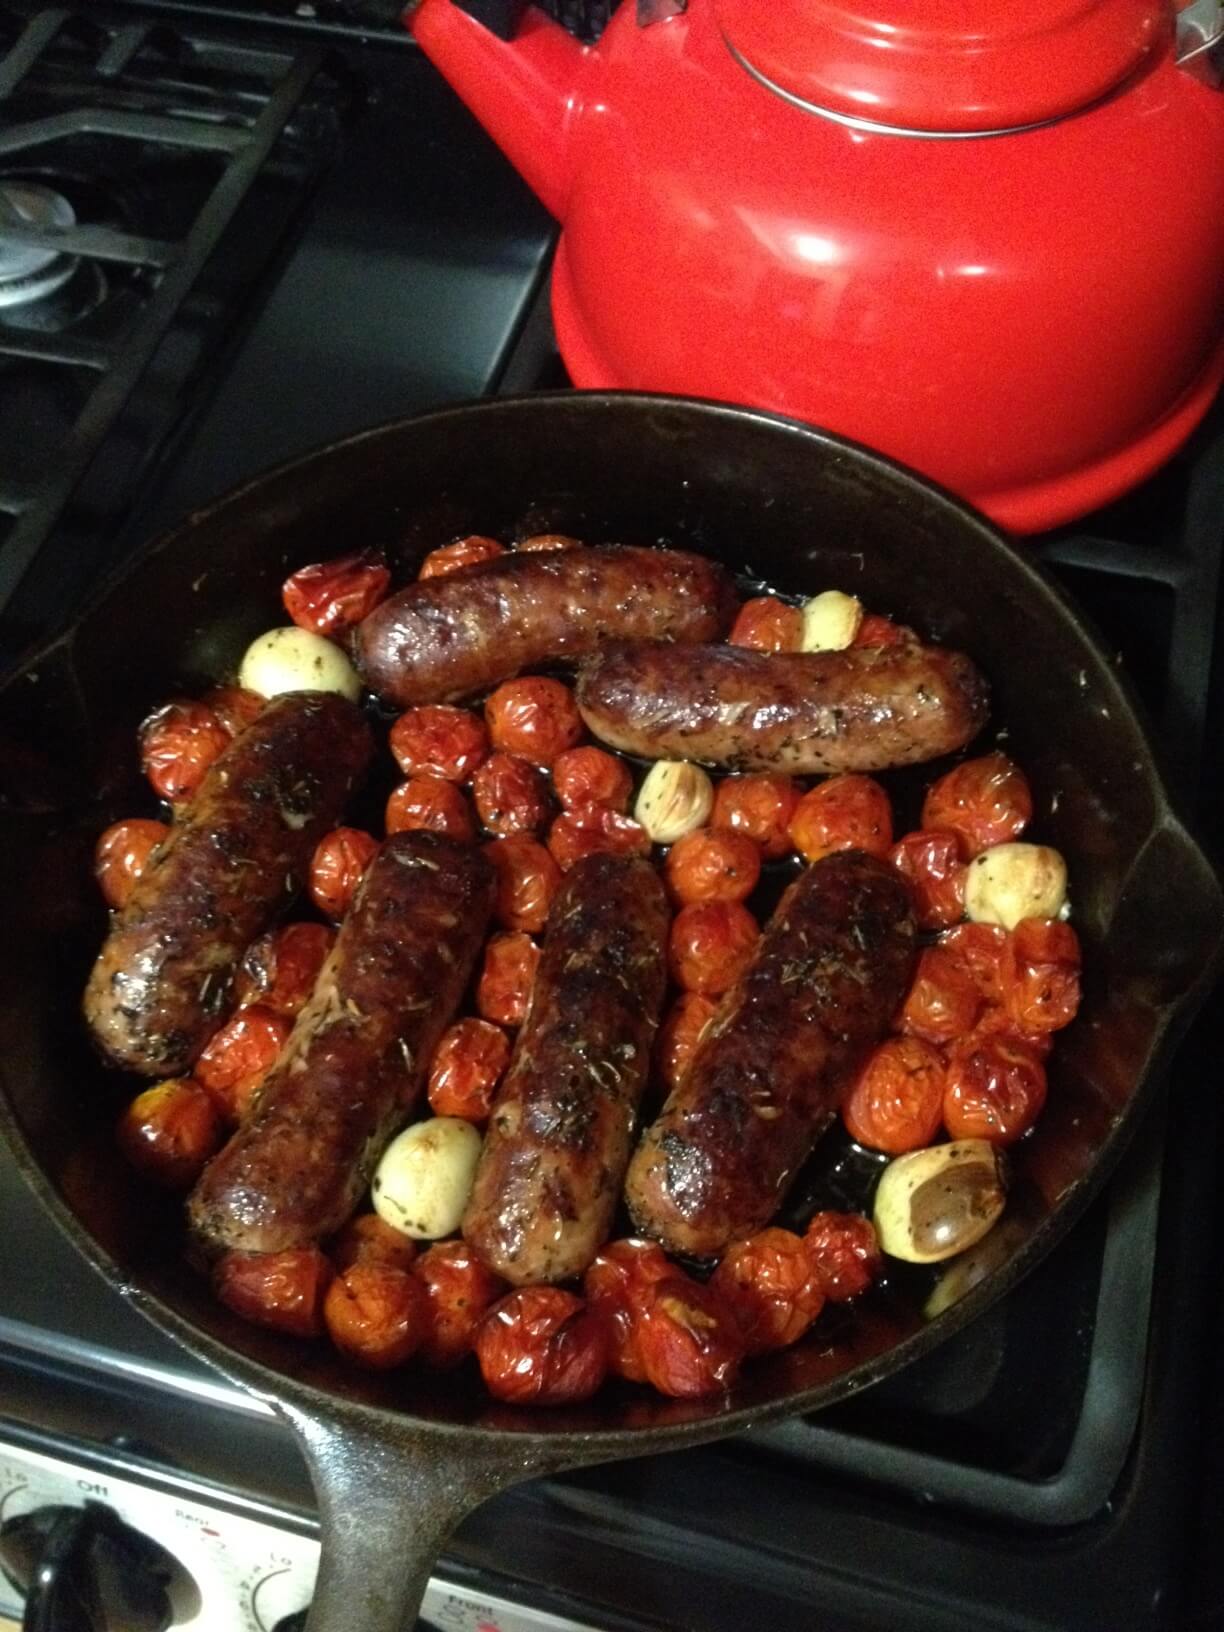
This meal requires such little preparation, I will probably make it every week from now until I start to smell like sausage. Remember, I’m trying to find a job so I don’t want to smell like a sausage factory when I walk into interviews…

… do I?

In any case, this takes an hour to roast but about 5 minutes to prepare. All you need is a roasting pan or an ovenproof skillet and you’re good to go.

On the menu:
Sausage with garlic and cherry tomatoes
Serves 2 – 3

1 lb sweet Italian sausage
2 cups cherry or grape tomatoes, washed
1 head of garlic, cloves separated and unpeeled
1/4 cup olive oil
3 Tbsp balsamic vinegar
2 tsp dried basil
2 tsp dried thyme
1 tsp salt
1 tsp pepper
1 cup small pasta (such as orzo) or white beans or wilted greens to serve the dish over, cooked according to box directions

Preheat oven to 425. Prick each sauce a few times on each side with a sharp knife or toothpick.

Add sausage, cherry tomatoes, garlic cloves, and spices to a roasting pan or ovensafe skillet. Pour over olive oil and balsamic vinegar. Using your hands*, toss until the herbs are distributed and everything is coated in olive and vinegar. Make sure everything is in one solid layer in your pan or skillet. Bake for 30 minutes. Flip sausage and roast for another 30 minutes. Serve over small pasta or beans or wilted greens. Splash a tiny bit more balsamic if desired.

*Do not use a spoon and deprive yourself of the slippery, crazy-cool feeling of tossing all this together with your hands. You’re giggling thinking about tossing slippery sausage with oil (hardy har har) but sexual undertones aside, it just feels so dang cool! Seriously. Okay, you’re still laughing. Fine fine, the cheese stands alone.

Leave a comment

Filed under Cooking, Recipes

Consolation Cake


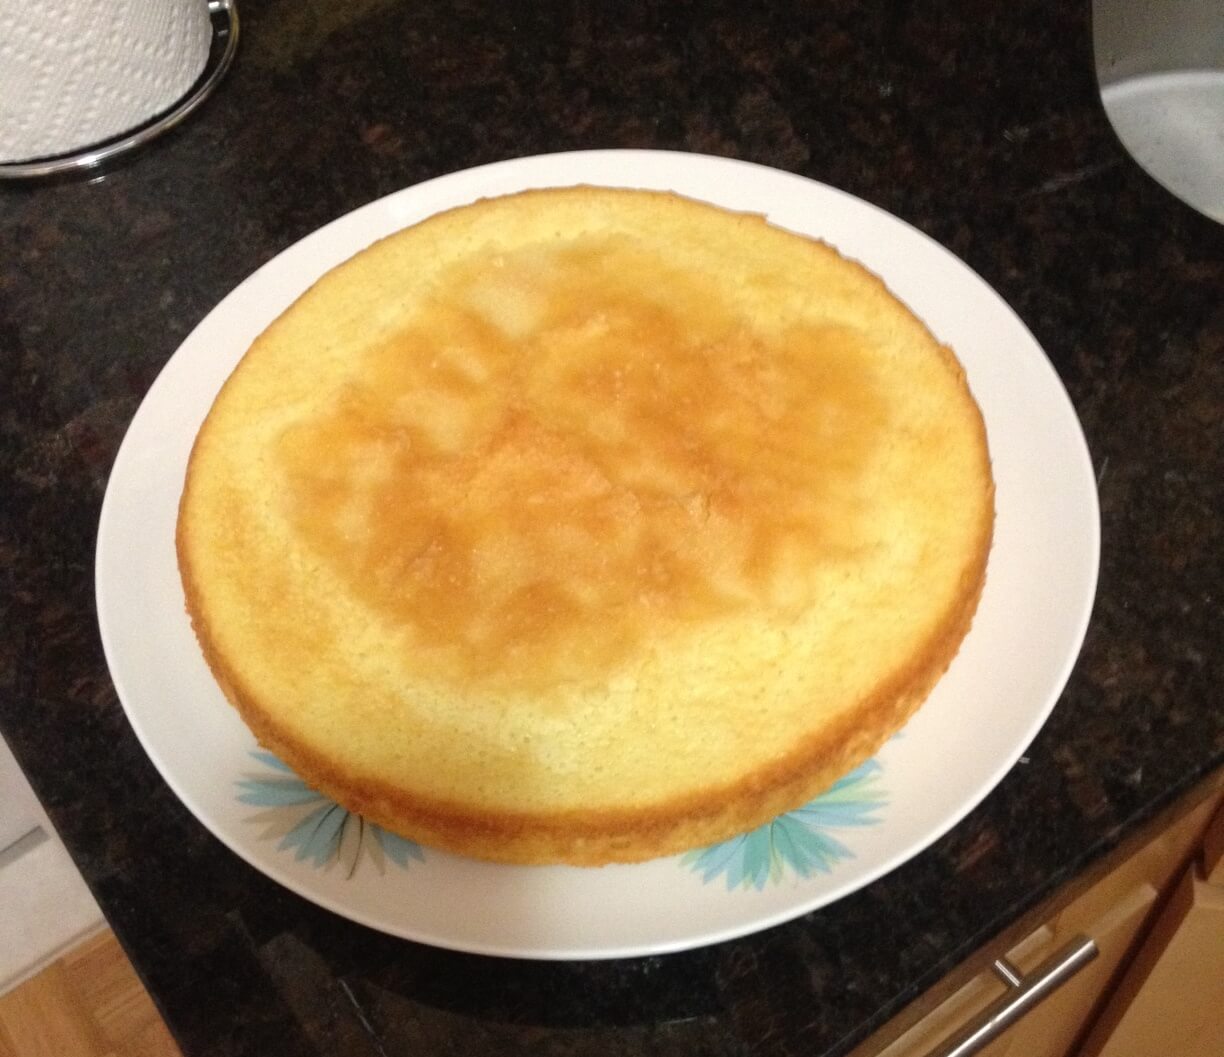
When bad things happen in life, everyone has their own coping mechanism. I don’t think it’s any huge surprise that my feel-better activity is baking. I got laid off from my job yesterday and needless to say, it feels pretty awful. If I was leaving my job because Food + Wine called up and said, “We need a new cake tester who can also write a column about it in a snarky way” then I would be over the moon*! Alas, no one but the unemployment office was calling me up. So I brushed up my resume and then I whisked up this cake.

On the menu:
Lemon olive oil cake
Serves 12
Adapted from Epicurious.com

NOTE: You’ll need a 9 inch spring form pan for this cake.

3/4 cup olive oil plus 2 Tbsp for greasing the pan
1 1/2 tsp lemon zest
2 Tbsp fresh lemon juice
1 cup flour
5 large eggs, separated
1/2 tsp salt
3/4 cup plus 2 Tbsp sugar

Preheat oven to 350. Grease spring form pan with 1 1/2 Tbsp of olive oil. Line the bottom of the pan with parchment paper. Grease the parchment paper with 1/2 Tbsp olive oil.

In a small bowl: whisk together flour and lemon zest.

In a large bowl: beat together egg yolks with half cup of sugar until thick and pale, around 3 minutes. While mixer is still beating, slowly add the olive oil in a steady stream. Beat in lemon juice until incorporated. Using a wooden spoon, fold in the flour/zest mixture until incorporated.

In a medium bowl: with clean beaters, beat together egg whites with salt until the mixture is foamy. A little at a time, add the remaining 1/4 cup of sugar and beat until soft peaks form.

Fold the egg whites into the large bowl egg yolk mixture until completely incorporated. Pour the batter into a greased spring form pan. Tap the pan on the counter a couple times to get rid of the bubbles within the batter. Sprinkle the cake with remaining 2 Tbsp sugar (this will form a nice crunchy crust on top).

Bake for 45 minutes or until a sharp knife comes out clean. Once baked completely, remove the spring form outer ring and let the cake cool for at least an hour before removing from the base of the pan and the parchment. Serve in wedges plain, or with a fruit compote.

NOTE: this cake is ALMOST eggy, but dense and tangy and absolutely delicious. As I’m never quite sure what’s dessert and what’s breakfast, I could see this being served at brunch with fresh fruit or freshly whipped cream alongside a bacon potato skillet dish. Are you drooling yet?

*Are you Food + Wine? Do you want to hire me? Then do it already! I’m totally free this month.

6 Comments

Filed under Cooking, Recipes

Garlic Parmesan Cream Sauce

When I was a single girl, living in a single world, I did my grocery shopping whenever I needed to. If I felt like cooking I’d pick up necessities on my way home from work because if I did weekly shopping then things went to waste (you know, because of those nights when you’re like, hmm this chocolate cake and red wine looks like dinner to me). But now that I am living with a S.O. (that’s significant other for you laypeople) we do our grocery shopping once a week. Not only does that mean that I have to plan nightly meals for a whole week, but it means that when single-Lauren would’ve eaten red wine and cake because she lacked the energy to grocery shop, S.O.’ed-Lauren tries to make due with what’s in the cupboard.

This is a sauce that you can put on pasta, pour over roasted vegetables, or even use as a pizza sauce beneath toppings like prosciutto or zucchini, and it’s a sauce that can be made with things you probably already have in your cupboard. As long as you’re a nice Italian girl, that is.

On the menu:
Garlic parmesan cream sauce
Serves 2

3 medium sized cloves of garlic, minced
2 Tbsp butter
1 Tbsp flour
1 cup milk (I used 1%)
1/2 cup half and half
1/2 cup parmesan cheese
1 tsp dried basil (or 1/4 cup fresh basil, chopped)

In a small sauce pan over low heat, melt the butter. Add garlic and saute for 2 – 3 minutes or until aromatic. Add the flour and stir into a paste. Add milk and cream and cook for around 5 – 6 minutes, until the mixture starts to thicken. Add the parmesan cheese and the basil and cook until desired thickness, around 5 – 6 more minutes. Toss with pasta and serve.

Leave a comment

Filed under Cooking, Recipes