Category Archives: Cooking

How to Use Pumpkin Pie Spice (aside from a pumpkin pie…)

We all have spices in our cupboards that we never use. I personally have a shaker of garam masala that I used once two years ago and haven’t touched since. Well… there was one time I mistook it for nutmeg. Needless to say those pancakes ended up in the trash.

You probably use your pumpkin pie spice once a year at Thanksgiving, but during this pumpkin-y time of year why not pull it out for some unorthodox uses? Not that the below are TOO out of the box, but perhaps they’re new and exciting to you. I do hope that’s the case.

Maple brown butter pumpkin spice popcorn

On the menu:
Maple brown butter pumpkin spice popcorn
Serves 2

1/2 cup unpopped corn kernels
3 Tbsp butter
2 tsp pure maple syrup
1 tsp pumpkin pie spice

Pop the popcorn in an air popper.

Meanwhile, in a small saucepan melt the butter over low heat. Watch the mixture closely as the color turns from white and yellow to a light brown. As soon as the butter is a light brown color, turn off the heat. Mix in the maple syrup and the pumpkin pie spice and stir to combine.

Pour half the mixture over the popcorn and toss to coat. Pour remaining butter mixture over the popcorn and toss to coat. Serve immediately.

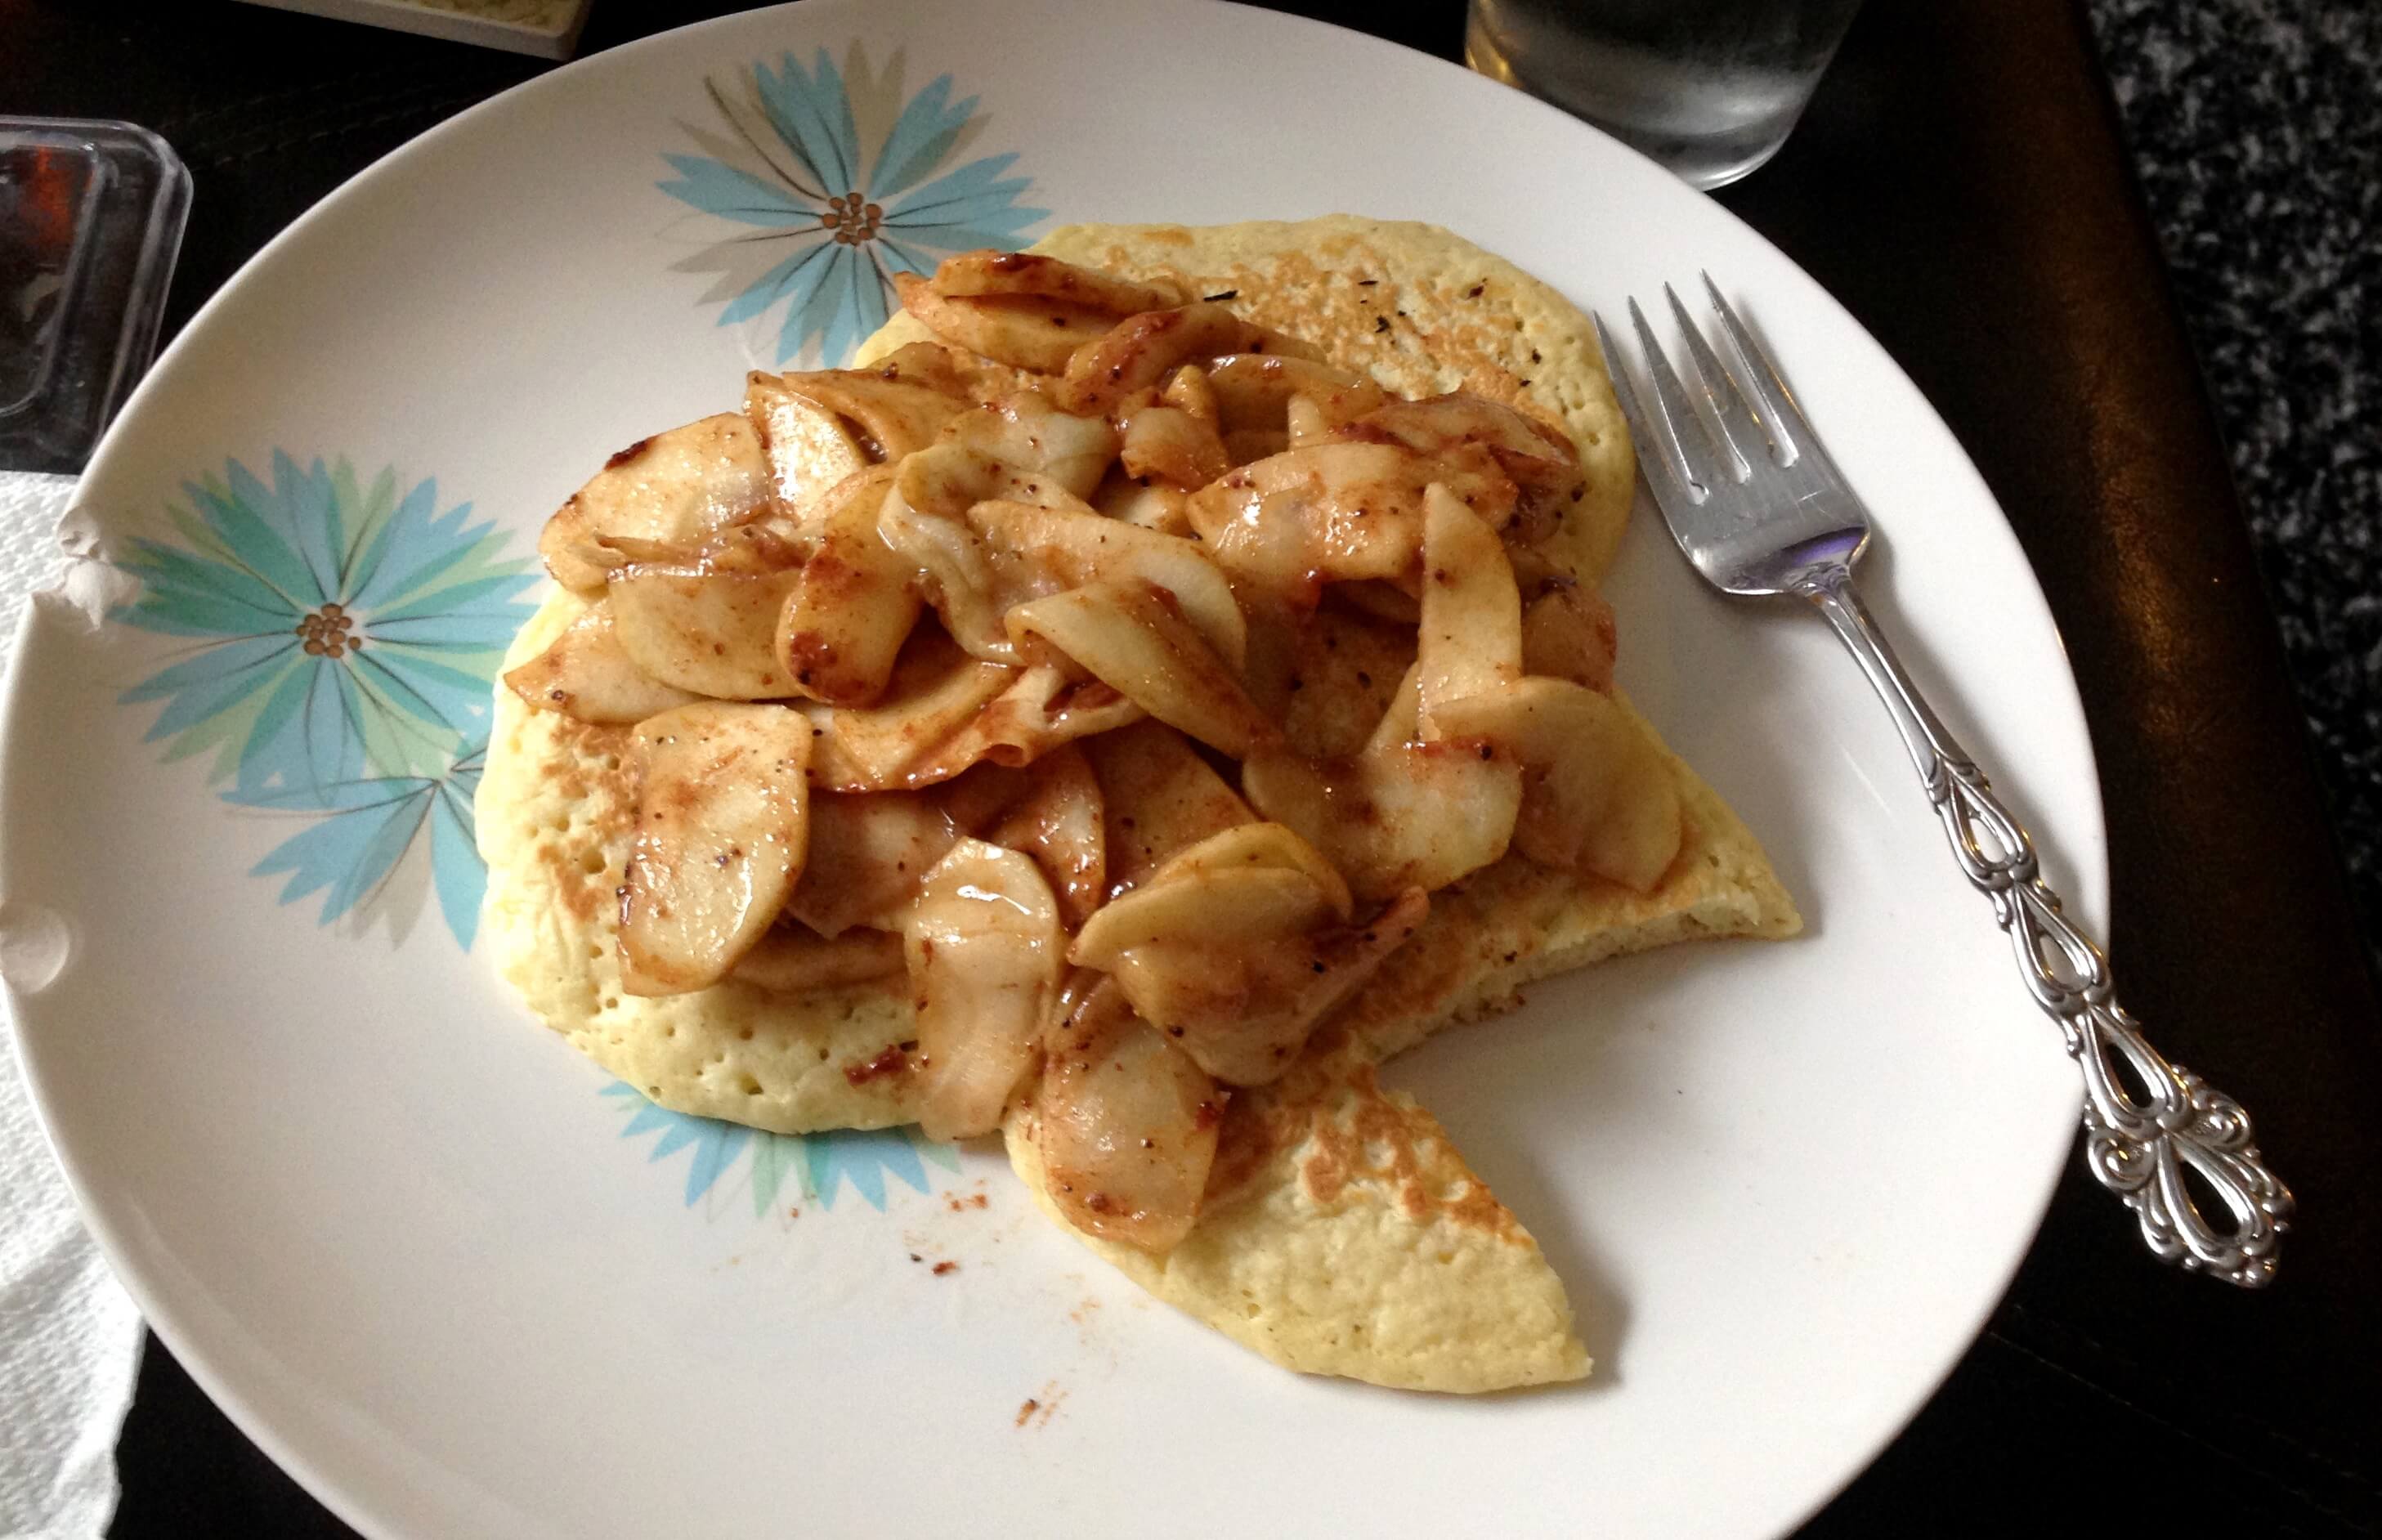
Pancakes with sauteed apples with maple syrup and pumpkin pie spice

On the menu:
Pancakes with apples sauteed with maple syrup and pumpkin pie spice
Serves 2

2 small apples, peeled, cored, and sliced into 1/4 inch thick slices
2 Tbsp butter
1 Tbsp maple syrup
1 tsp pumpkin pie spice

Make pancakes according to this recipe.

In a small frying pan, melt butter over medium heat. Once butter is melted, add apple slices and stir to coat. Cook apples for approximately 5 minutes or until they soften. Add maple syrup and pumpkin pie spice. Stir to combine. Cook for another 2 – 3 minutes or until mixture is heated through. Top pancakes with sauteed apples and serve.


2 Comments

Filed under Cooking, Recipes, Tips

Spicy Pecan Chicken Strips

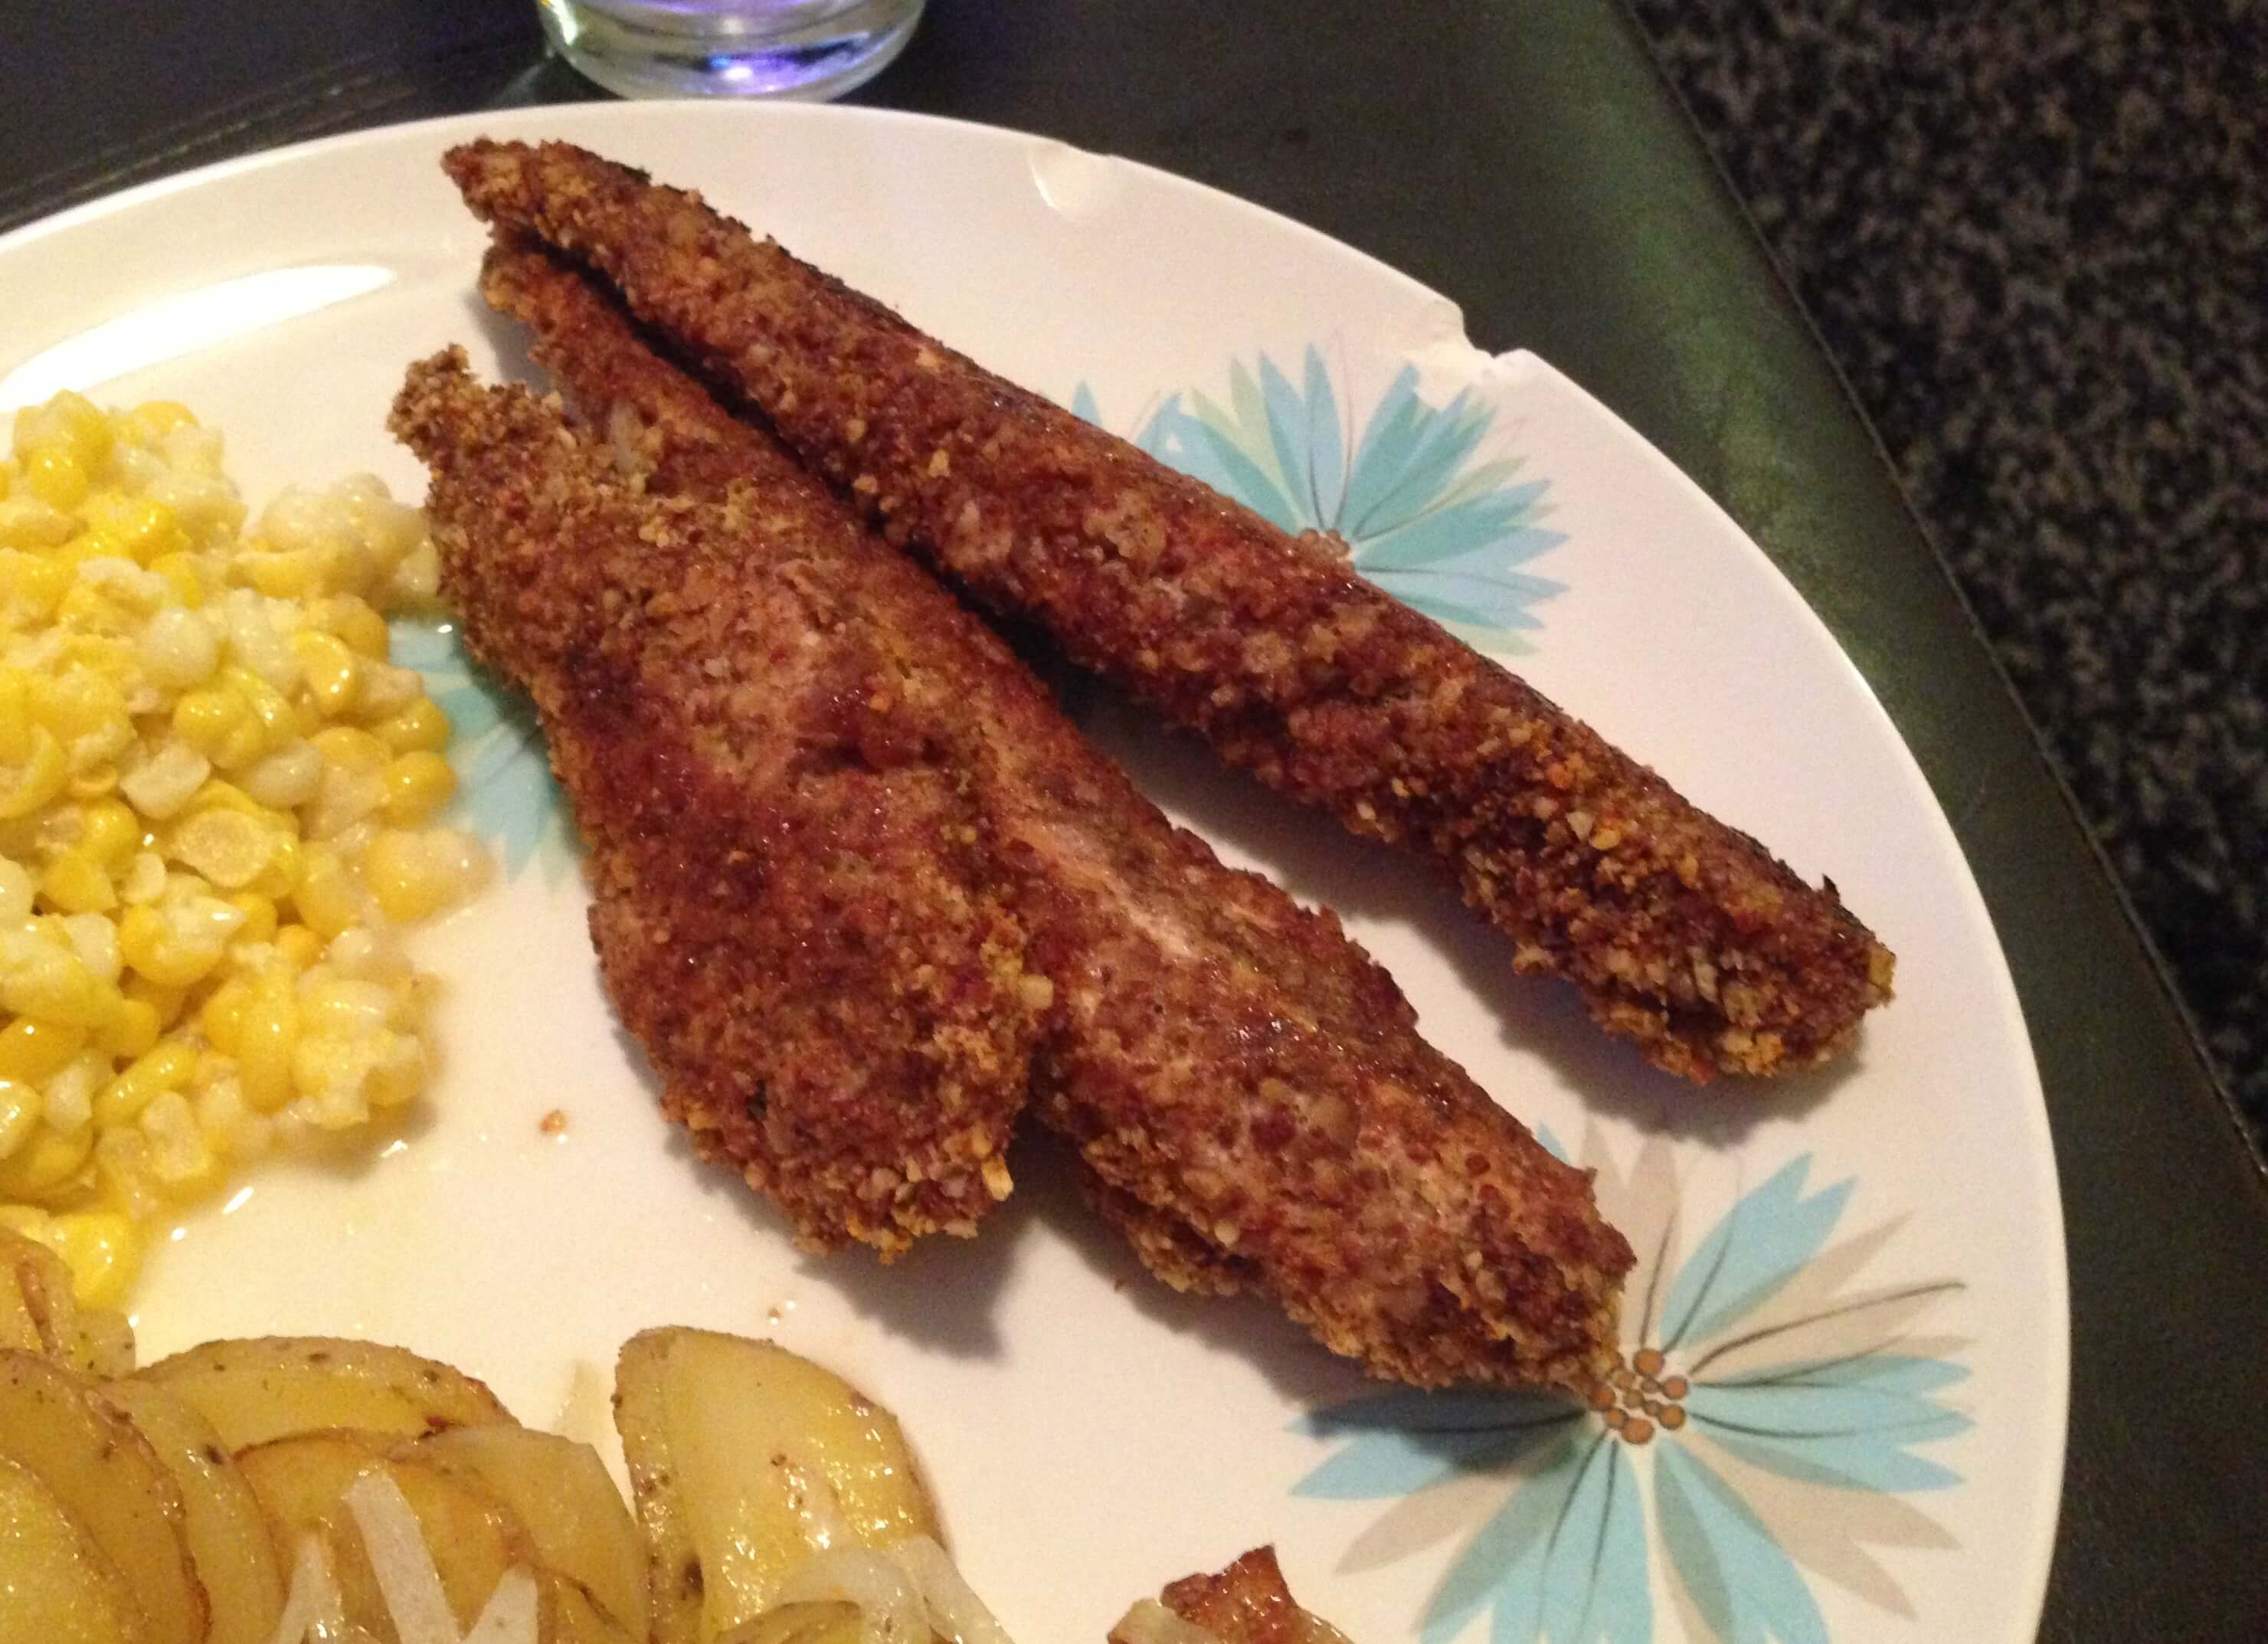
Spicy Pecan Chicken Strips
I won’t go into detail on this, but have you ever researched what’s inside a chicken nugget? I’ll give you this: it’s not cute. It’s barely even chicken.

But who doesn’t love a nice dunkable, battered chicken strip? It’s American comfort food at its best and it is beyond easy to make. So skip the McDonald’s and try them at home. This particular recipe is SPICY so you can easily cut down on the cayenne to make it family friendly if you like.

On the menu:
Spicy Pecan Chicken Strips
Makes 2 – 3 servings

2 lbs. boneless, skinless chicken breast
2 eggs, lightly beaten
1/2 cup pecan halves or pieces
1/4 cup bread crumbs*
1/2 tsp cayenne pepper
1/2 tsp garlic powder
1/4 tsp salt
1/4 tsp cumin

Preheat oven to 375 degrees. Spray a large baking sheet with nonstick cooking spray.

In a food processor, blend pecans, bread crumbs, and spices until you have a coarse mixture.

Cut chicken into strips, approximately 1 1/2 inches wide by 1 inch tall (they don’t have to be perfect but uniform size means uniform cooking). Dredge each piece of chicken in egg mixture and then in pecan spice mixture. Shake off excess and place on baking sheet.

Bake chicken strips for 30 minutes. Flip the pieces and bake for another 5 – 7 minutes or until each piece is cooked through and the breading is crispy. Serve with honey mustard dipping sauce.

*Note: I never, ever have breadcrumbs on hand. There’s something about buying a tub of crumbs of bread that just seems wrong to me. What I did in this instance is toast up a piece of white bread until it was very crispy, tear it up with my hands, and then toss the pieces into the food processor with the pecans and spices. Voila. Bread crumbs.

Leave a comment

Filed under Cooking, Recipes

Banana Cupcakes with Brown Sugar Cream Cheese Frosting

Banana cupcakes
I think fall has to be my favorite season. Not only can we start wearing cozy sweaters and soft leather boots, but fall food is basically comprised of “comfort” food: donuts, apple cider, hot soup, cheesy pasta… God, I can feel my saddle bags growing by the minute! Blissful.

These cupcakes are truly delicious with this frosting but if you wanted to leave the frosting off you could easily call them muffins and eat them for breakfast. Or you could eat them for breakfast with the frosting. Ain’t no shame.

On the menu:
Banana Cupcakes with Brown Sugar Cream Cheese Frosting
Makes 16 cupcakes
Cupcake recipe dapted from this recipe on AllRecipes.com

Cupcakes:
3 large very ripe bananas, mashed
1 cup sugar
2 eggs, lightly beaten
3/4 cup vegetable oil
2 cups flour
2 tsp baking soda
3 Tbsp buttermilk*

In a large bowl, blend bananas and sugar with an electric mixer. Add in eggs one at a time and blend until completely combined. Add vegetable oil and blend until the mixture is completely blended, about 2 – 3 minutes.

In a small bowl, whisk together the flour with the baking soda. Add to wet mixture and stir with a spoon to combine. Add buttermilk and stir to combine.

Line a cupcake tin with paper liners. Fill each cup about 3/4 full. Bake for 25 – 35 minutes or until a toothpick inserted in the center of one cupcake comes out clean. Let cool completely before frosting.

Frosting:
3/4 cup brown sugar
3/4 cup unsalted butter, softened
8 oz. cream cheese, softened
1 tsp vanilla
16 pecan halves

In a small bowl, beat butter with electric mixer. Add cream cheese and blend to combine. Add brown sugar and vanilla and blend to combine. Frost cupcakes and top with a single pecan if desired.

*If you don’t have buttermilk, combine 2 1/2 Tbsp of regular milk with 1 tsp lemon juice and stir to combine. Let sit for 5 minutes and then use as directed.

Leave a comment

Filed under Cooking, Recipes

Cooking Planit Giveaway

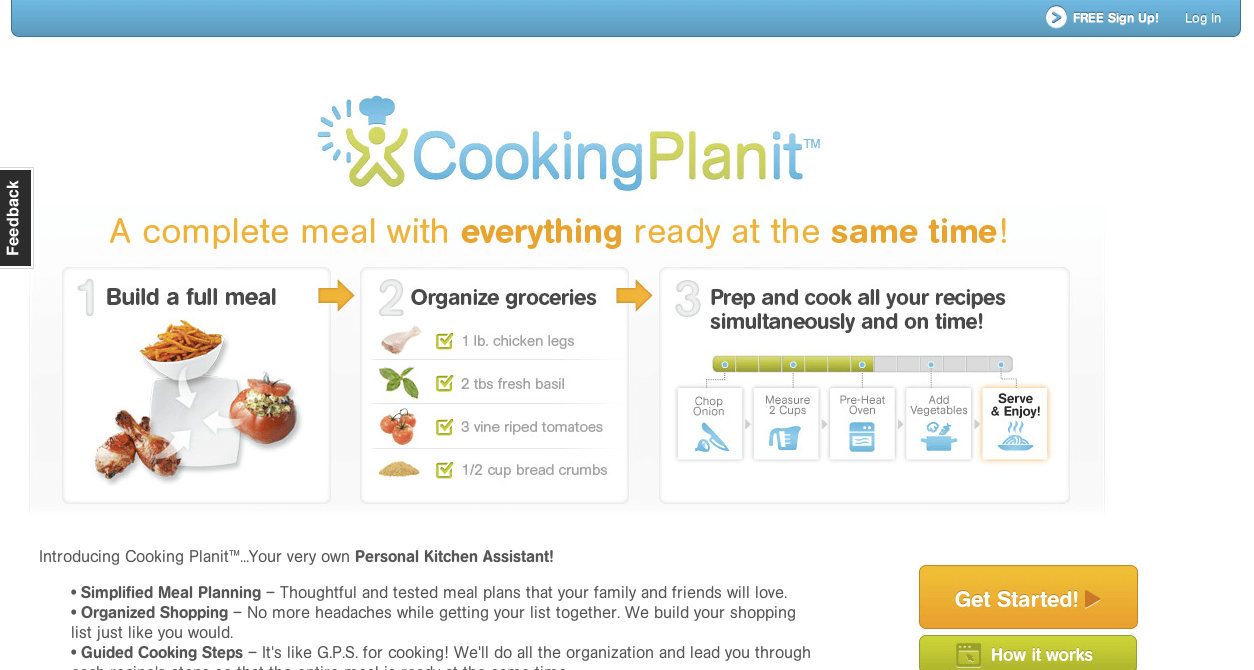
Happy weekend, my friends! Just back from foggy London town (where the weather was goooorgeous, I might add) and so happy to tell you that today through September 2 you can enter here to win an incredible set of T-Fal Cookware courtesy of Cooking Planit. Remember Cooking Planit? The coolest cooking app out there right now? Here’s a refresher.

Cooking Planit does everything except stand at your stove and stir the sauce for you. On the app you can choose the dish or dishes you want to cook, make a grocery list, sync all your devices so that you can use your phone or iPad to shop with, then return home to your kitchen and get to cooking with the help of voice instructions and perfectly timed cooking prompts. You literally can’t mess it up.

Picture 2

Here are a couple other features you will surely want to know about.

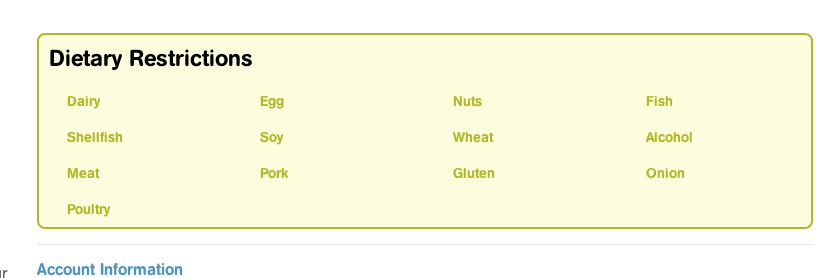
Ability to choose meal plans based on dietary restrictions.

Dietary restrictions

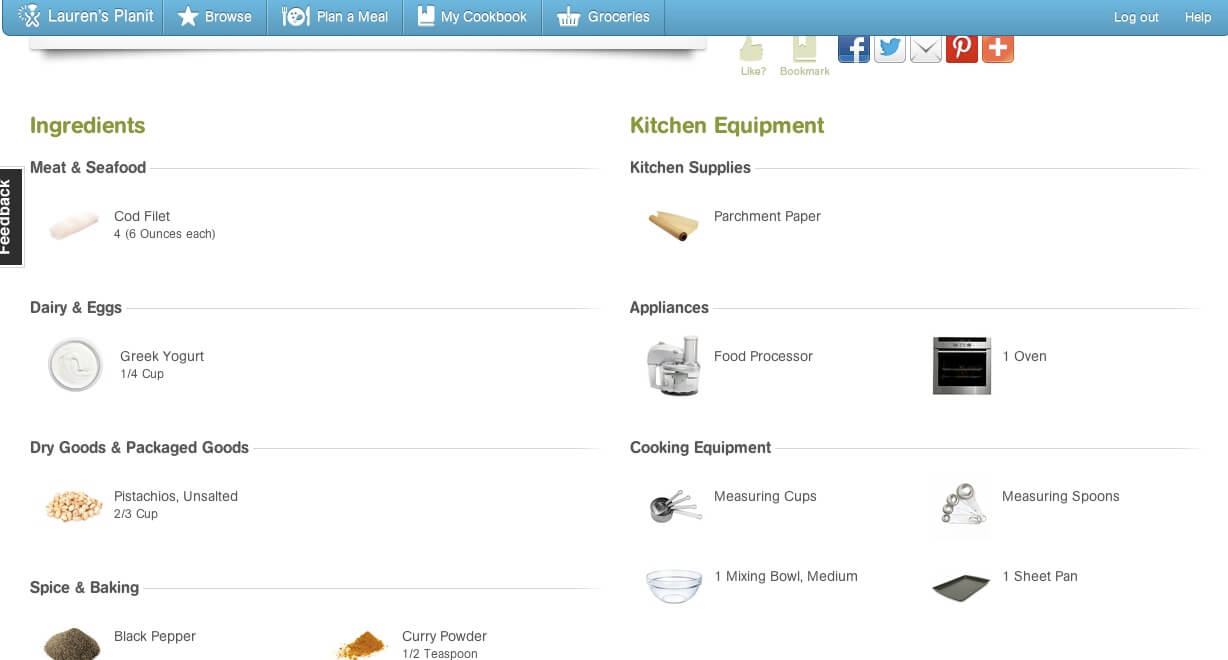
Provides a list of things you’ll need to cook the meal, from food prep ingredients to kitchen staples and equipment. Have you ever been halfway through a recipe and realize it calls for a Kitchenaid and you don’t have one? Guilty.

Ingredients

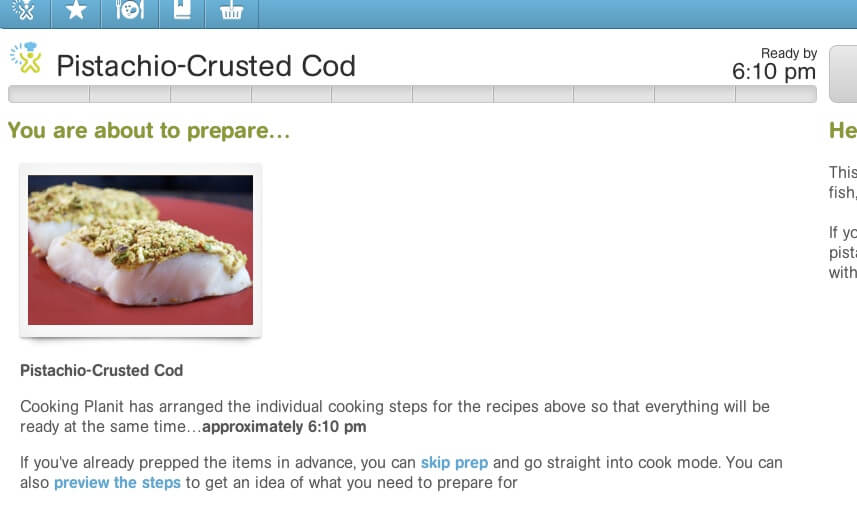
Predicted time finished. Expecting guests at 6:30? Not starting to cook until 5:55? Then wait. Cooking Planit tells you down to the minute, based on what time it is now, your dish will be done. Better than an egg timer any day of the week.

Ready by

Warnings when you’ve skipped ahead. You’re like, “I’ll just get the next step going before I finish this one” and Cooking Planit is like, “Hey girl. Slow down. Take it easy. Have a sip of wine. And don’t ruin this meal.”

Warning

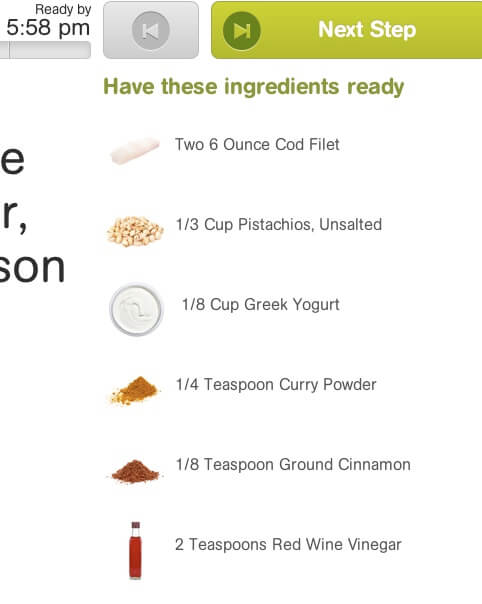
Provides notice of ingredients you’ll need in the current step. Sometimes I scan the list of ingredients and they’re out of order or I just plum skip over one. Cooking Planit takes you step by step, ingredient by ingredient, so nothing is left out.

Ingredients ready

And yes, that’s a built in timer. I don’t know about you but sometimes I forget to set my oven timer. Cut to 30 minutes later when my entire kitchen smells like burnt cookies and I’m trudging sadly to a bodega for Oreos. Not with Cooking Planit. They’ll countdown for you.

Timer

The best part: you can try it for free. So go forth! And don’t forget to enter the giveaway by following me @LaurenFoodE on Twitter and clicking here! Because what’s better motivation to get cooking than fancy new pots and pans from T-Fal?

Leave a comment

Filed under Cooking, Tips

California Summer Spice Shrimp Salad

I mentioned I’m working with Spice to Meet You, a monthly home delivery spice service, and I was super fortunate to shoot some cooking demos for them! The first installment (do you recognize that kitchen??) is on California Summer Spice Shrimp Salad. Head on over to Spice to Meet You for the full recipe!

Leave a comment

Filed under Cooking, Recipes

Marble Cookies

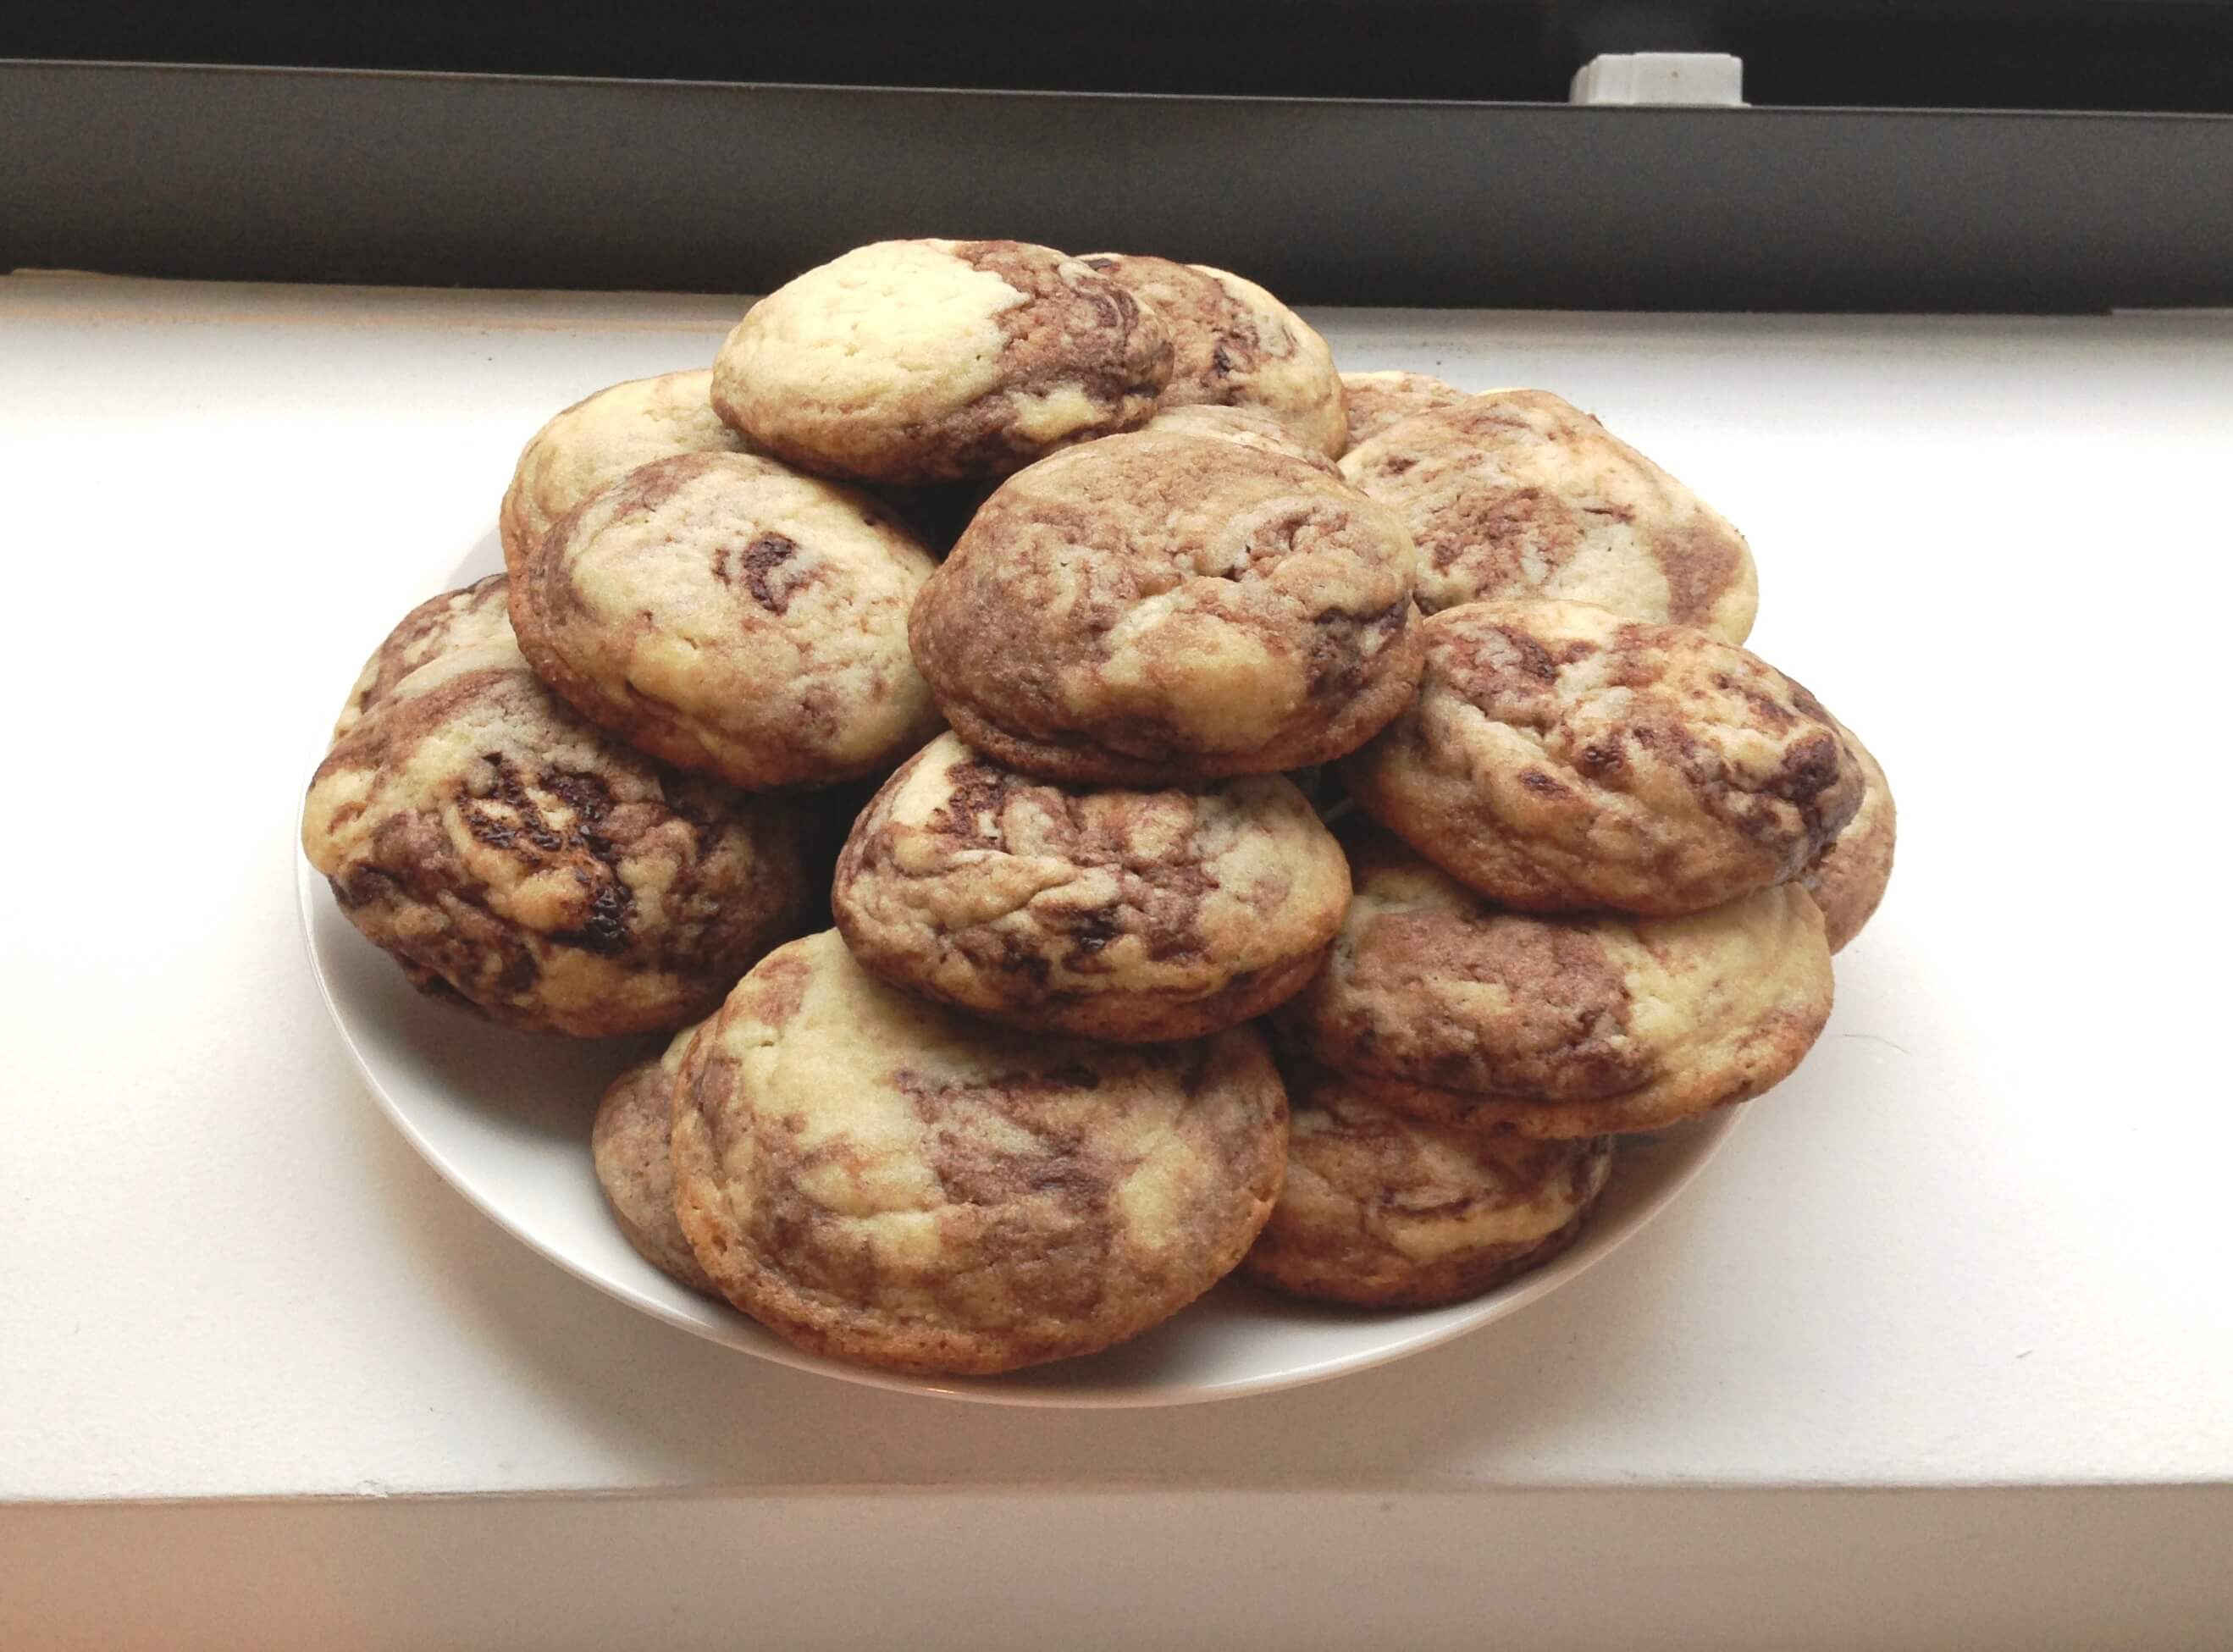
marble cookies
One of my favorite food memories (of which there are bajllions) is from when I was really little, maybe 4 or 5. My grandmother used to take me to her local bakery to get the kuchen that inevitably showed up at every family meal, and she’d let me get one thing for myself. It was always a marble cookie. As a kid I never questioned what I liked about that cookie but my little kid brain always went straight for it: a cookie with chocolate and vanilla swirled dough and a delicious but faint hint of almonds. Crispy on the outside, soft in the middle (is there any other way?)… New York delis have these cookies in scores but they always disappoint. They’re always stale and usually hard as rocks. So in the interest of dredging up nostalgia, I dug up a recipe to make them in my own kitchen. And a pleasant surprise: they are so freaking easy.

On the menu:
Marble cookies
Makes 2 dozen

1 cup unsalted butter, room temperature
1 cup sugar
1 egg
2 cups flour
1/2 tsp salt
1/2 tsp baking soda
1/2 tsp cream of tartar
1 tsp vanilla extract
1 tsp almond extract
1 oz. unsweetened baker’s chocolate

In a large bowl, with an electric mixer, blend the butter and sugar until combined. Add egg and blend well.

In a small bowl, whisk together the flour, salt, baking soda, and cream of tartar. Add to the butter/sugar mixture and blend with electric mixer until combined. Add vanilla and almond extracts and stir together the dough by hand.

In a double boiler or in the microwave, melt the chocolate. Little by little, add the chocolate to the cookie dough, intermittently using a knife to swirl the chocolate. Do NOT stir! You want to be able to see the chocolate and the vanilla within the dough.

Chill dough for at least one hour.

Preheat oven to 400 degrees. When dough is nice and chilled, roll dough into balls about 1 1/2 inches in diameter. Place on an ungreased cookie sheet and bake for 10 – 12 minutes or until the edges are just started to turn light brown. Cool on a wire rack.

Leave a comment

Filed under Cooking, Recipes

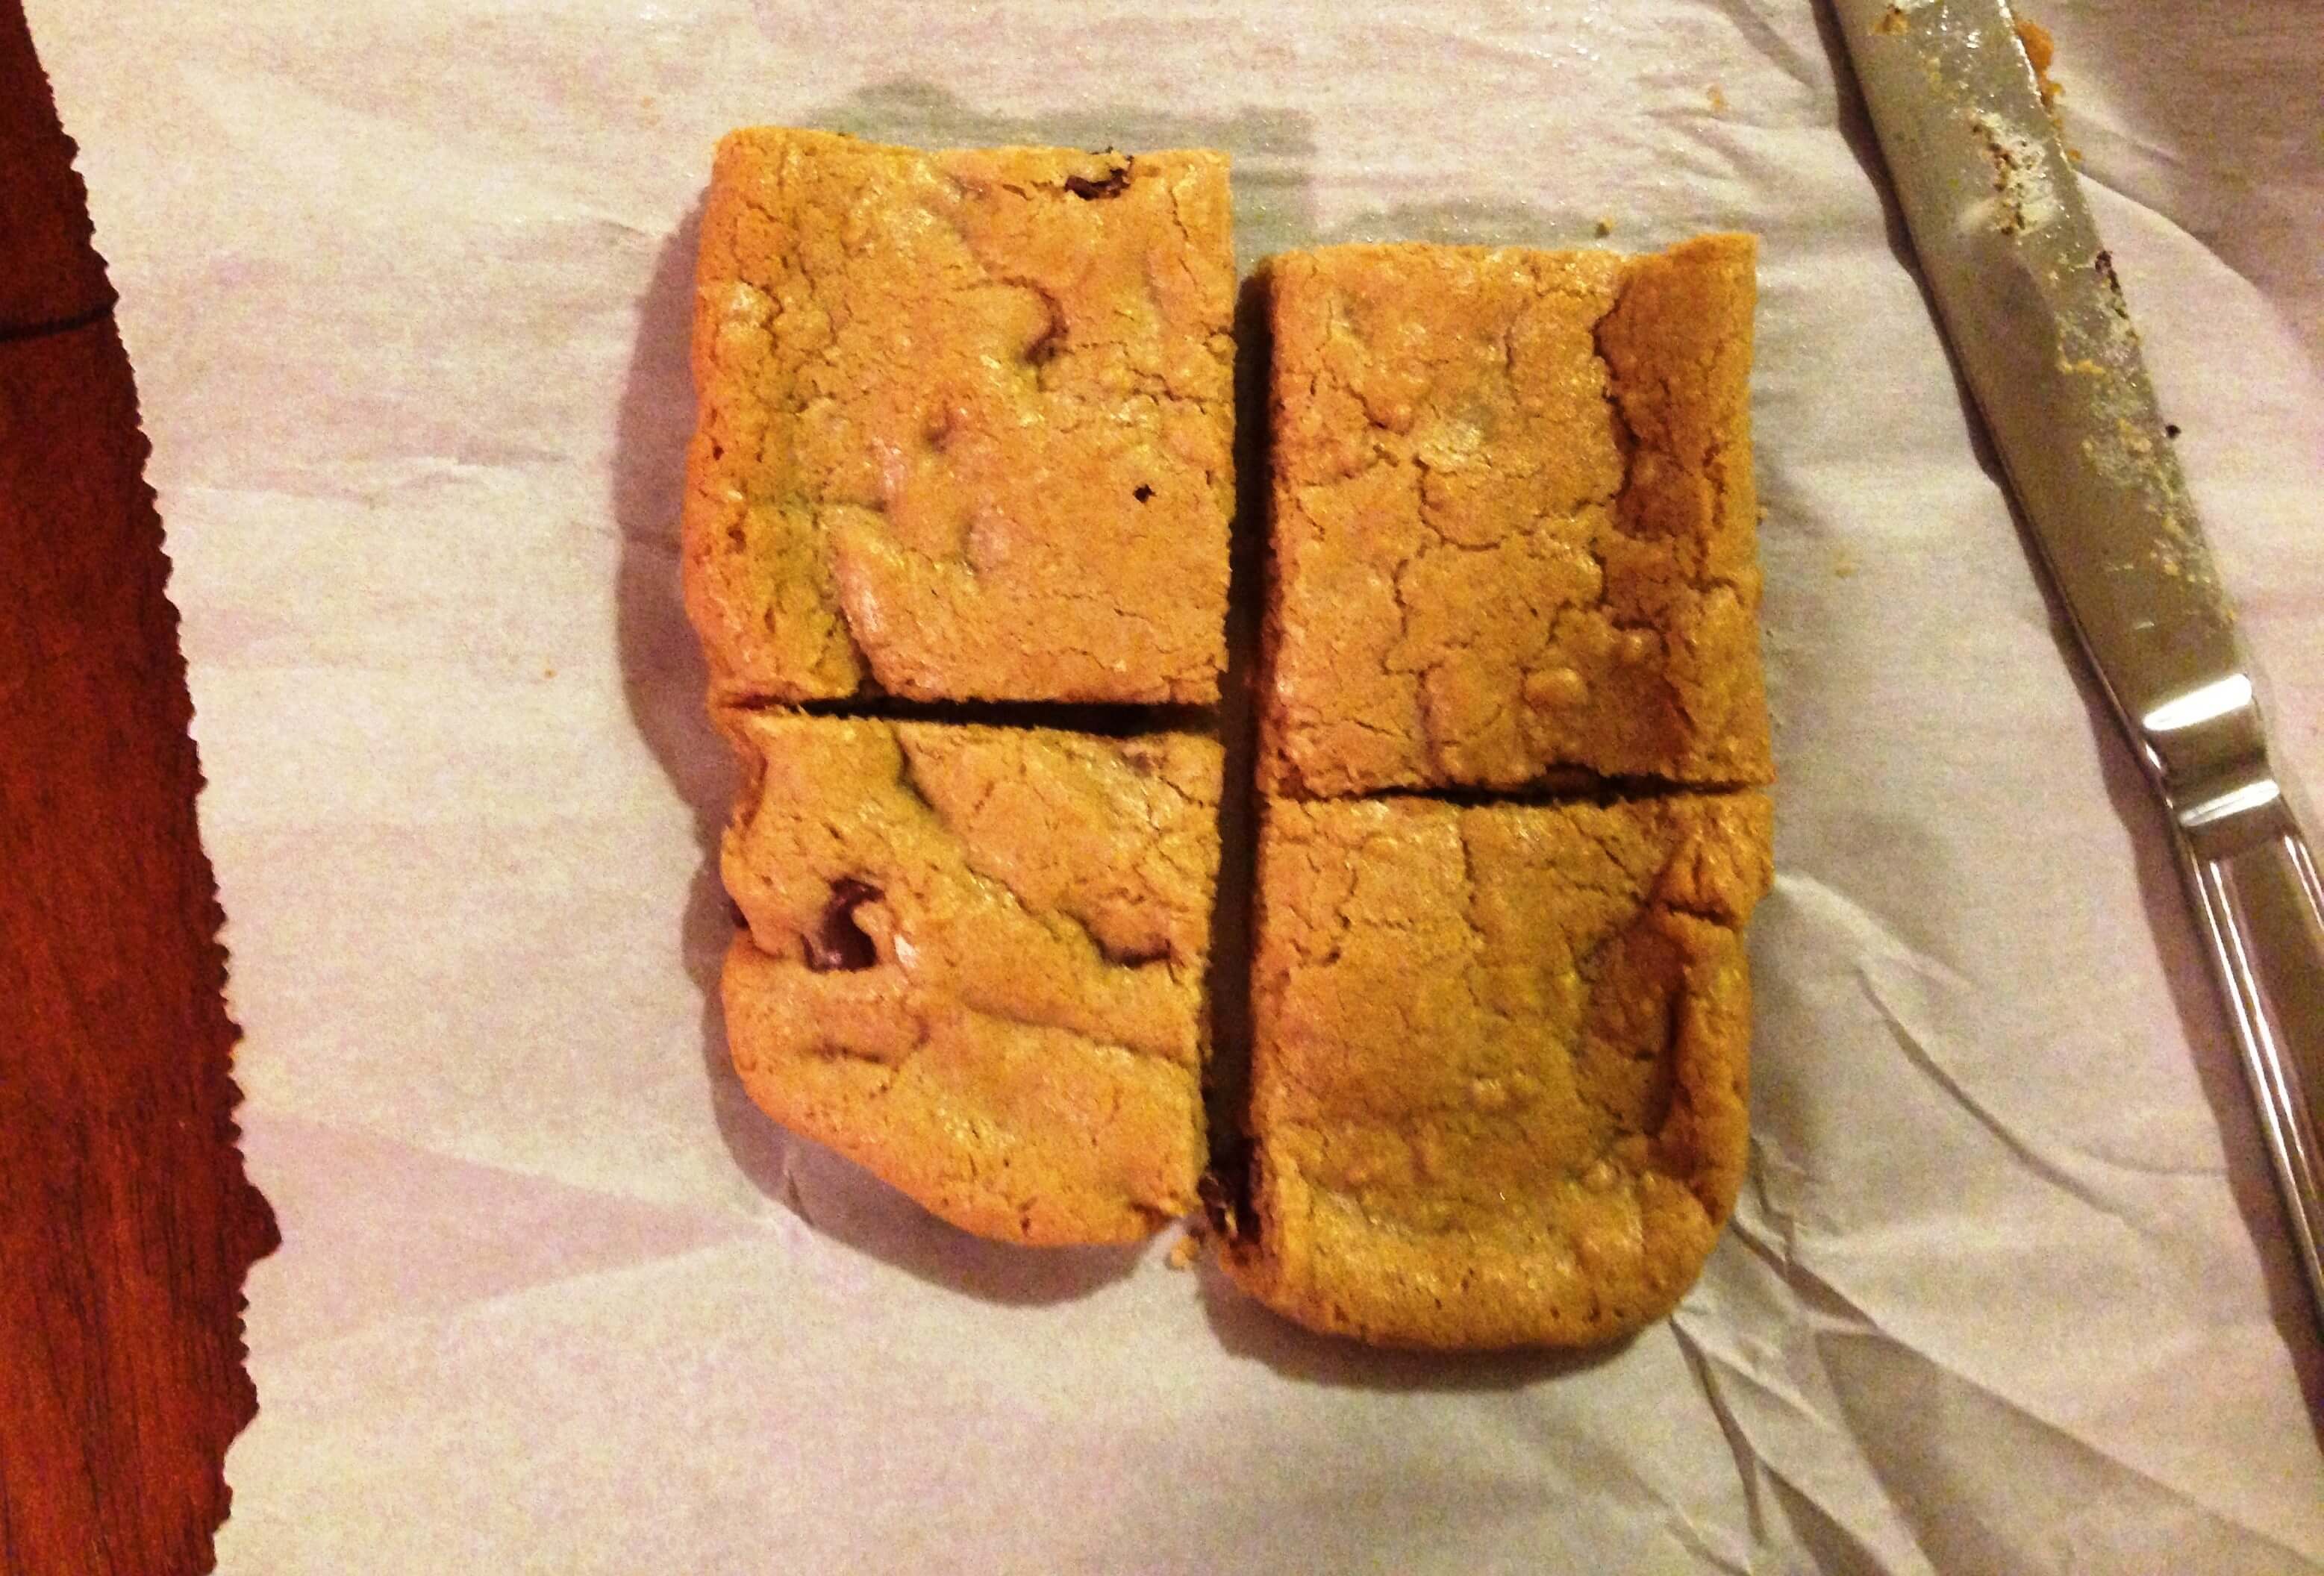
Chocolate Chip Cookie Bars

cookie bars
I don’t have to tell you guys how much I love dessert, and it’s never too late in the evening or early in the morning to retreat to the kitchen to create something sweet. Last night around 8:30PM I was dying (DYING) for a dessert and M&Ms just weren’t cutting it. So I turned to the amazing blog Dessert for Two where the blogger develops recipes specifically for small batches. Want two cupcakes? 8 cookies? Lasagna for you and your significant other with no leftovers? This girl has a recipe for it.

My dessert criteria were: something I could mix by hand, something I only had to dirty one bowl for, and something I had all the ingredients for in the fridge. BAM. Blondies. Only I don’t really like butterscotch chips and I didn’t have any anyway so I substituted regular chocolate chips. BEHOLD. The most delicious, insanely chewy, un-freakin-believably good cookie bars you have ever had. All I have to say is, it’s a good thing this only made 6 small bars because The BF and I ate. them. all. Maybe I even put the pan on the AC unit to speed up the cool down so we could eat them faster… I don’t know.

On the menu:
Chocolate Chip Cookie Bars
Makes 6 brownies
Adapted from Dessert for Two

3 Tbsp unsalted butter, melted
1/2 cup packed brown sugar
1 egg yolk
1/2 tsp vanilla
1/4 tsp salt
1/2 cup flour
1/2 tsp baking powder
1/4 cup chocolate chips

Preheat oven to 350 degrees. Line a 9 x 3 x 5 loaf pan with parchment paper*.

In a small bowl, mix together the brown sugar and melted butter with a wooden spoon. Add the egg yolk, vanilla, and salt and stir well to combine. Sprinkle the flour and baking powder over the brown sugar mixture and stir just until combined. Fold in chocolate chips.

Pour batter into the loaf pan and spread until batter is about 3/4 of an inch thick. My batter did NOT cover the entire base of the pan which is fine because this doesn’t spread. Bake for around 20 – 25 minutes or until a toothpick in the center comes out with moist crumbs stuck to it.

Remove parchment paper and bars from pan and let bars cool on a wire rack for at least ten minutes before cutting into 6 evenly sized bars.

*Note: If you don’t have a loaf pan you can still make these. You can spread the batter out evenly on a cookie sheet since the batter doesn’t spread. And let’s face it… you aren’t making these to look pretty for company. You’re making them to stuff your face before bed.

1 Comment

Filed under Cooking, Recipes