Monthly Archives: April 2012

ROCH! And things that I will eat when I’m there.

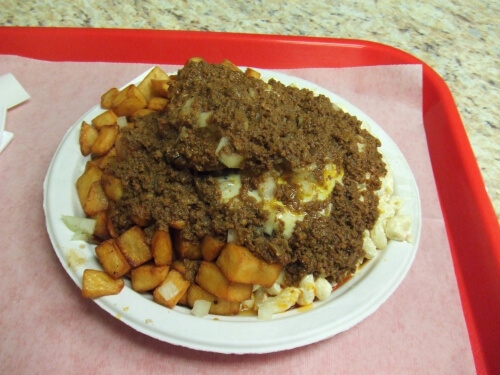
Rarely do I find myself this excited to go to a location in April that is currently experiencing snow… but Rochester is my home. I get to see my weirdo-but-awesome family, meet the newest dance girl baby, and indulge in some of this… Okay… LOTS of this.

It’s a garbage plate. And I can’t wait to bury my face in it. Have a happy weekend, kids!

Leave a comment

Filed under Travel

Blueberry Lemon Ricotta Muffins: A Love Story


If I could, I would make everything into a pancake. The lemon/blueberry combo idea has been on my mind for weeks and weeks, so naturally I decided I would make them into pancakes along with the tub of ricotta I had in the fridge. But The BF not-so-subtly reminded me that I had made pancakes every weekend for 2 weeks and maybe not everyone is cool with a steady diet of pancakes… I don’t claim to understand those types of people, and maybe I never will.

In any case, I gave in and made the next best thing: muffins. And let me tell you kiddies… these are good. Really, really good. If you’ve never baked with ricotta before, or have been skeptical, these will have you singin’ a different tune.

On the menu:
Blueberry lemon ricotta muffins
Makes 12 muffins

2 cups flour
1/2 cup sugar
2 1/2 tsp baking powder
1/2 tsp salt
1 cup part-skim ricotta cheese
1/2 cup milk
4 Tbsp unsalted butter, room temperature
2 large eggs
Zest of 2 lemons
1 cup blueberries (I used frozen but if you have sweet, fresh blueberries, use ’em!)

Preheat oven to 400 degrees.

In a medium sized bowl, whisk together flour, sugar, baking powder, and salt. In a large bowl, use an electric mixer to blend together the ricotta, milk, and butter until completely blended. Beat in eggs one at a time. Add the lemon zest and mix well.

Slowly add the dry ingredients into the wet ingredients and mix together just until incorporated. Add the blueberries and stir together with a rubber spatula*. Your batter should be relatively firm, but if it’s on the dry side you can add just a splash of milk.

Divide batter evenly into 12 pre-greased or lined baking cups. Bake for 26 – 30 minutes, or until the tops are a light golden brown color. Remove from the oven and let cool on a wire rack for around 15 minutes. Remove from the pan and let cool completely.

*Note: fresh blueberries are very delicate and you’ll want to be careful mixing them into the batter so they don’t get squashed. And yes… squashed is a technical term.

1 Comment

Filed under Cooking, Recipes

Carrot Pineapple Cake with Whipped Cream Cheese Frosting

When trying to come up with a dessert for last weekend’s dinner, I kept thinking that by the time the meat was gone I hoped everyone would be full. But I also wanted to cap off the evening with something really special… and frankly, kids, I don’t know how to not do comfort food. So while my guests may or may not have dozed off in their chairs after the meal was over (is there a greater compliment?) and their pants may have been a little tight, I think this cake was the right decision.

On the menu:
Pineapple carrot cake with whipped cream cheese frosting

Cake:
2 cups sugar
3/4 cup vegetable oil
3 large eggs. room temperature
1 tsp vanilla extract
2 1/2 cups flour
2 tsp ground cinnamon
2 tsp baking soda
1 1/2 salt
1 pound carrots, grated
3/4 cup fresh pineapple, diced

Preheat oven to 350 degrees. Grease 2 8-inch round cake pans.

Beat together sugar, oil, and eggs until the mixture is a light yellow color. Beat in the vanilla. In another bowl, sift together flour, cinnamon, baking soda, and salt.

Add the dry ingredients to the wet ingredients and mix until incorporated. Fold in the carrots and the pineapple and mix well. Divide the batter up equally into the 2 pans. Bake for 55 – 60 minutes or until a toothpick comes out clean. Let cakes cool in the pans on a wire rack.

Frosting:
1 8-oz. package of cream cheese, room temperature
1 cup powdered sugar
1/4 tsp corn starch
1/8 tsp salt
1 tsp vanilla extract
1 cup heavy whipping cream

Place a metal bowl and beaters from an electric mixer into the freezer for 30 minutes. In the pre-frozen bowl with pre-frozen beaters, beat the whipping cream until soft peaks form.

In a separate bowl, beat together cream cheese, sugar, corn starch, salt, and vanilla extract. Fold in the whipped cream.

Leave a comment

Filed under Cooking, Recipes

Avocado Shrimp Salad

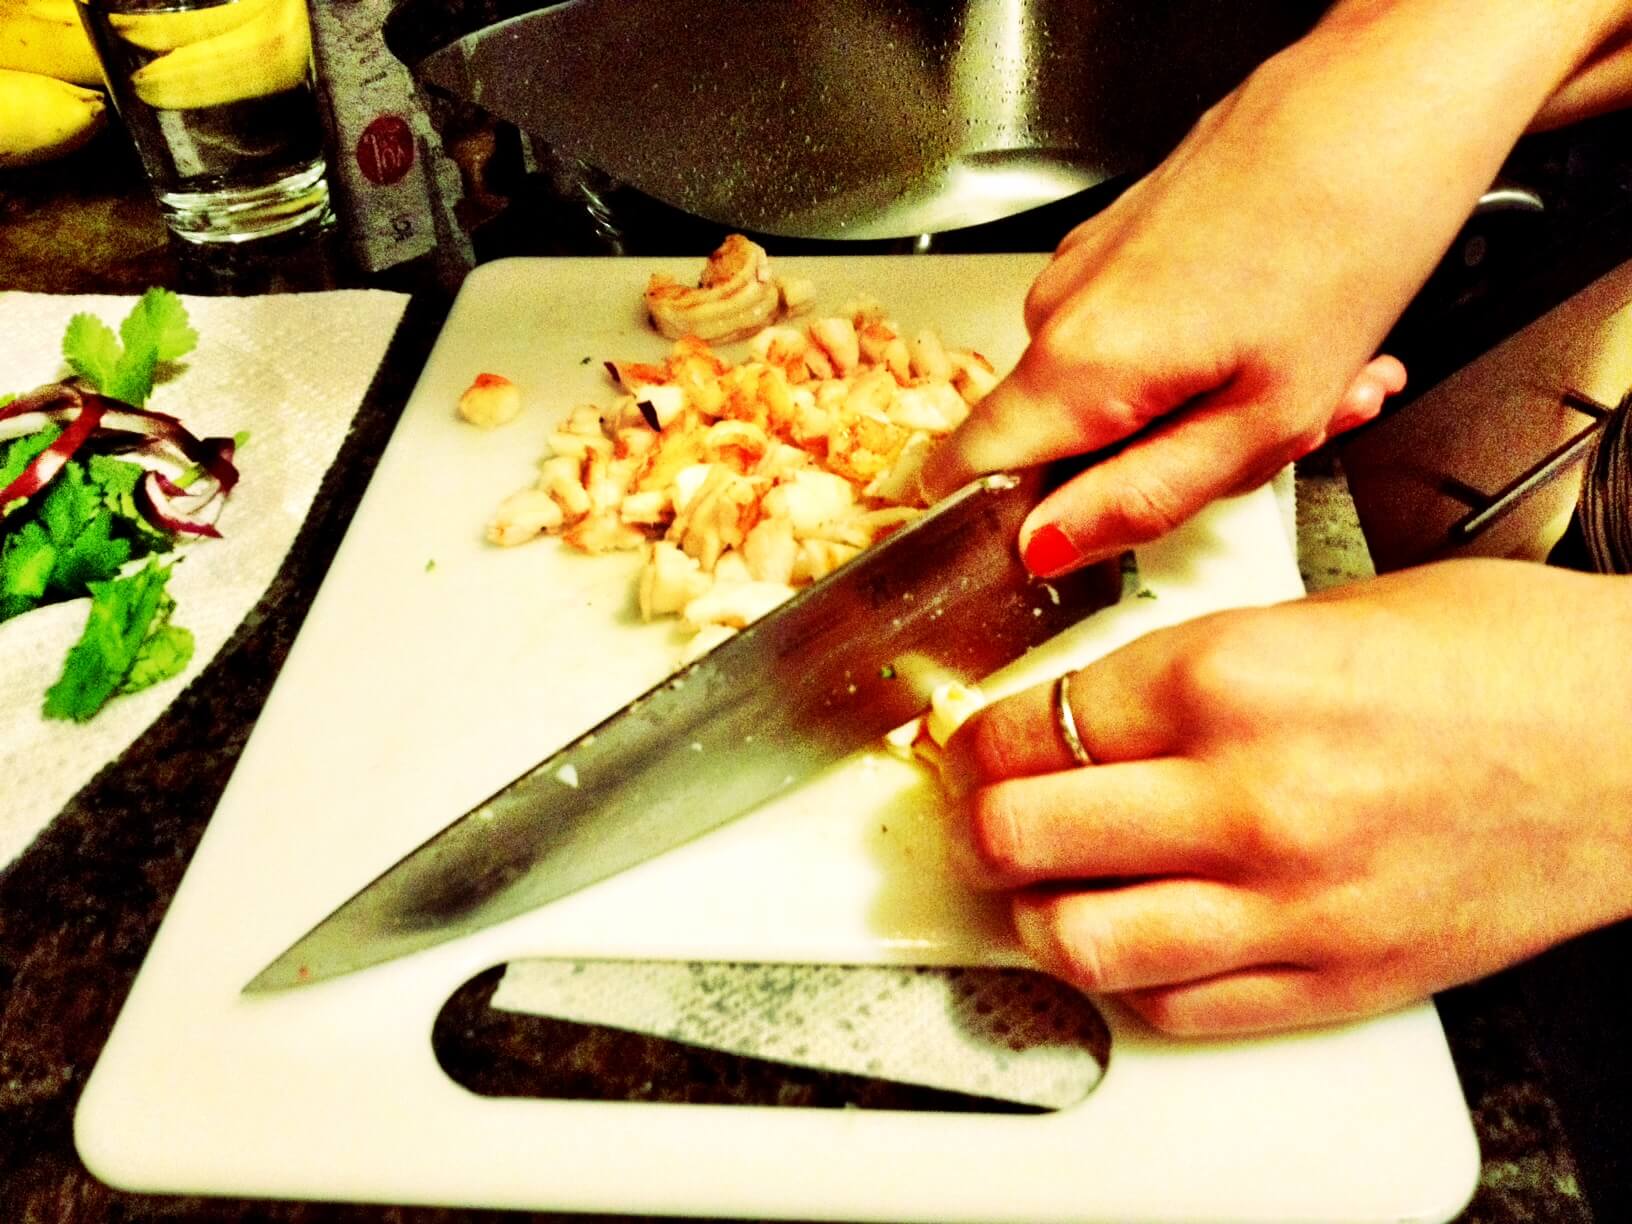
Did you ever have one of those days where you’re a food blogger and you make something really delicious and then you and your dinner guests devour it and you realize you forgot to take a picture of it? Don’t you just hate when that happens? I made this dish, and was so super proud of it, and as I was cleaning the plates off The BF said, “You forgot to take a picture… huh?” Rest assured, friends, this dish is beautiful and tastes just as good. You won’t regret making it. Pinky promise.

On the menu:
Avocado shrimp salad
Serves 4

3 Tbsp red onion, diced
1/4 cup cilantro, finely chopped
1/2 pound shrimp, cleaned and tails removed, cooked and diced
2 avocados, ripened
1 lime, juiced
1 tsp kosher salt
1/2 cup alfalfa sprouts

Combine red onion, cilantro, shrimp, lime juice, and salt in a plastic bowl.

Cut avocados in half, careful to keep the skin intact. Remove pit. Scrape out the flesh, leaving a thin layer of flesh on the skin. Mix the avocado insides with the rest of the fillings, careful not to mash it too much [the salad is better if you leave the avocado a little chunky].

Divide the sprouts up between the 4 avocado shells and then fill each shell with 1/4 of the salad. Chill for at least an hour before serving.

Leave a comment

Filed under Cooking, Recipes

Bourbon and Brown Sugar Pork Shoulder

This past weekend I went all out and made a super special dinner as a thank you to two friends. I wanted the dinner to be out-of-this-world memorable, and with dishes we don’t eat everyday. I remembered that I had a recipe for pork shoulder tucked away in my inbox and this seemed like the perfect opportunity to try it out. I called my local pork store, Sorriso’s, ordered a four pound pork shoulder, and annoyed everyone in my presence for two solid days talking about how great this dinner was going to be.

The dinner was comprised of four main dishes, and I’ll be sharing them over the course of the week. Just so y’all know, none of this was very complicated but it came together to be a pretty epic dinner. Four bottles of wine didn’t hurt anybody, either.

On the menu:
Bourbon and brown sugar glazed pork shoulder
Serves 4 – 5

1 Tbsp paprika
1 1/2 tsp red pepper flakes
1 1/2 tsp cayenne pepper
1 Tbsp salt
1 Tbsp ground black pepper
4 1/2 pound bone-in pork shoulder*

Glaze:
2 1/2 cups light brown sugar, loosely packed
1/2 cup bourbon

Preheat oven to 275 degrees.

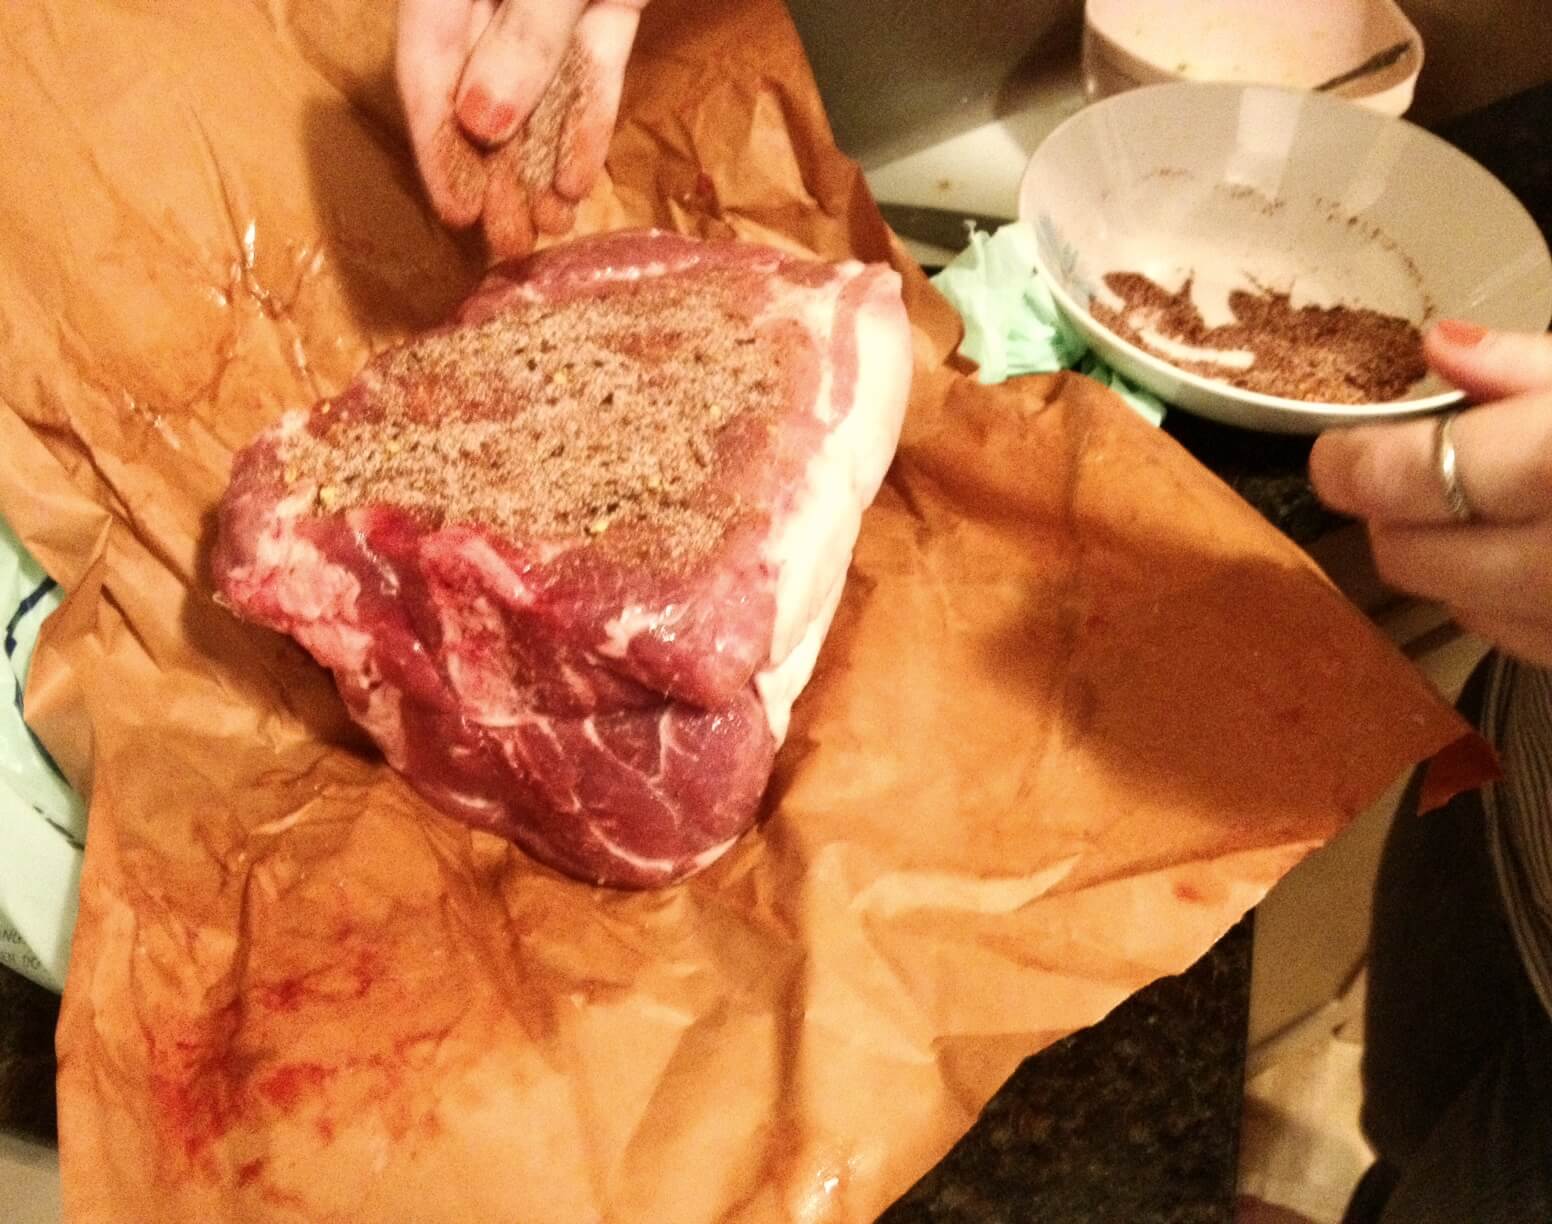
Mix together paprika, red pepper flakes, cayenne pepper, salt, and pepper in a small bowl. Rub the pork shoulder all over with the spices and let sit 30 minutes.

Set pork in a roasting pan and put in oven for around 5 hours, or until the bone moves around easily with little to no resistance.

When the pork has been in the oven for 4 hours and 45 minutes, start making the glaze. Mix together the brown sugar and bourbon in a small saucepan and turn heat to medium/low. Simmer the sugar and bourbon for around 8 to 10 minutes or until reduced by 1/4.

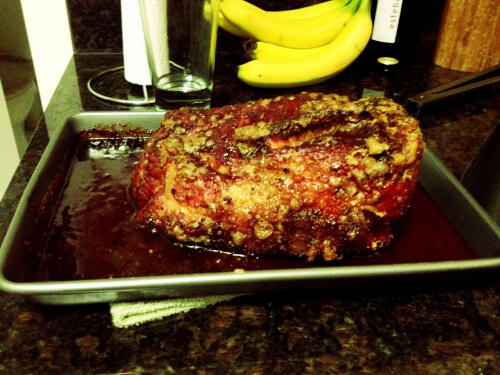
Brush 1/3 of the glaze over the pork shoulder and return to oven. Glaze twice more, every 10 minutes. After 30 more minutes of roasting, remove the pork from the oven. Let sit for 15 minutes before pulling meat off the bones and serving. Serve over basic polenta or mashed potatoes.

*It’s worth mentioning that pork shoulder is kinda pricey, but well worth the money. A cheap pork shoulder will yield tough meat, and you definitely want this to be as moist and juicy as possible.

Leave a comment

Filed under Cooking, Recipes

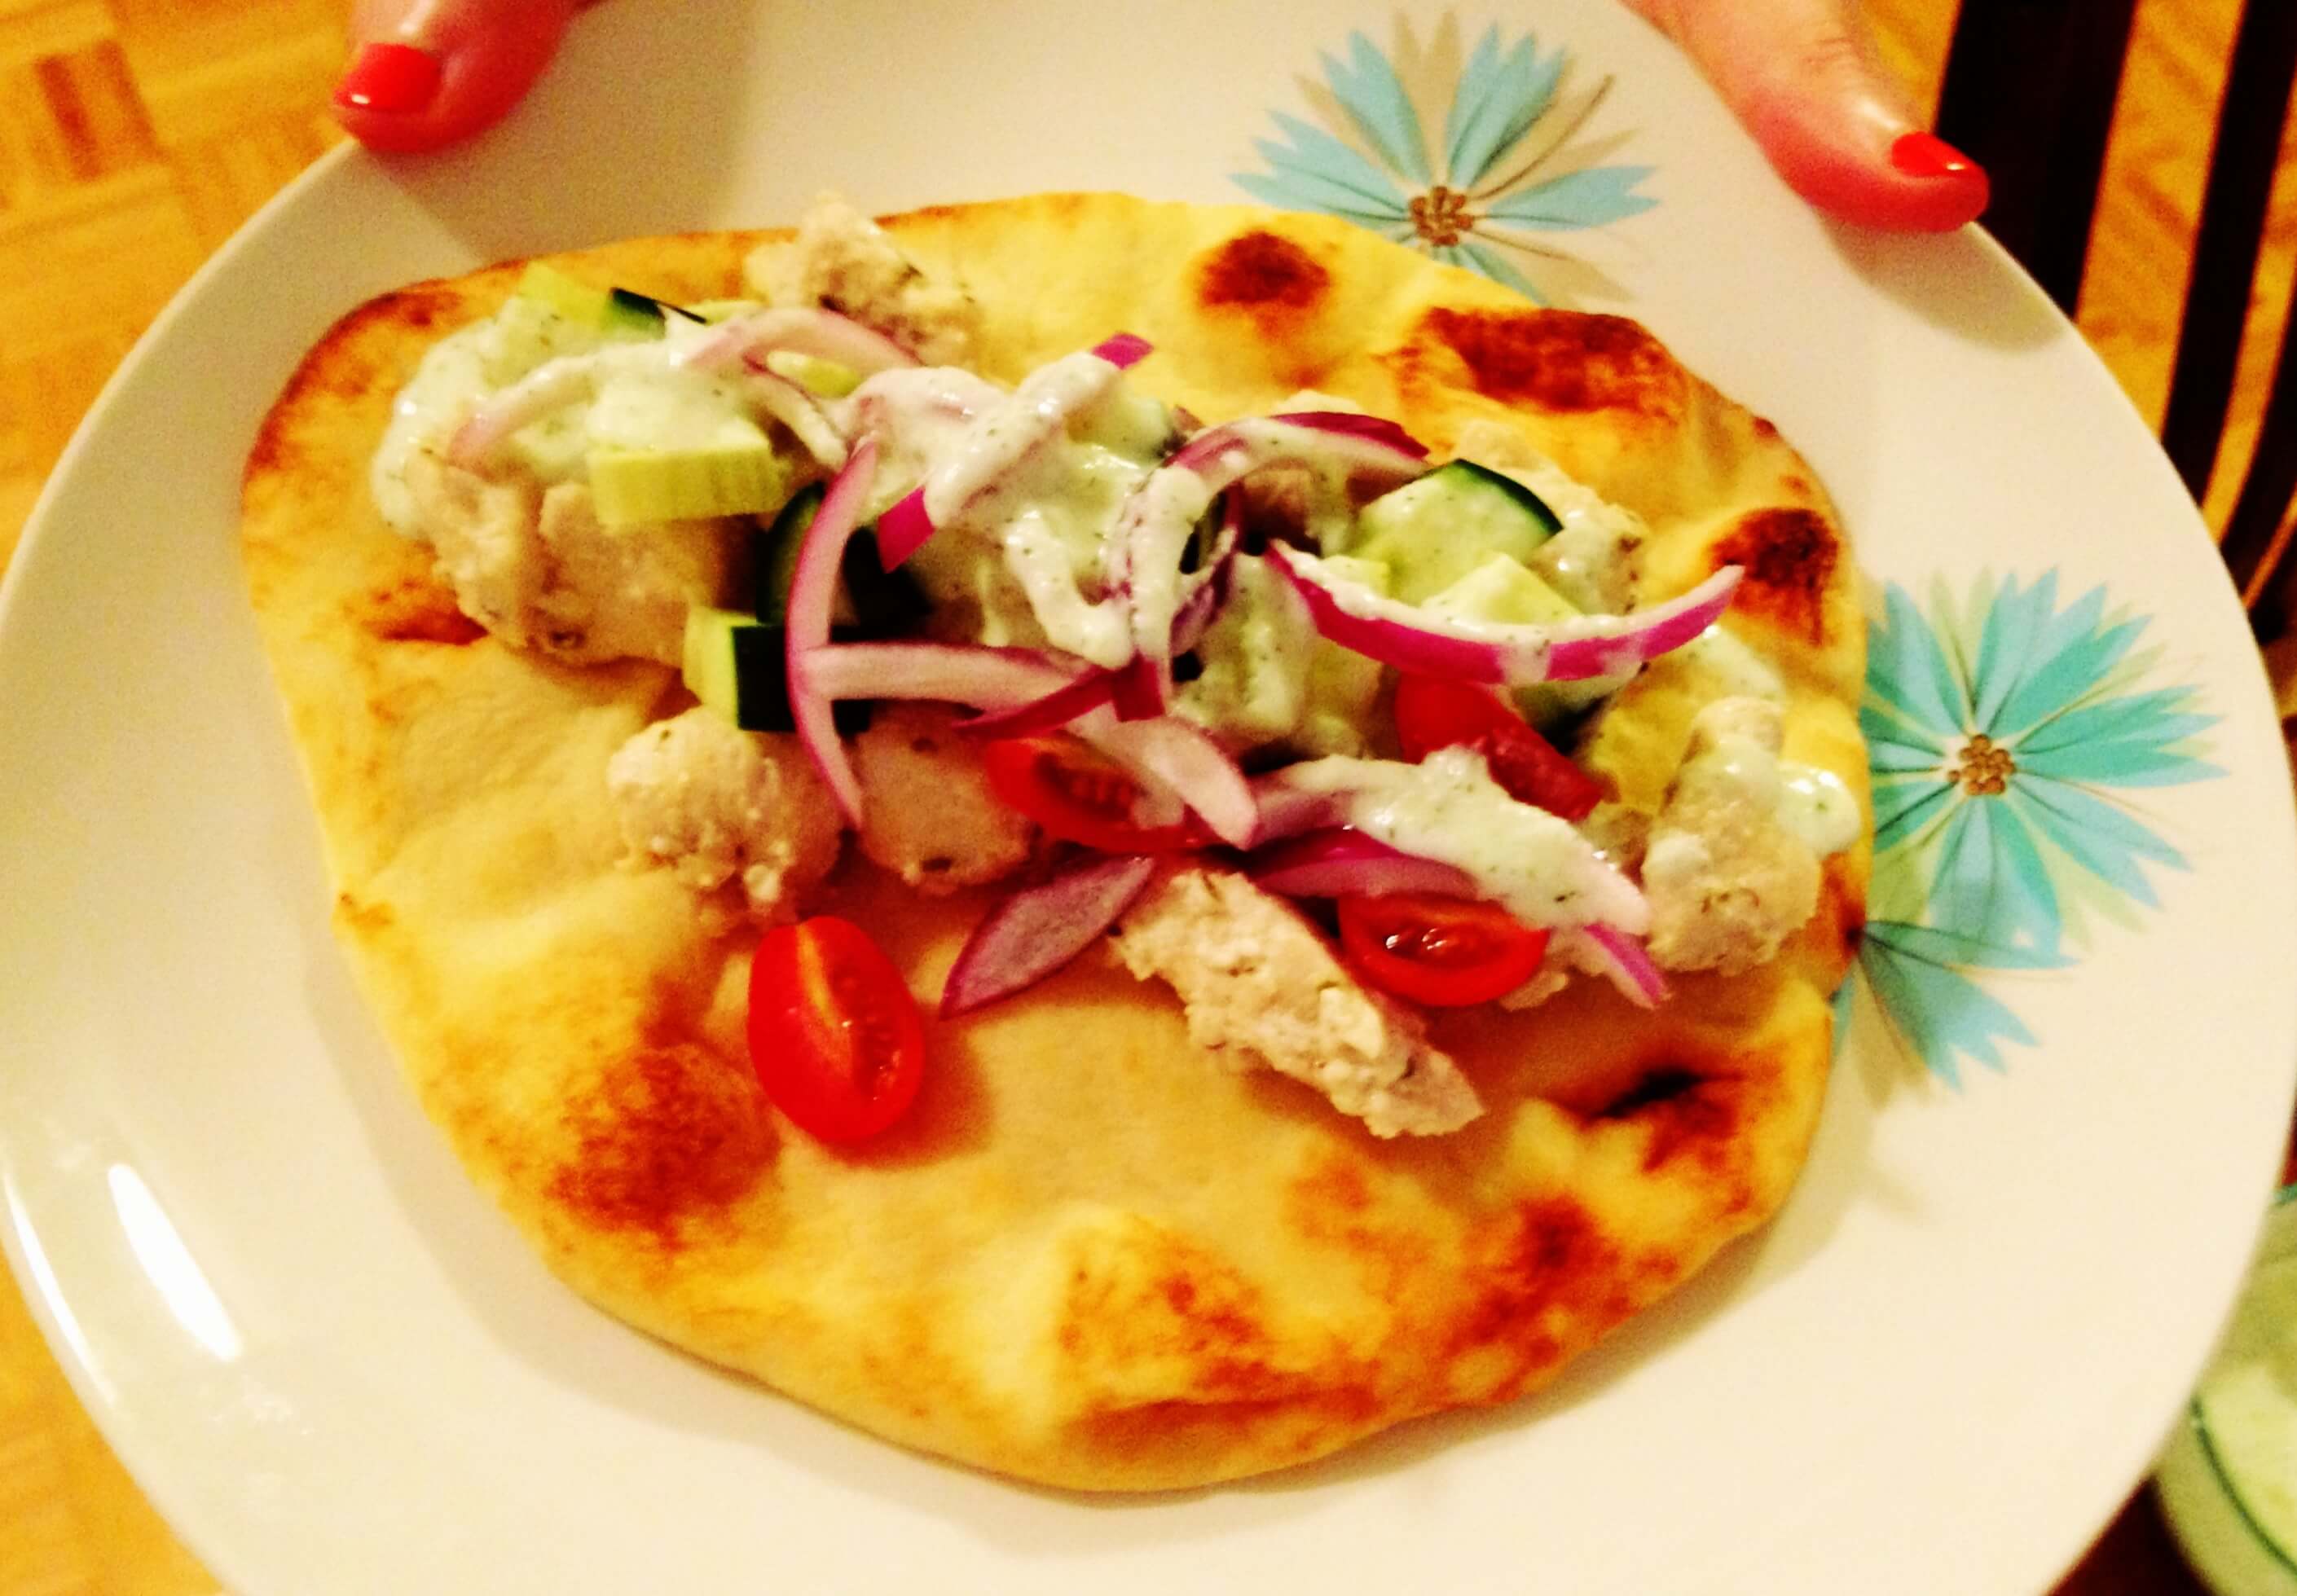
Make Ahead Greek Pita

I don’t claim to be any type of gym rat. Running on a treadmill just doesn’t turn me on the way eating chips in front of the TV with a beer after work does, you get me? But in the interest of keeping my heart healthy and my saddle bags under control and yada yada yada, I bit the bullet and joined the gym. The problem? Going to the gym after work leaves little to no time for cooking delicious dinners, unless I want to eat at 9pm. And I don’t.

This recipe is perfect if you’re like me, and want to take a maximum of 20 minutes to prepare dinner on a week night. It’s even MORE perfect for a Monday night when you have oodles of time on Sunday to get everything prepared. You can make the sauce ahead of time, cut up and marinade the chicken ahead of time, even chop the vegetables ahead of time. Then when it comes time to assemble dinner, you only have to toss the chicken in a skillet, cook it, and serve. Gym-sweaty to dinner-ready in no time at all.

On the menu:
Greek chicken pita
Serves 2 – 3

Tzatziki:
NOTE: this is WAY more tzatziki than you’ll need for this particular dish, so if you want to halve it, you totally can.
8 oz. plain yogurt
1 cucumber, peeled, seeded and diced
1 1/2 Tbsp olive oil
1/2 lemon, juiced
1/2 Tbsp chopped dill
2 cloves garlic, peeled

Add all ingredients to a food processor. Pulse until blended. Refrigerate for at least an hour before serving, or for best results, overnight.

Marinade for chicken:
6 oz. plain yogurt
2 Tbsp olive oil
1 tsp dried oregano
1/2 tsp salt
1/2 tsp fresh ground pepper
2 medium sized chicken breasts, cubed

Add yogurt, olive oil, oregano, salt, and pepper in a bowl and mix well. Add cubed chicken and stir until chicken is coated. Let sit at least 2 hours, or for best results, overnight.

Preparation and assembly:
2 Tbsp olive oil
Marinated chicken (see above)
2 garlic cloves, peeled and smashed

Heat olive oil and garlic cloves over medium heat in a non-stick skillet. Wipe excess marinade from chicken, and add chicken to pan. Cook until chicken cubes are cooked through, around 10 minutes.

Add to a warm pita with freshly chopped tomatoes, cucumbers, and thinly sliced red onions. Top with tzatziki. You can also throw all of this in a bowl without the pita, top with tzatziki and eat it as a salad over lettuce.

Disclaimer: the pita in the picture is actually Indian naan… still freaking delicious.

Leave a comment

Filed under Cooking, Recipes