Tag Archives: Dessert

Cake Decorating 101


This past weekend was my oldest and dearest friend’s bachelorette party and I wanted to make a special cake in honor of her last single girl hurrah. You can imagine what I found when I Google’d “bachelorette cakes.” Let’s just say unless you have Google Safe Search on, don’t check it at work.

I opted to go for simple and classy using one of the bride’s wedding colors, purple. Below is a step-by-step process for writing on a cake without it looking like you let your three year old child do it. Not that I’m speaking from experience just… well, just in case YOU have that problem. For all interested parties: the cake is chocolate with vanilla frosting.

Step 1: Get the right tools
I bought a $5 cake decorating kit from Bed, Bath and Beyond that includes a bunch of disposable pastry bags and 3 different tips. If I was making cakes for a living then I’d invest in something more serious but so far, this has done the job for me. I use the smallest, round holed tip for text.

Step 2: Prepare your text
I used the empty cake pan to trace a correctly-sized circle on notebook paper, typed out my message in bold text in Word on my computer, then traced those letters on my cake-pan-sized outlined notebook paper. Next, I used cuticle scissors (properly cleaned beforehand, of course) to cut out the letters, leaving me with a stencil of my message that I already know will fit on my cake (which is half the battle if you’ve ever tried to do this freehand).

Step 3: Creating the message on the cake
Once your cake is frosted and chilled (so that the frosting is firm), lay your stencil over the top of the cake and using the end of a chopstick, poke light impressions where all the letters should be. When you lift your stencil, you should be able to see the light impression of your text.

Step 4: Writing out the message on the cake
Fill your pastry bag with frosting (Tip: fold the top of the pastry bag over your hand for a more firm grip). Follow the impression you made on the top of the cake, making sure to apply enough pressure so that your frosting sticks. End each letter with a firm press, like a period at the end of each letter, so that each letter has a clean end and doesn’t trail off like it would if you dragged your pastry tip away.

The result is a message that looks almost professional (if you mess up, don’t worry, you can always either scrape it off or fix the letters with a toothpick) and way better than your typical childish chicken scratch.

Is this something you’d like to see in a video? Let me know! If I get a response, I’ll spend some time this week creating a step-by-step instruction on cake decorating.

Leave a comment

Filed under Tips

A Friday Worth Celebrating

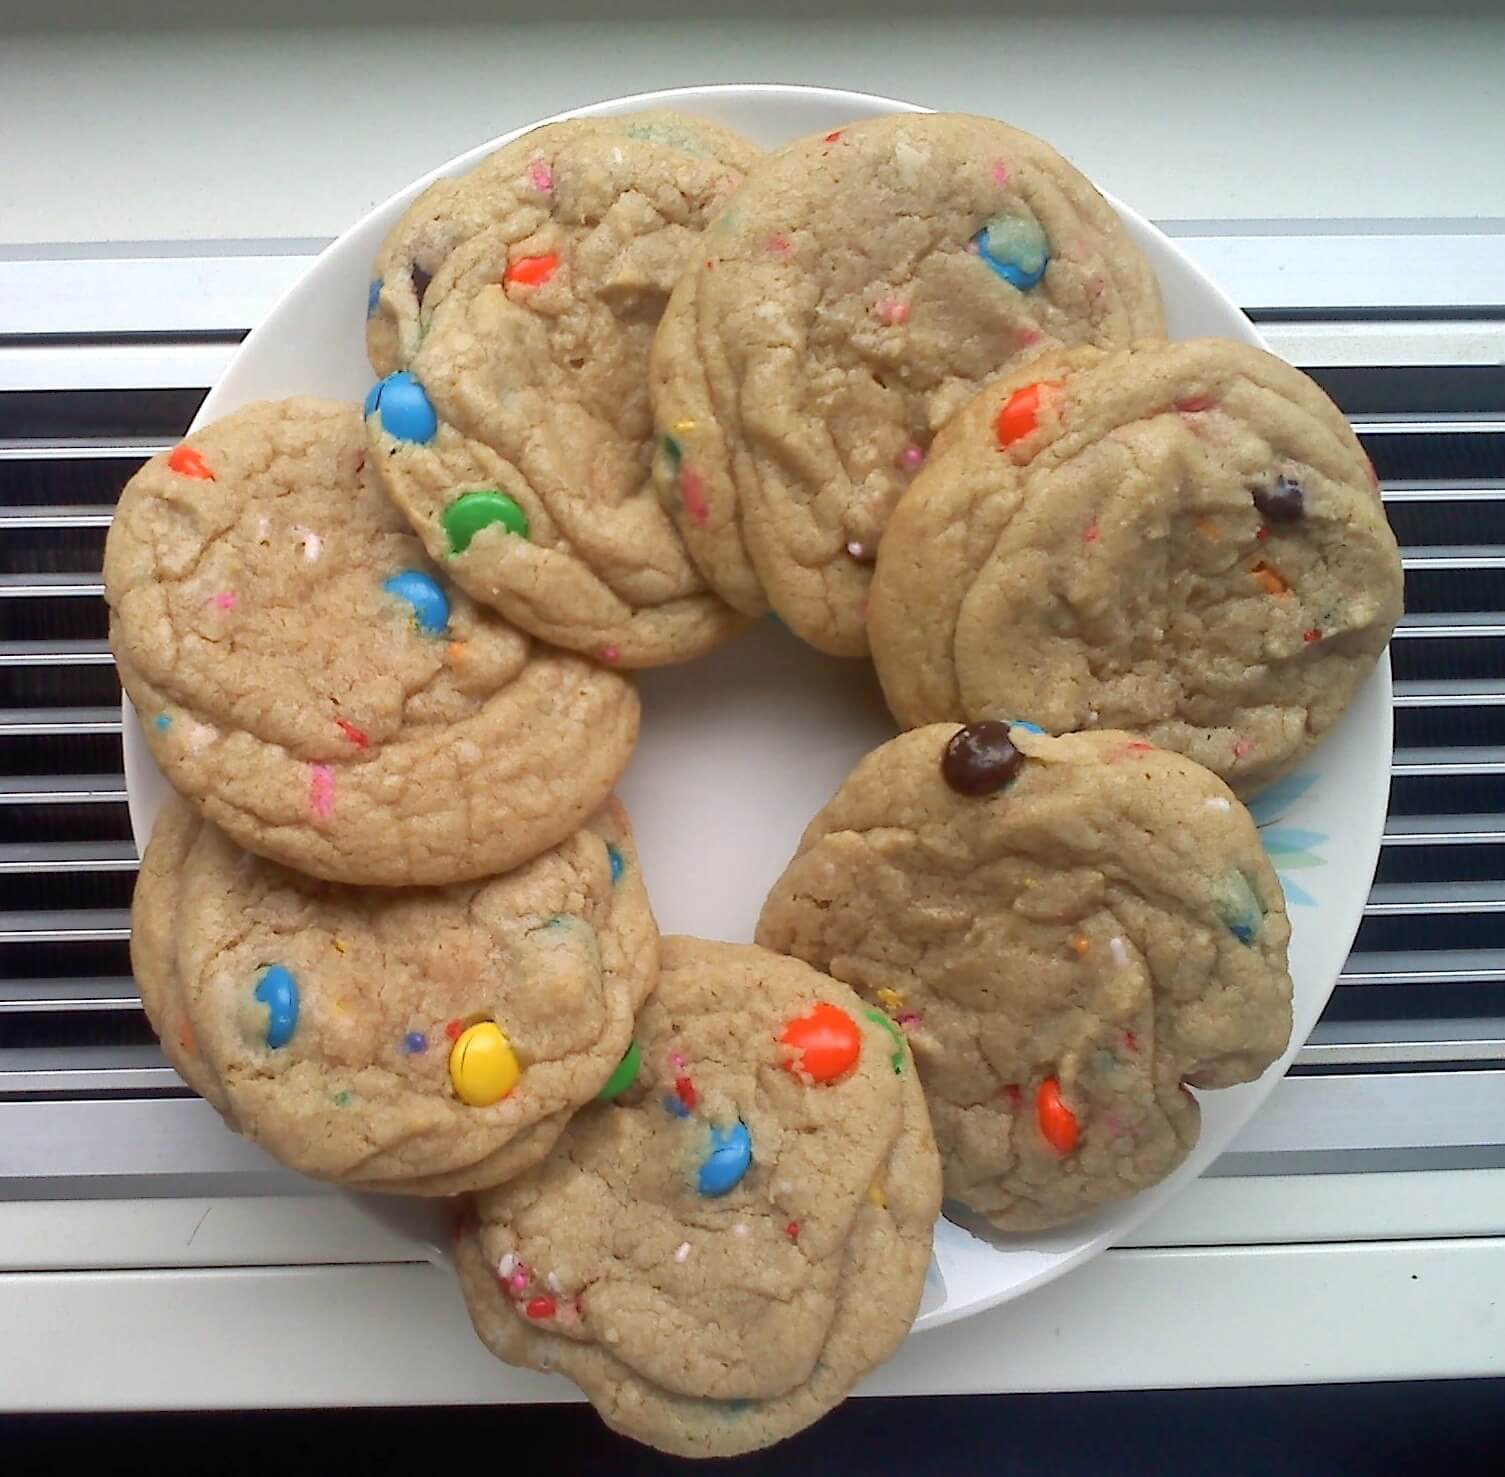
Happy Friday, friends! This week brought an end to the online charity bake sale that I was a part of and I want to give a big shout out to my brother and to Nicole for donating to the cause and snagging themselves some delicious giant rainbow cookies. If you did not place the winning bid but would still like to donate to the charity, click here.

I wanted to share the recipe with you now that the auction is over so that you can make these beauties at home. You can make these in 2 sizes: GIANT (which is what I made for the bake sale) that are like, 4 pounds a piece, or mini which are a more “manageable” size, if you like that kind of thing. Personally I like the giant sized but if you’re making a batch for more than 12 people, I suggest the smaller size.


On the menu:

Giant rainbow cookies
Makes 12 or 36 (see above note)

2 cups plus 2 Tbsp flour
1/2 tsp baking soda
1 1/2 sticks butter, melted and cooled for 10 minutes
1 cup brown sugar
1/2 cup sugar
1 egg plus 1 egg yolk, at room temperature
2 tsp vanilla
1 cup M&Ms (or mini M&Ms, or chocolate chips, or some other delicious small chocolate candy)
2 Tbsp rainbow sprinkles

Preheat oven to 325 degrees.

In a small bowl, whisk together flour and baking soda. Set aside.

In a large bowl, mix together butter and sugars until combined and still liquid*. Stir in the eggs and vanilla. Bit by bit add the dry ingredients to the wet ingredients and stir until combined. Fold in M&Ms and sprinkles.

This step is a TINY bit tricky but don’t let it throw you:

To form the cookies: make a dough ball with your hands (1/4 cup of dough for giant cookies, 2 Tbsp for mini). Break the dough ball into 2 halves. Place one half, broken side down, on the cookie sheet and place the other half, round side down, on top. For a more detailed image see here from How Sweet It Is (also where I got this recipe). It should look like little hour glasses on your cookie sheet.

Bake giant cookies for 16 – 18 minutes, mini cookies for 11 – 13 minutes (careful not to over-bake, these are deeeelicious when they’re a little undercooked). Let cool on a cooling rack completely before eating.

*Note: if you let the butter cool TOO much, you’ll get a weird solid dough after you mix the butter with the sugars and it’ll be impossible to mix. You don’t want the butter so hot that it’ll cook the eggs, but you don’t want it chilly, either.

1 Comment

Filed under Cooking, Recipes

Molasses Crinkle Cookies


Well, it finally happened. I didn’t see it coming, but I can’t say I’m surprised. The BF told me he’s tired of chocolate chip cookies. While some women might be offended, I was relieved. We were contemplating buying stock in butter, I was making so many chocolate chip cookies. But just because we put a moratorium on America’s Favorite doesn’t mean we’re done with sweets all together. Oh no, friends. There must be sweets at all times in the Miller/Accardo household.

So this week I bring you something new and different! Something from the Applehood and Motherpie Cookbook, a staple in my home growing up. These cookies are my favorite type: soft and chewy. Amen.

On the menu:
Molasses crinkle cookies
Makes 5 dozen cookies

3/4 cup butter, softened to room temperature
1 cup brown sugar
1 egg
1/2 cup molasses
2 1/4 cups flour
2 tsp baking soda
1/2 tsp salt
1/2 tsp ground cloves
1 tsp cinnamon
1 tsp ginger
1/2 cup granulated sugar

Preheat oven to 375 degrees.

Cream together butter and brown sugar with an electric mixer. Add egg and molasses* and beat well. Add flour, baking soda, salt, cloves, cinnamon, and ginger and stir together with a big spoon. Shape dough into 1-inch balls with your hands. Put granulated sugar in a shallow dish and roll dough balls until coated in sugar.

Place dough balls 2 inches apart on a baking sheet. Bake for 10 – 11 minutes or until the edges are slightly darker brown. Let cool on the baking sheet for at least 10 minutes before removing and cooling on a cooling rack.

*A neat tip on measuring molasses is to spray cooking spray in the measuring cup before you pour the molasses in to measure. When you pour it in the bowl, it’ll slide right out of the cup.

2 Comments

Filed under Cooking, Recipes

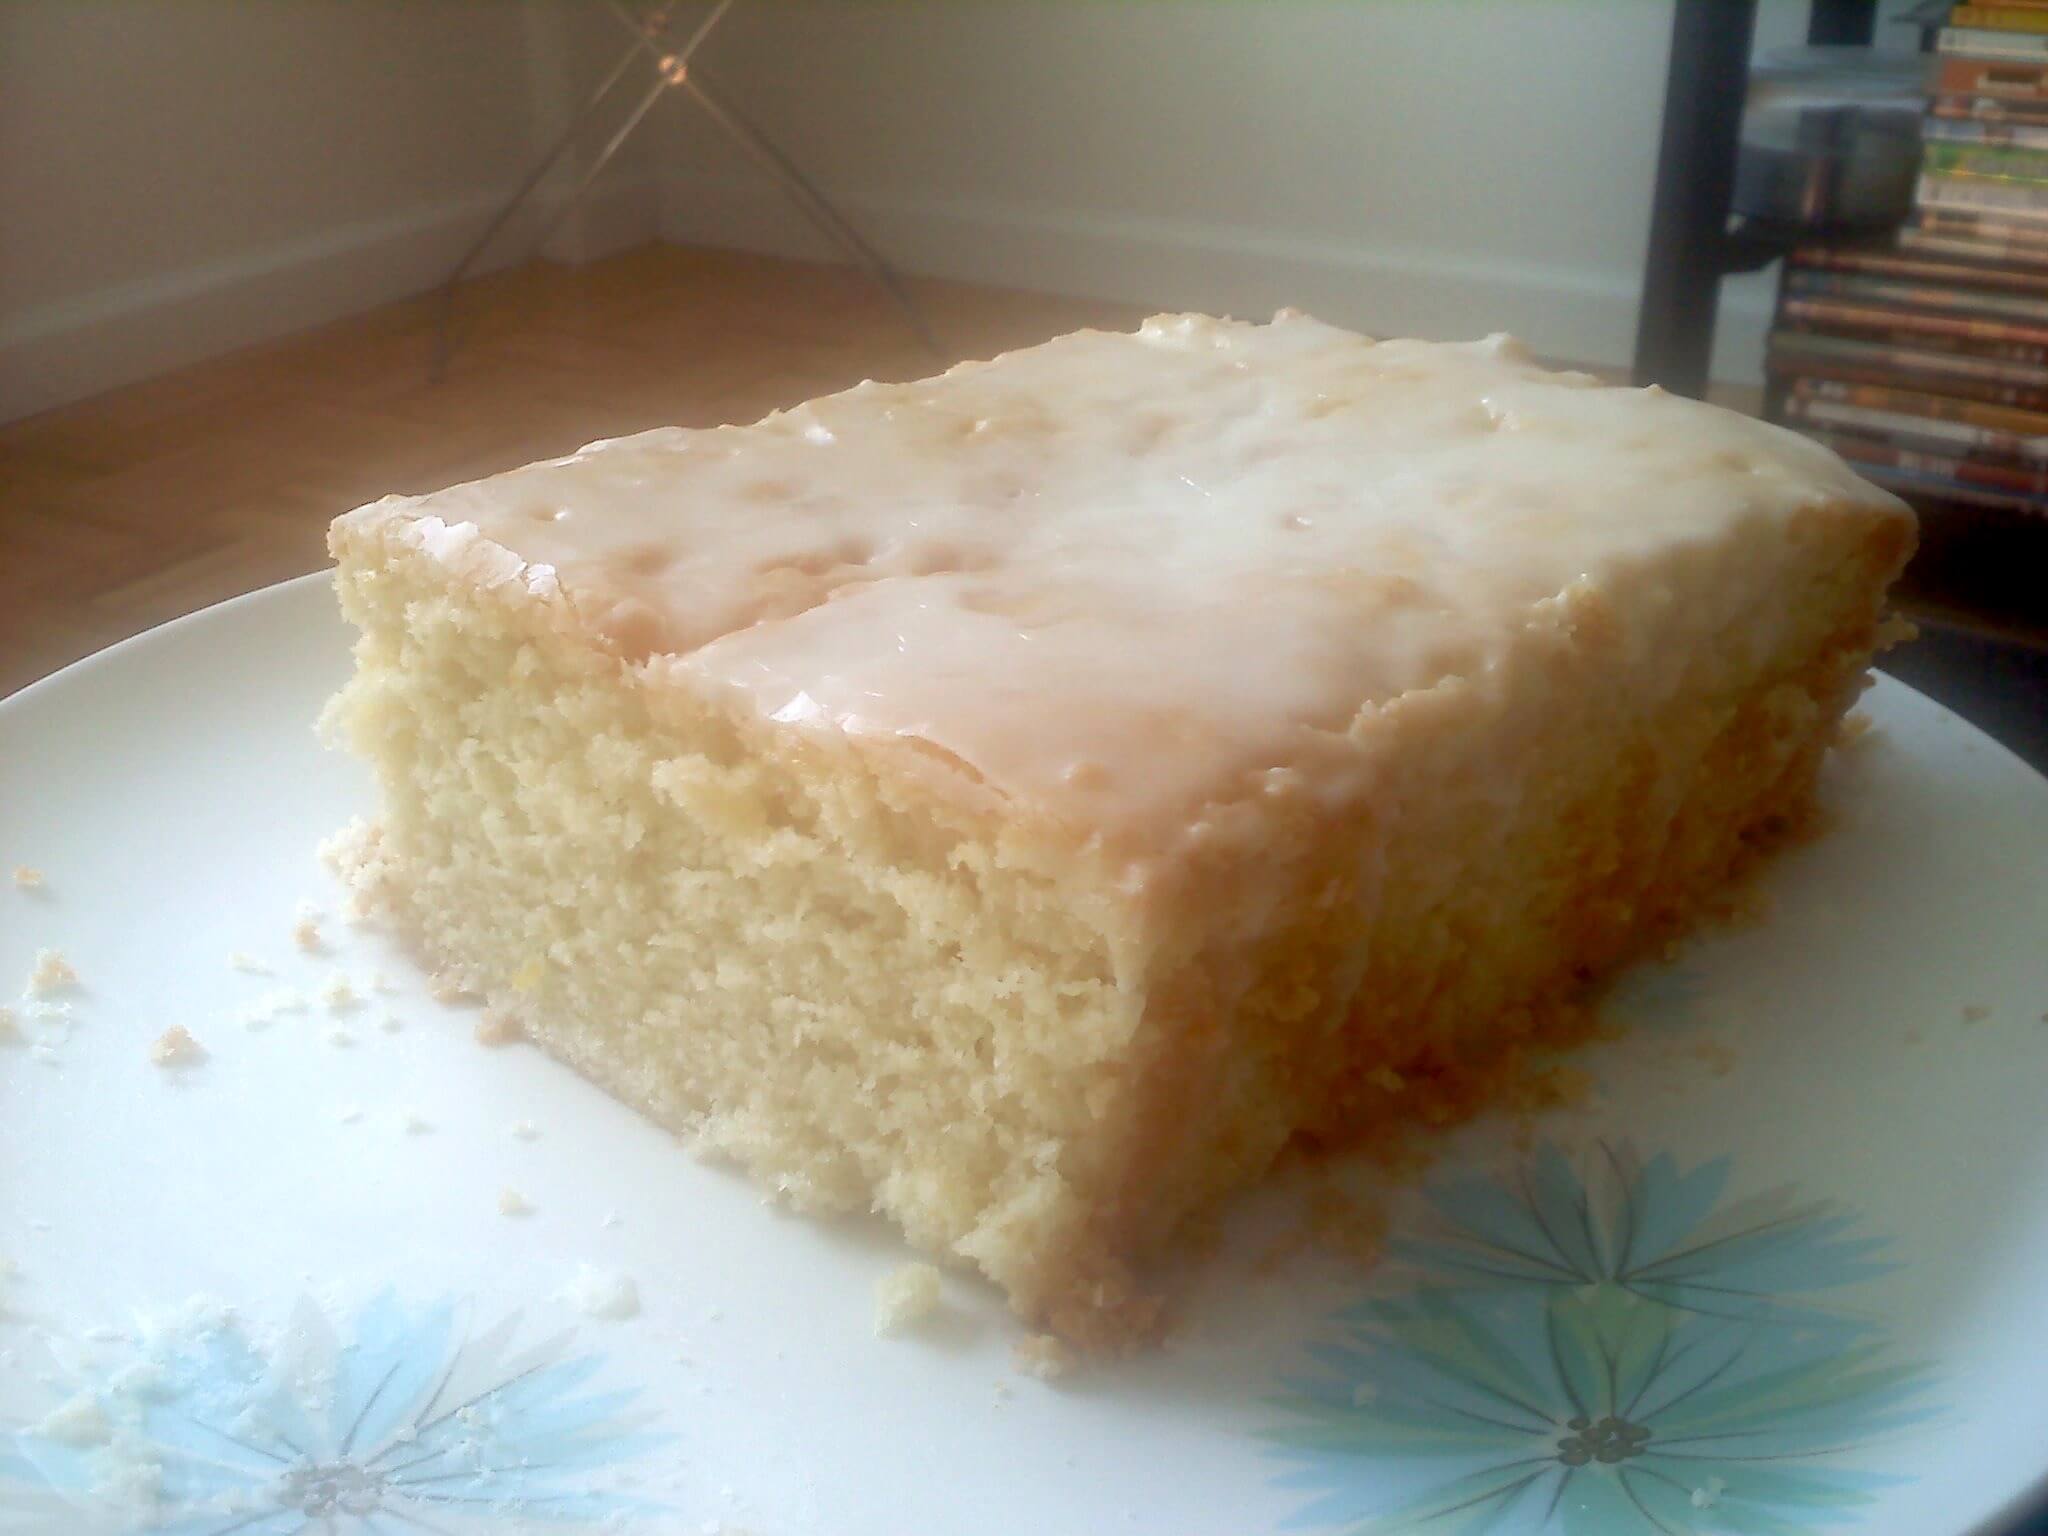
Citrus Cream Cheese Pound Cake

One problem with being home all the time now is that I want to bake all. the. time. On my kitchen counter right now I have M&M cookies, unfrosted cupcakes in anticipation of a ladies’ lunch tomorrow, and a citrus cream cheese loaf that The BF asked me to make last week. I should invest in some sort of healthy eating cookbook or something.

In any case, this cake is not healthy by any means but for some reason it screams “brunch!” to me. How much less healthy could it be than cinnamon French toast or something? That’s my rationale and I’m sticking to it.

Note: this makes an awkward amount of batter, and you’ll have enough batter for one loaf cake and 8 cupcakes. Just go with it.

On the menu:
Citrus Cream Cheese Pound Cake
Makes 1 9x3x4 sized loaf

8 oz. cream cheese, room temperature
1 cup butter, room temperature
1 3/4 sugar
5 eggs
2 tsp vanilla
2 cups flour
1 1/2 tsp baking powder
1/2 tsp salt
1 Tbsp lemon zest
1 Tbsp lime zest

Glaze
1 cup powdered sugar
1/2 lime, juiced
1/2 lemon juiced
2 Tbsp orange juice

Preheat oven to 325 degrees. Grease and flour a 9 x 3 x 4 pan. Put 8 cupcake liners in a cupcake tin.

Cream together cream cheese and butter with an electric mixer. Add sugar and blend to combine. Add eggs one at a time, blending after each egg is added. Blend in vanilla until combined.

In a separate bowl, whisk together the flour and baking powder and salt. Add zest and whisk in. Slowly add dry mixture to wet mixture and stir by hand just until combined. Do NOT overmix.

Pour 2/3 of the batter into the loaf pan. Divide rest among the cupcake cups. Bake cupcakes for 25 minutes; bake loaf cake for 60 minutes. Tip: set the timer for 25 minutes and put cupcakes and loaf in together. Once the timer goes off, take out the cupcakes and set the timer for 35 minutes to finish off the loaf.

Let the cakes cool and then make the glaze. Stir together the powdered sugar and the citrus juices. Remove the cakes from their respective pans and put the loaf on a plate, the cupcakes on parchment paper to catch the drips. Pour 3/4 over the cake and dip the cupcakes in the remaining glaze. Let the glaze harden and enjoy.

NOTE: This recipe originated here and here and the first one calls it a Philly Fluff. Does that name tug at your heart strings? Tell me why! I’m from upstate New York and have no idea.

Leave a comment

Filed under Cooking, Recipes

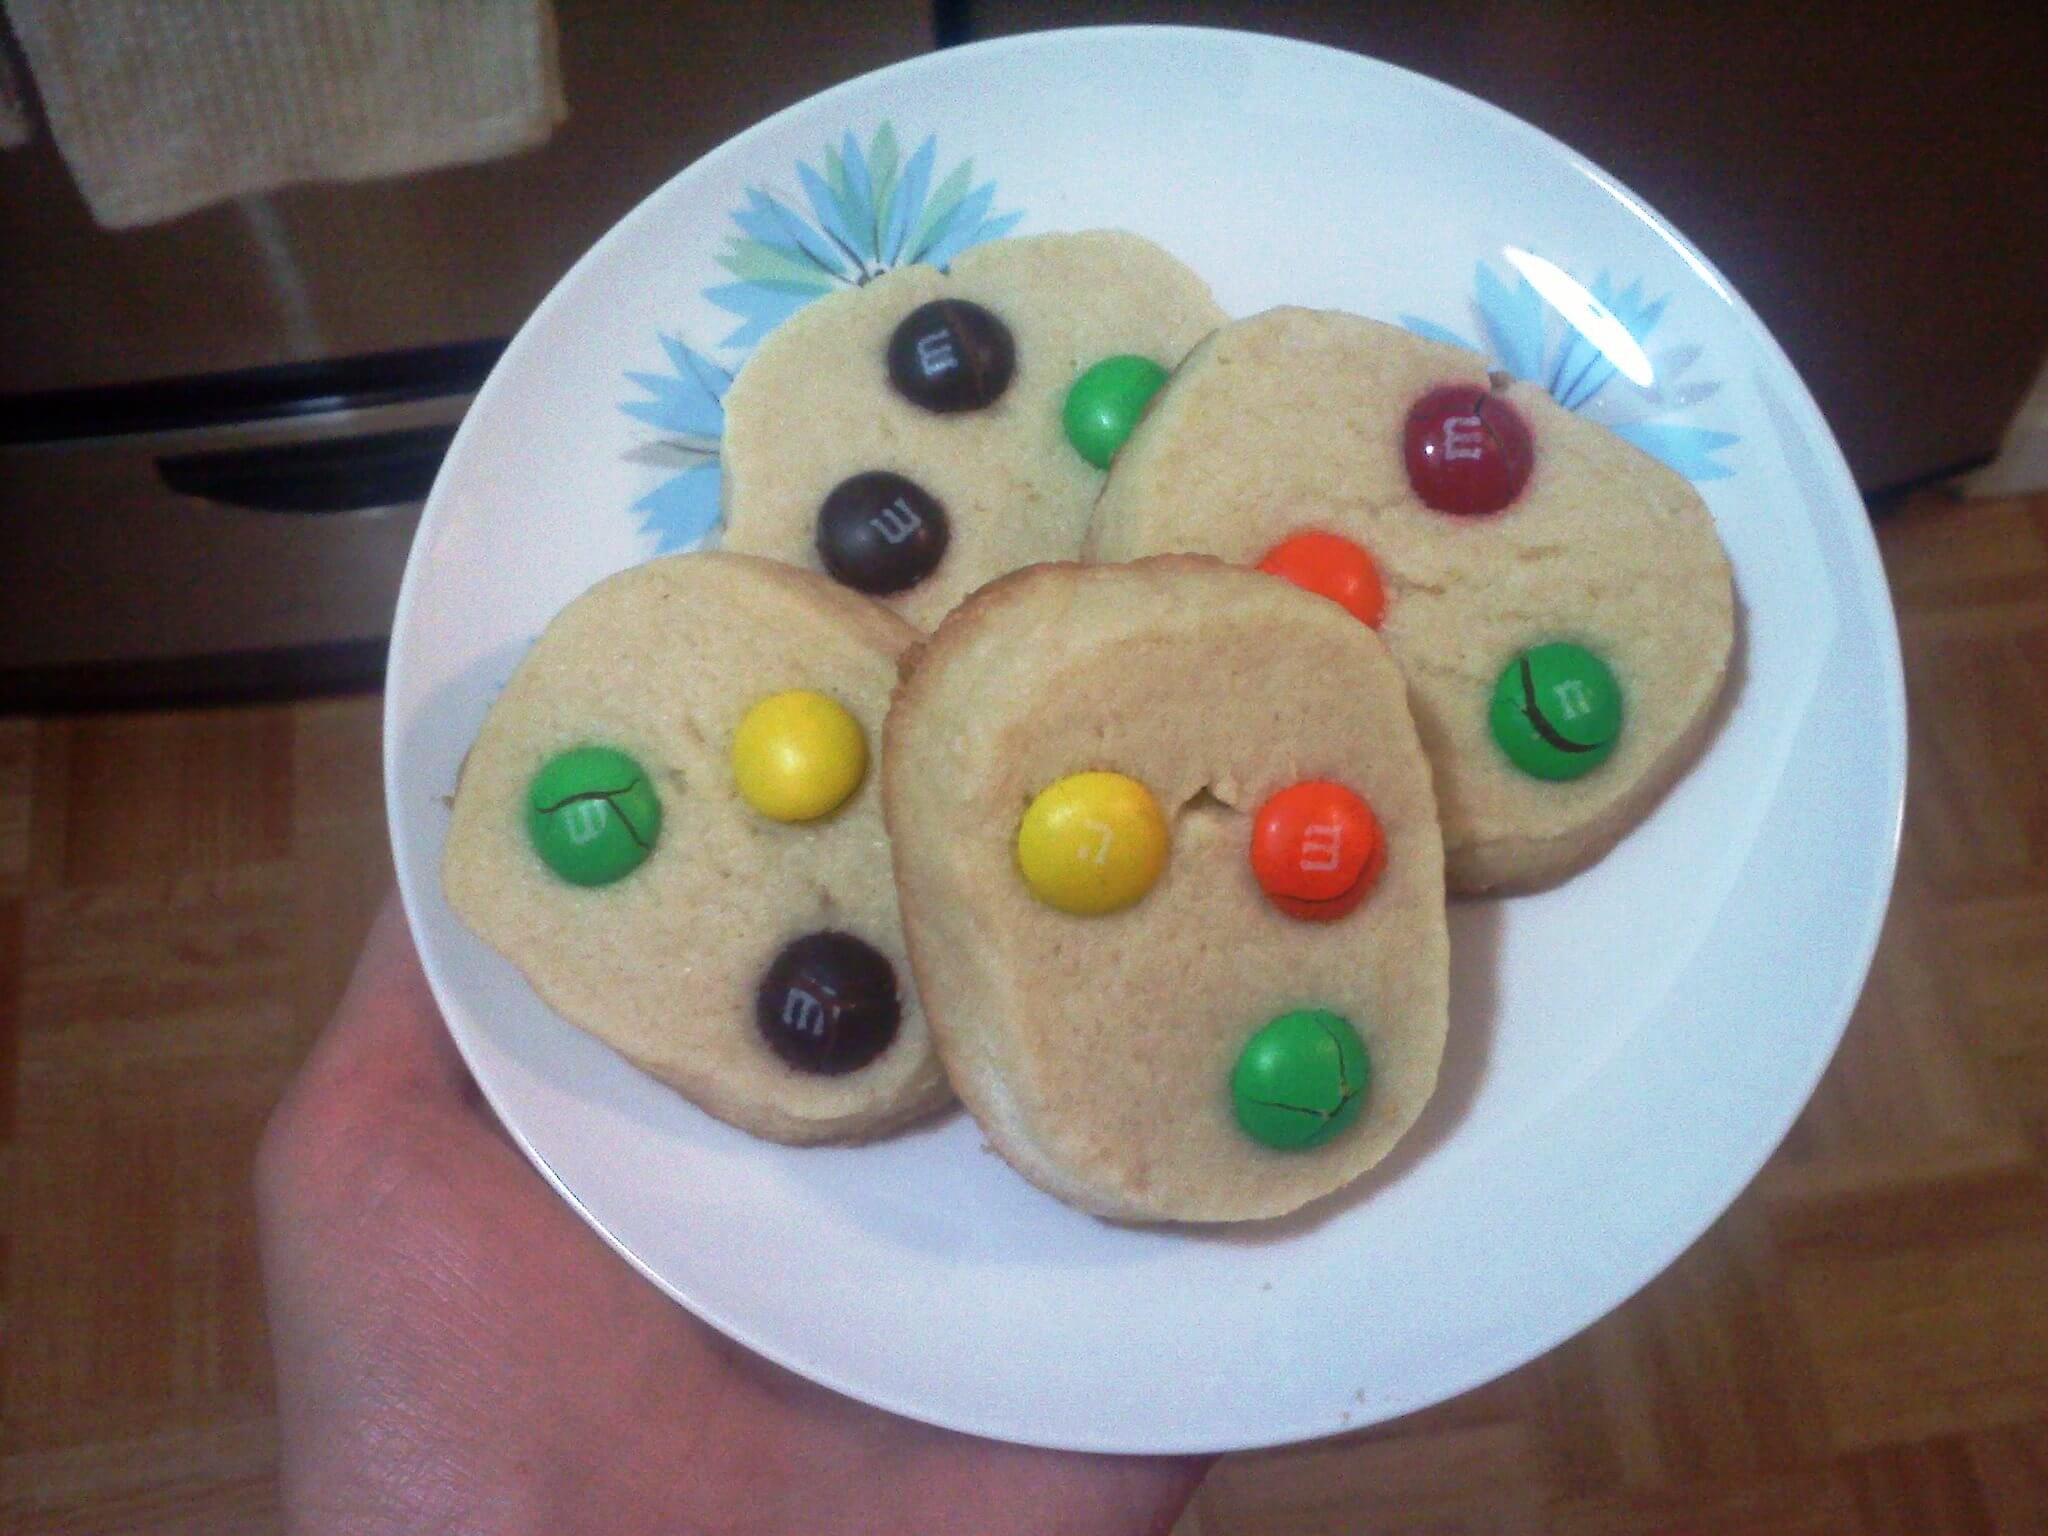
Butter Cookies


If you know me at all, you know I hate crispy cookies. Sure, they have their place and time (a thin wafer tucked in a scoop of ice cream or a biscotti alongside a cup of coffee on a Sunday, for example) but in general I love me a giant, soft, chewy cookie. It’s a running source of debate in my family whether the chocolate chip cookies should be baked soft or crispy – dad likes them crispy, I like them soft. We’re like the Hatfields and the McCoys over here.

So needless to say when The BF requested cookies that resembled “the cookies that come in the blue tin!” I rolled my eyes. CRISPY COOKIES?! IN MY HOUSE?! But I kinda like him so I caved. Here’s my secret: I under-baked them so they’re still a TINY bit soft on the inside. He still loves them because they taste kinda like Danish butter cookies, and I love them because they’re still the tiniest bit soft. Win win.

On the menu:
Butter cookies
Makes 24 cookies

1 cup butter, softened to room temperature
1 cup white sugar
1 egg
2 2/3 cups flour
1/4 tsp salt
2 tsp vanilla

Preheat oven to 400 degrees.

In a large bowl, beat together the butter and sugar with an electric mixer until combined. Add the egg and blend for around 3 minutes until the mixture is lighter in color and texture. By hand, stir in the flour and salt, then the vanilla.

If you are going to use a cookie press: you can use the dough now and skip to the next step. If you’re going to cut these cookies into rounds like I did, you’ll need to form a log with the dough and chill it for about an hour in the refrigerator. After the dough is chilled, cut 1/4 inch thick slices* with a sharp knife. Place on cookie sheet. Press M&Ms into the dough if desired.

Bake cookies for 8 – 10 minutes or until the edges are brown. Remove and let cool on wire racks.

*These cookies would be completely crispy if you sliced them just a bit thinner. Just adjust your bake time accordingly so they don’t burn.

1 Comment

Filed under Cooking, Recipes

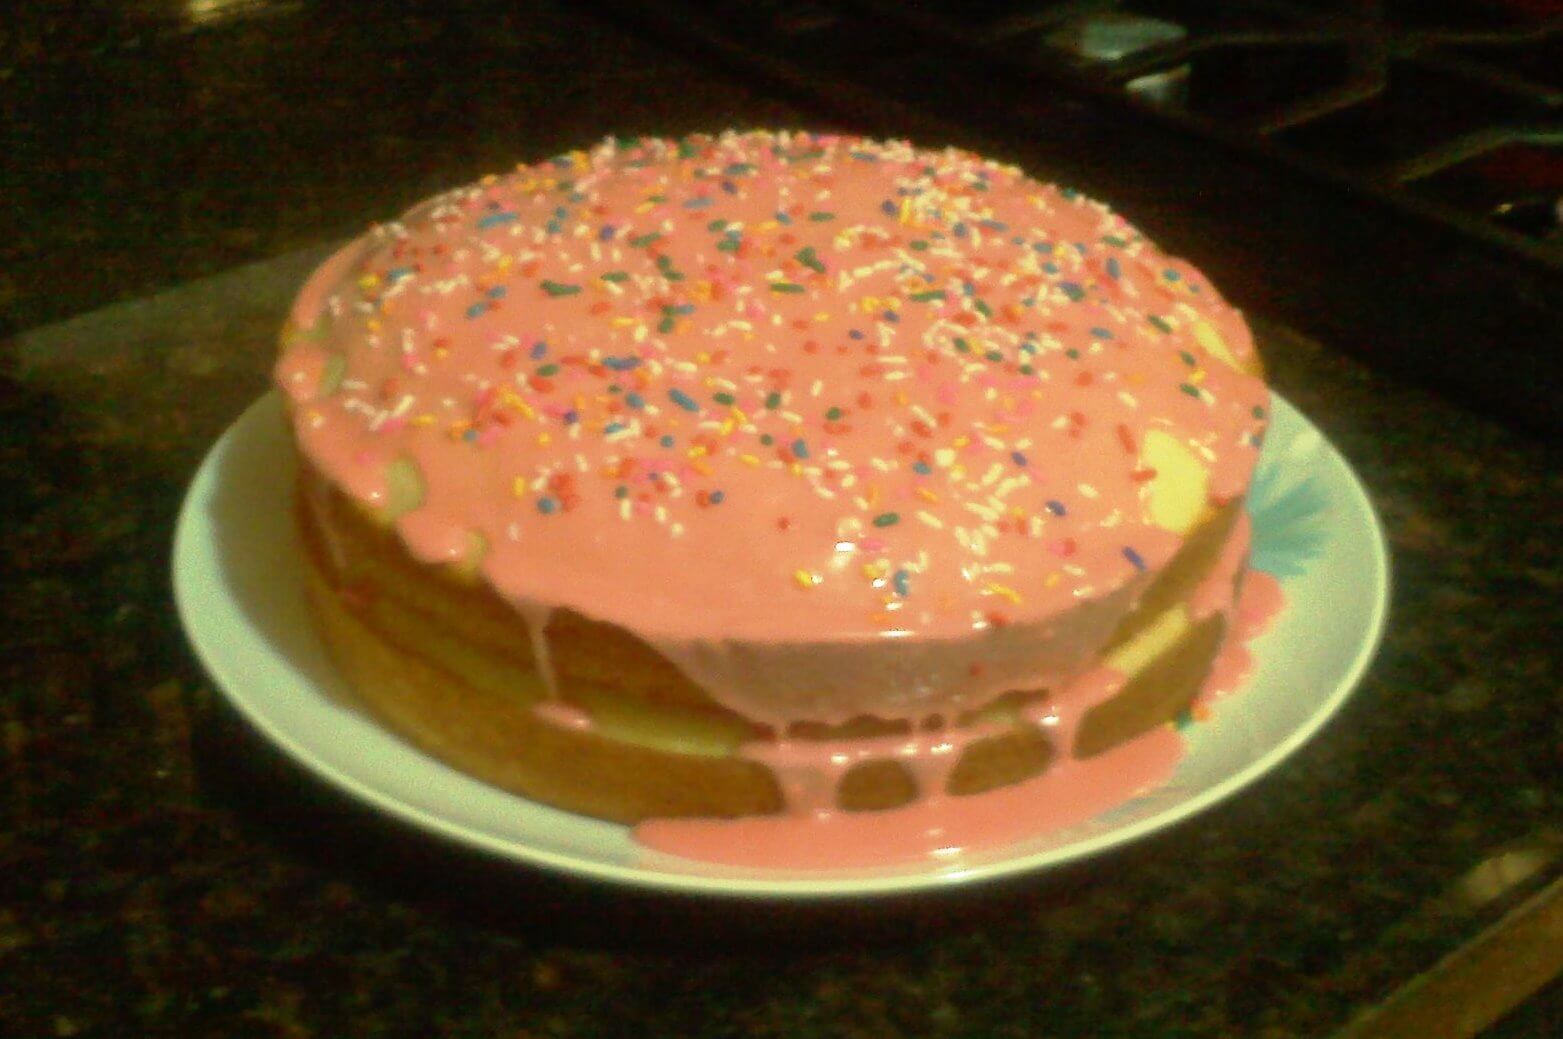
The Late Night Cake: Part Deux


I would tell you how many cakes I’ve baked in the past month or so, but frankly I’m embarrassed. My penchant for cake is second to none. I’m the only girl at the wedding who cannot WAIT for the cake to be served. I’m thinking there must be a 12 step program I can join, right?

I had my sights set on vanilla cake this time and I looked to The Joy of Cooking to satisfy that need. I posted a recipe for vanilla cake before, but this one is a little bit different and just a tad bit lighter.

On the menu:
Vanilla cake with vanilla glaze
Adapted from The Joy of Cooking
Serves 12

3 1/2 cups cake flour (or regular flour sifted)
3 tsp baking powder
1/2 tsp salt
2 cups sugar (divided into: 1 2/3 and 1/3)
1 cup unsalted butter (softened to room temperature)
1 tsp vanilla
1 cup milk (I used 2%)
8 egg whites
1/2 tsp cream of tartar

Grease and flour 2 9-inch round baking pans. Preheat oven to 375.

You’ll need 3 different sized bowls for this recipe. In the middle sized bowl: sift together the flour, baking powder, and salt. Set aside.

In the largest bowl: cream the butter with an electric mixer. Add 1 2/3 sugar and mix until combined.

In the smallest bowl: add milk and vanilla and whisk until combined.

In the largest bowl: while mixing, gradually add 1/3 of the flour mixture, then add 1/2 the milk mixture, then add 1/3 of the flour mixture, then add the remaining milk mixture, then add the remaining flour mixture until the batter is completely combined.

In the medium bowl: with CLEAN beaters, beat the egg whites and the cream of tartar until soft white peaks form. Add the remaining 1/3 cup of sugar and continue beating until the mixture is firm but not dry. Using a rubber spatula, fold the egg white mixture into the large bowl with the batter. Continue folding until the batter is uniform.

Pour half the batter in one pan and half the batter in the other pan. Bake for 25 minutes or until the cake springs back when gently pressed.

NOTE: this frosting should be called “Lauren’s Lazy Layer Cake Liquid” because it’s the same lame-o glaze I use for my chocolate cake, only I leave out the cocoa and add a tsp of vanilla and a few drops of red food coloring so it’s pink, not grayish brown from the vanilla. This is not, I repeat, this is not good frosting. It’s war time frosting. It’s what you use if you don’t want to wait the 7845023653478026523780 hours until your cake is cool and you just want to eat it right. now. Add some jimmies to spice it up.

Yes. Jimmies.

3 Comments

Filed under Recipes

Pepper Humor

Baaaaaaaaaaaaaaaaaaaaaaaaaaah get it?! Here is my recipe for jalapeno goat cheese corn bread. It is delish, despite the fact that when I make it I have to wear gloves and/or use a fork and knife to chop the pepper since I have such a serious allergy to raw jalapeno. It’s funny, but it’s also true.

On the menu:
Jalapeno goat cheese corn bread

1 cup flour
1 cup yellow cornmeal
2/3 cup white sugar
1 tsp salt
3 1/2 tsp baking powder
1 egg
1 cup milk
1/3 cup vegetable oil
1 jalapeno, seeds removed and finely diced (you can use more depending on how spicy you want this… I’m quite the pansy)
1/2 cup goat cheese, crumbled

Preheat the oven to 400 degrees. Grease a 9-in round cake pan.

In a large bowl, whisk together the flour, cornmeal, sugar, salt, and baking powder. Add egg, milk, and oil and combine well until completely blended. Add jalapeno and goat cheese and fold in just until incorporated. Pour into greased pan.

Bake for 20 – 25 minutes or until the cake springs back to form when you press it.

Note: I made this with chili in the winter , but this bread would be divine alongside some fish tacos or scallop ceviche in the summertime, too.

2 Comments

Filed under Cooking, Recipes