Tag Archives: Cake

Lemon Olive Oil Cake with Strawberries

image

There are few greater joys in a home cook’s life than when a first time recipe turns out really, really well. And this is a recipe that turned out really, really well. It’s a “pound cake” type of dessert, meaning it could be eaten by itself (tomorrow I’ll probably call it breakfast) or you could top it with 100 different things. For a pre-Father’s Day dinner with my dad last night I served this cake with fresh strawberries (tossed with a little white sugar for sweetness and to bring out the juice) and topped it with whipped cream. But you could do lots of different things: top with lemon curd, drizzle dark chocolate over each slice, or add any kind of seasonal fruit. The sky is the limit.

image-1


On the menu:

Lemon Olive Oil Cake
Adapted from Food + Wine
Makes 1 10″ round cake

7 Tbsp unsalted butter, melted and slightly cooled, plus more for greasing the pan
1 3/4 cup flour, plus 1 Tbsp more for flouring the pan
1 1/2 tsp baking powder
1/4 tsp salt
3/4 cup olive oil*
3 Tbsp milk, at room temperature
4 eggs, at room temperature
1 cup sugar
Zest of 2 lemons, approximately 2 Tbsp

Preheat oven to 350 degrees. Grease and flour a 10″ cake pan (I used a 10″ tart dish and it came out beautifully).

In a small bowl, whisk together the flour, baking powder, and salt.

In a medium bowl, whisk together the melted butter, olive oil, and milk.

In a large bowl, beat together the eggs, zest and sugar with an electric mixer until the mixture is light and frothy, around 3 minutes. While your mixer is still beating, alternately add the dry flour and wet butter mixtures, starting and ending with the dry ingredients. Mix until completely combined.

Pour into your prepared cake pan and tap against the counter top a few times to release bubbles. Bake for 30 – 40 minutes (see note below). Let cool on a cooling rack for at least 10 minutes before serving. This cake will also keep for around 3 days at room temperature.

Cut into wedges and eat alone or top with whatever topping your little heart desires.

*I used regular old olive oil but you could use virgin or extra virgin olive oil if you want to. Just know that the heavier the oil, the heavier your batter will be and a cake made with olive oil might have to cook just a bit longer. Test the doneness of your cake by pressing down on the cooked cake gently with your finger – it should spring back when it’s fully cooked.

2 Comments

Filed under Cooking, Recipes

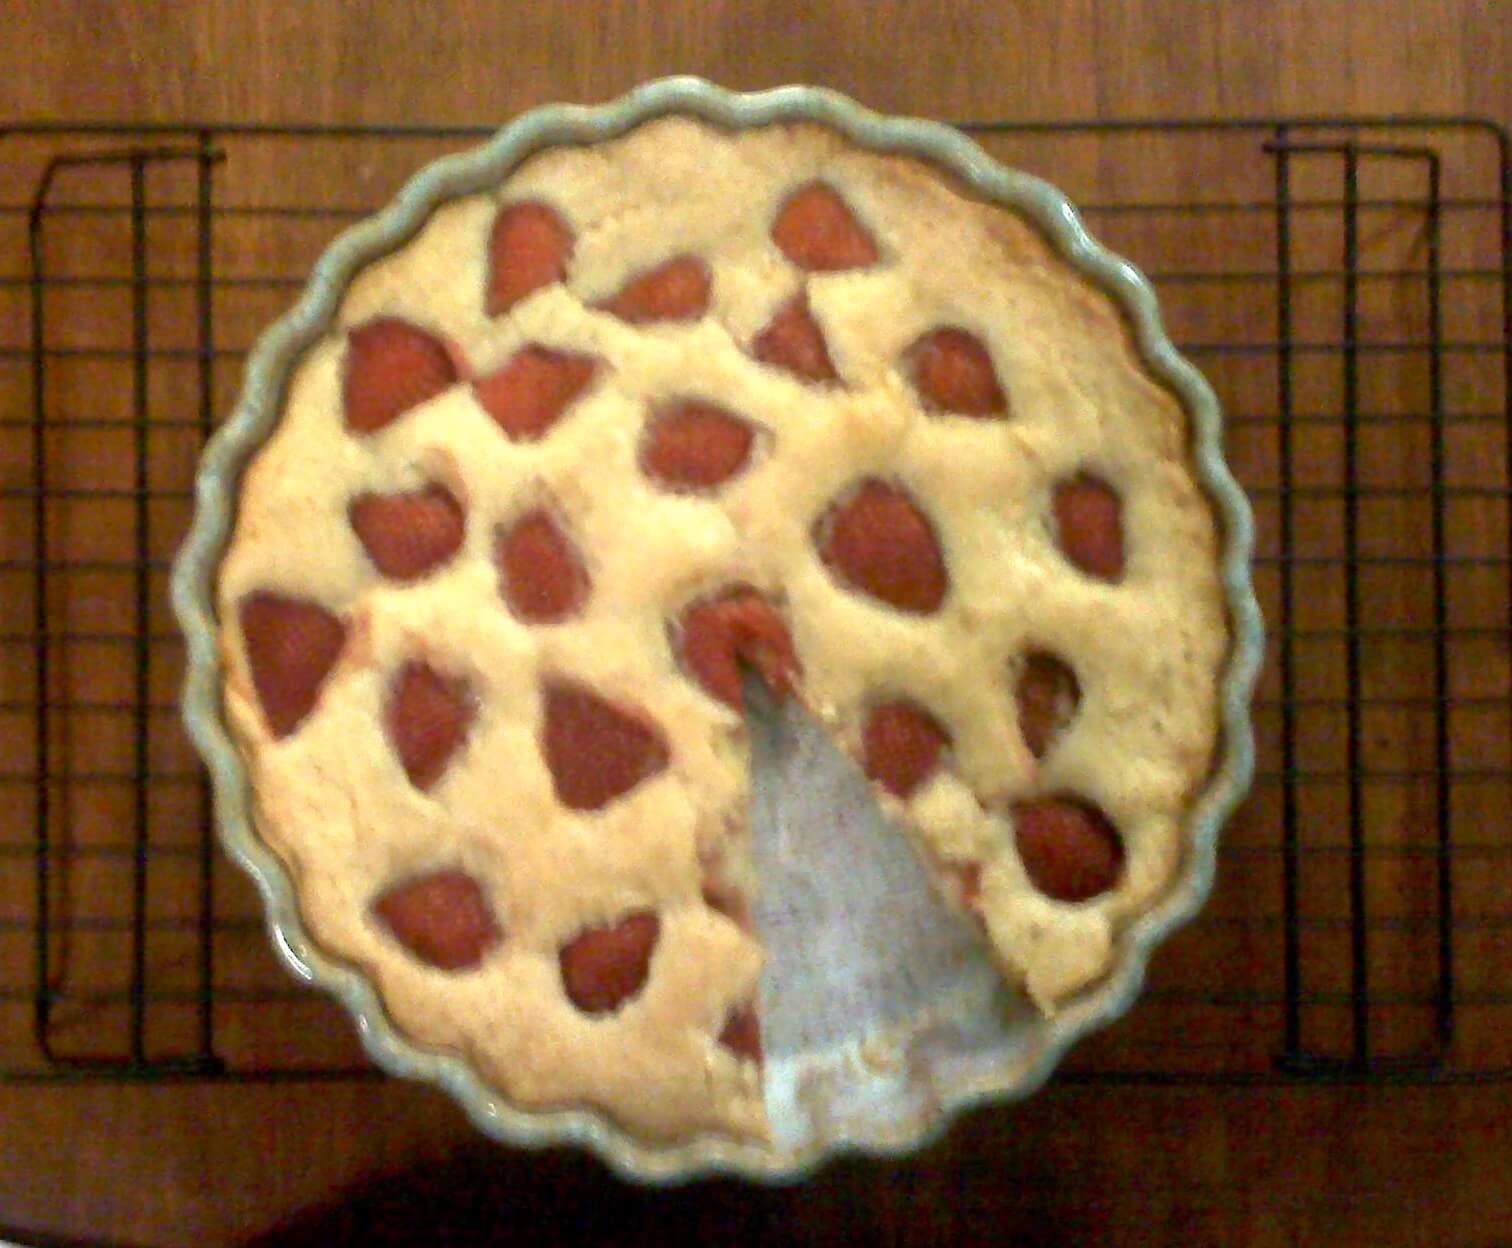
Strawberry Cake

20130525002318
I love when a recipe says something like, “This is a great way to use up leftover berries.” Here in New York City, land of overpriced everything, I never really have too much of something leftover that costs an arm and a leg to begin with. I use every tiny little bit of that sucker. Even during the summer berries are ridiculously expensive around here (unless you trek to the farmers’ market, I know, I know) so when I make a recipe with berries, it’s on purpose, and I hope it comes out nicely because if not, it was one expensive mistake.

This recipe was no mistake. And I can’t recommend it enough. The cake is not too sweet and the sugar on top gives it a nice crunch. You could even serve it for breakfast, because frankly, what’s the difference between a slice of this and a muffin? As far as I’m concerned, nothing.

On the menu:
Strawberry cake
Makes 1 10″ cake

6 Tbsp unsalted butter, softened to room temperature, plus more to grease the pie plate
1 cup plus 1 Tbsp sugar
1 large egg
1 cup milk
1 tsp vanilla extract
1 1/2 cups flour
1 1/2 tsp baking powder
1/2 tsp salt
1 pound fresh strawberries, cleaned, hulled and halved

Preheat the oven to 350 degrees and grease a 10″ pie plate with unsalted butter.

In a small bowl, whisk together the flour, baking powder, and salt.

In a large bowl, cream together the butter and sugar until smooth. Add milk, egg, and vanilla and blend until smooth. Add flour mixture and stir in by hand until combined.

Pour batter into greased pie plate. Cut-face-down, place strawberries on top of the batter as close together as you can but not on top of each other [NOTE: do NOT press the berries down into the batter; the batter will cook up around your berries and make them all but disappear from view]. Sprinkle the remaining Tbsp of sugar on top of the cake.

Bake at 350 for 10 minutes. Lower the oven to 325 degrees and bake for 60 minutes. Once the cake is cooked (a toothpick inserted in the center should come out clean) cool on a wire rack completely before serving.

4 Comments

Filed under Cooking, Recipes

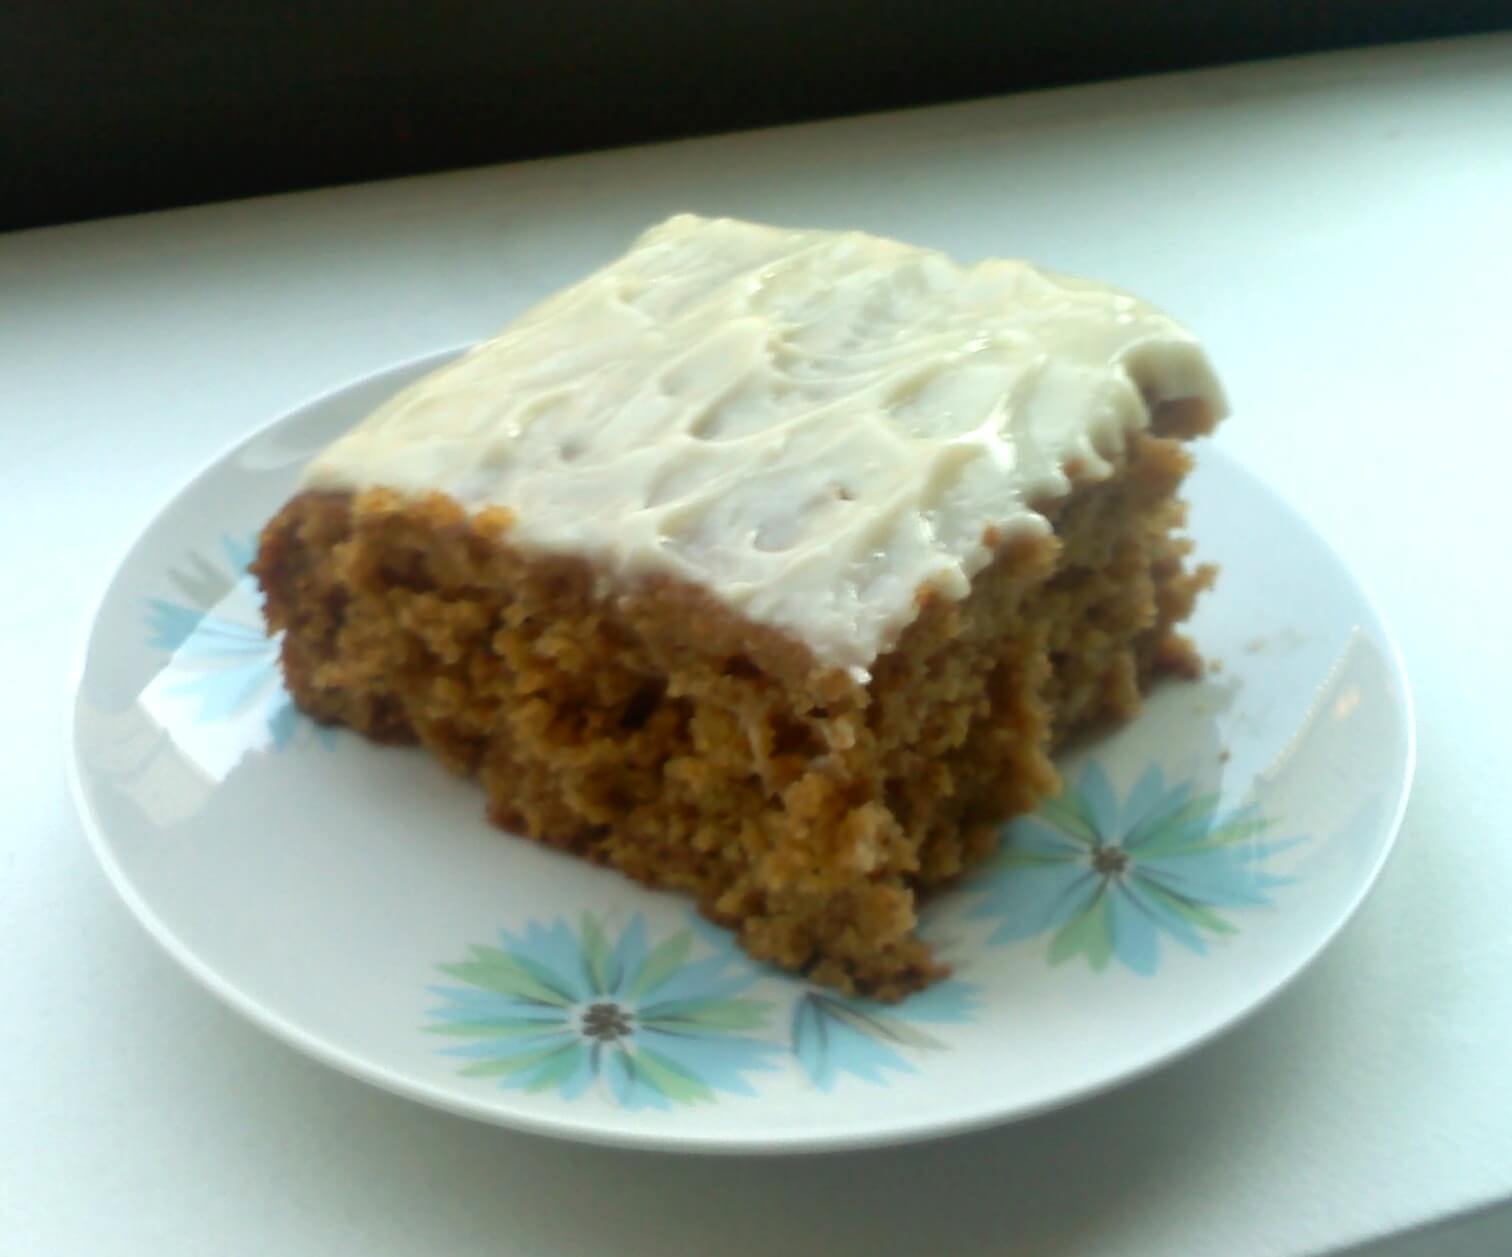
Pumpkin Cake with Cream Cheese Frosting

Pumpkin cake with cream cheese frosting by LaurenFoodE
I don’t have to tell you about my problem with late night cakes. There really should be some sort of “Late Night Cakes Anonymous” group or something. In any case, it’s putting a reeeeeal damper on Project Lose That Holiday Weight. I may or may not have gained a small amount of weight due to excessive holiday eating (namely chimichangas and In N Out and Jack In the Box, all of which I blame on The BF and his SoCal roots). And I made one of those stupid New Year’s resolutions that I was going to get healthy in 2013, finally join the gym across the street from me, and stop eating as if I was hosting an un-televised version of Man Vs. Food.

But here’s a short story about me: The BF, being a stand up comic, works weekends and a lot of nights I find myself alone with nothing to keep me warm but a kitchen just begging to be baked in. My pantry had pumpkin, my fridge had cream cheese, and I had a recipe and a dream. You know what that means… pumpkin cake.

On the menu:
Pumpkin cake with cream cheese frosting
Makes one 9 x 13 cake

4 eggs
1 2/3 cups sugar
3/4 cup canola oil
1 15-oz. can pumpkin puree
2 cups flour
2 tsp cinnamon
1/2 tsp nutmeg
1/4 tsp all spice
1/4 tsp ground cloves
2 tsp baking powder
1 tsp baking soda
1 tsp salt

Preheat oven to 350 degrees.

In a large bowl, use an electric mixer to blend together the eggs, sugar, oil, and pumpkin. In a small bowl, whisk together the flour, cinnamon, nutmeg, all spice, cloves, baking powder, baking soda, and salt. Slowly add the dry ingredients to the wet ingredients and stir together until combined. Pour into an ungreased 9 x 13 inch pan. Bake for 30 – 35 minutes or until a toothpick comes out clean.

Frosting:
3 oz. cream cheese, softened
2 cups confectioners sugar
1 Tbsp milk
1 tsp vanilla

Blend together all ingredients with an electric mixer until combined. When cake is completely cooled, spread frosting evenly over top. Refrigerate cake until serving.

Leave a comment

Filed under Cooking, Recipes

Cake Decorating 101


This past weekend was my oldest and dearest friend’s bachelorette party and I wanted to make a special cake in honor of her last single girl hurrah. You can imagine what I found when I Google’d “bachelorette cakes.” Let’s just say unless you have Google Safe Search on, don’t check it at work.

I opted to go for simple and classy using one of the bride’s wedding colors, purple. Below is a step-by-step process for writing on a cake without it looking like you let your three year old child do it. Not that I’m speaking from experience just… well, just in case YOU have that problem. For all interested parties: the cake is chocolate with vanilla frosting.

Step 1: Get the right tools
I bought a $5 cake decorating kit from Bed, Bath and Beyond that includes a bunch of disposable pastry bags and 3 different tips. If I was making cakes for a living then I’d invest in something more serious but so far, this has done the job for me. I use the smallest, round holed tip for text.

Step 2: Prepare your text
I used the empty cake pan to trace a correctly-sized circle on notebook paper, typed out my message in bold text in Word on my computer, then traced those letters on my cake-pan-sized outlined notebook paper. Next, I used cuticle scissors (properly cleaned beforehand, of course) to cut out the letters, leaving me with a stencil of my message that I already know will fit on my cake (which is half the battle if you’ve ever tried to do this freehand).

Step 3: Creating the message on the cake
Once your cake is frosted and chilled (so that the frosting is firm), lay your stencil over the top of the cake and using the end of a chopstick, poke light impressions where all the letters should be. When you lift your stencil, you should be able to see the light impression of your text.

Step 4: Writing out the message on the cake
Fill your pastry bag with frosting (Tip: fold the top of the pastry bag over your hand for a more firm grip). Follow the impression you made on the top of the cake, making sure to apply enough pressure so that your frosting sticks. End each letter with a firm press, like a period at the end of each letter, so that each letter has a clean end and doesn’t trail off like it would if you dragged your pastry tip away.

The result is a message that looks almost professional (if you mess up, don’t worry, you can always either scrape it off or fix the letters with a toothpick) and way better than your typical childish chicken scratch.

Is this something you’d like to see in a video? Let me know! If I get a response, I’ll spend some time this week creating a step-by-step instruction on cake decorating.

Leave a comment

Filed under Tips

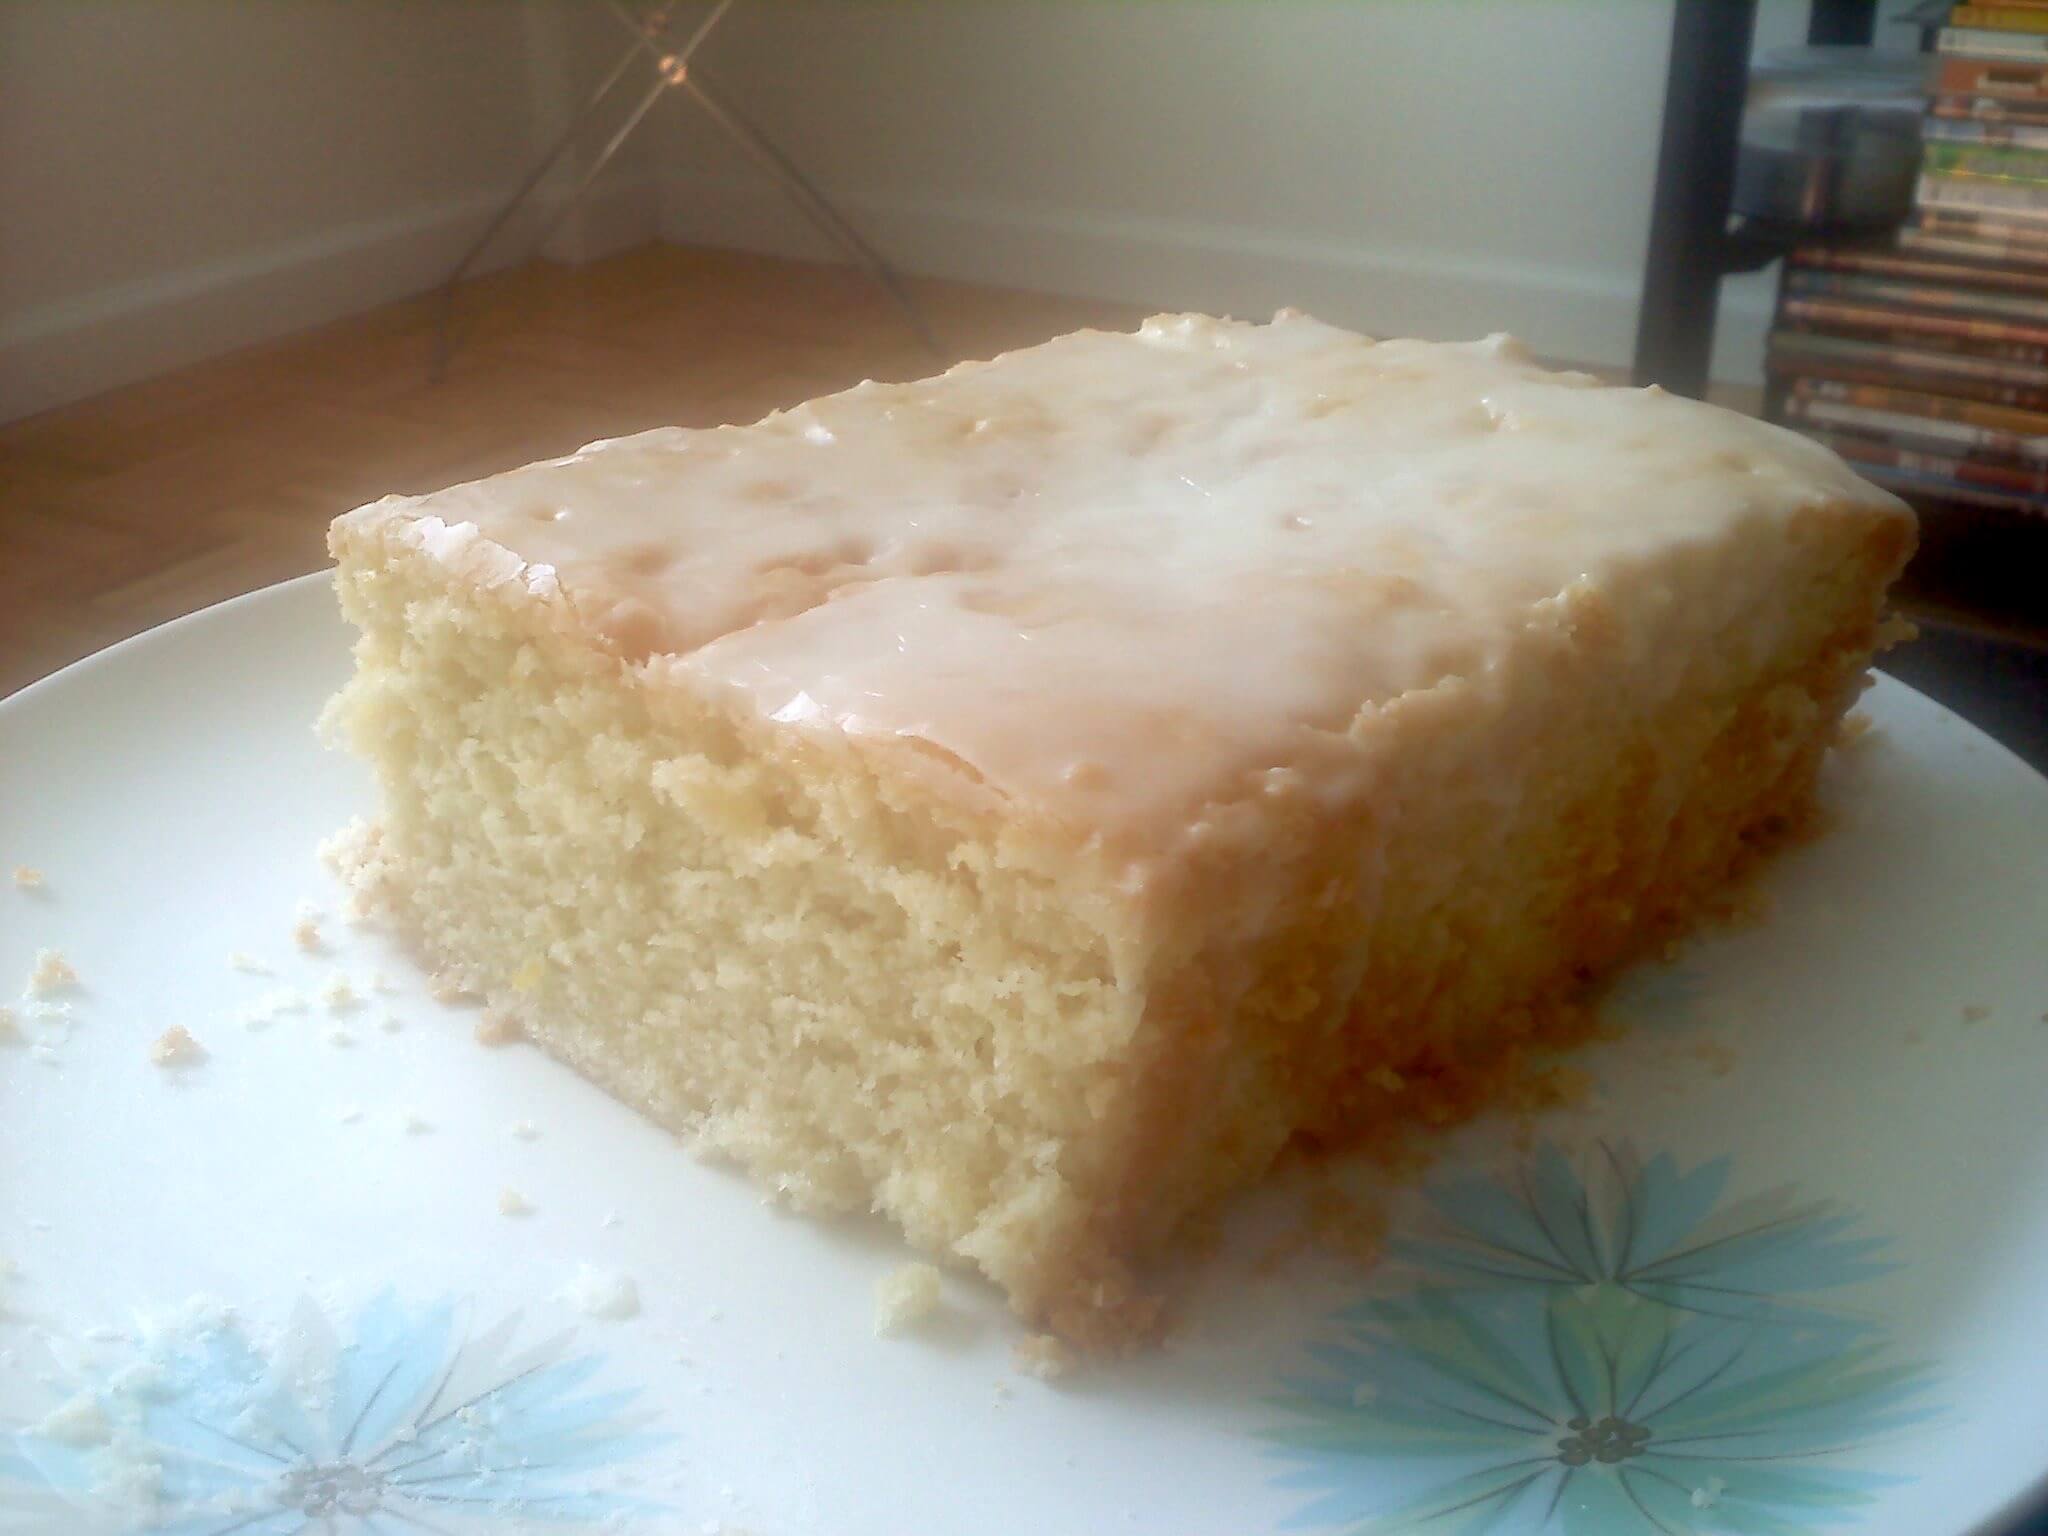
Citrus Cream Cheese Pound Cake

One problem with being home all the time now is that I want to bake all. the. time. On my kitchen counter right now I have M&M cookies, unfrosted cupcakes in anticipation of a ladies’ lunch tomorrow, and a citrus cream cheese loaf that The BF asked me to make last week. I should invest in some sort of healthy eating cookbook or something.

In any case, this cake is not healthy by any means but for some reason it screams “brunch!” to me. How much less healthy could it be than cinnamon French toast or something? That’s my rationale and I’m sticking to it.

Note: this makes an awkward amount of batter, and you’ll have enough batter for one loaf cake and 8 cupcakes. Just go with it.

On the menu:
Citrus Cream Cheese Pound Cake
Makes 1 9x3x4 sized loaf

8 oz. cream cheese, room temperature
1 cup butter, room temperature
1 3/4 sugar
5 eggs
2 tsp vanilla
2 cups flour
1 1/2 tsp baking powder
1/2 tsp salt
1 Tbsp lemon zest
1 Tbsp lime zest

Glaze
1 cup powdered sugar
1/2 lime, juiced
1/2 lemon juiced
2 Tbsp orange juice

Preheat oven to 325 degrees. Grease and flour a 9 x 3 x 4 pan. Put 8 cupcake liners in a cupcake tin.

Cream together cream cheese and butter with an electric mixer. Add sugar and blend to combine. Add eggs one at a time, blending after each egg is added. Blend in vanilla until combined.

In a separate bowl, whisk together the flour and baking powder and salt. Add zest and whisk in. Slowly add dry mixture to wet mixture and stir by hand just until combined. Do NOT overmix.

Pour 2/3 of the batter into the loaf pan. Divide rest among the cupcake cups. Bake cupcakes for 25 minutes; bake loaf cake for 60 minutes. Tip: set the timer for 25 minutes and put cupcakes and loaf in together. Once the timer goes off, take out the cupcakes and set the timer for 35 minutes to finish off the loaf.

Let the cakes cool and then make the glaze. Stir together the powdered sugar and the citrus juices. Remove the cakes from their respective pans and put the loaf on a plate, the cupcakes on parchment paper to catch the drips. Pour 3/4 over the cake and dip the cupcakes in the remaining glaze. Let the glaze harden and enjoy.

NOTE: This recipe originated here and here and the first one calls it a Philly Fluff. Does that name tug at your heart strings? Tell me why! I’m from upstate New York and have no idea.

Leave a comment

Filed under Cooking, Recipes

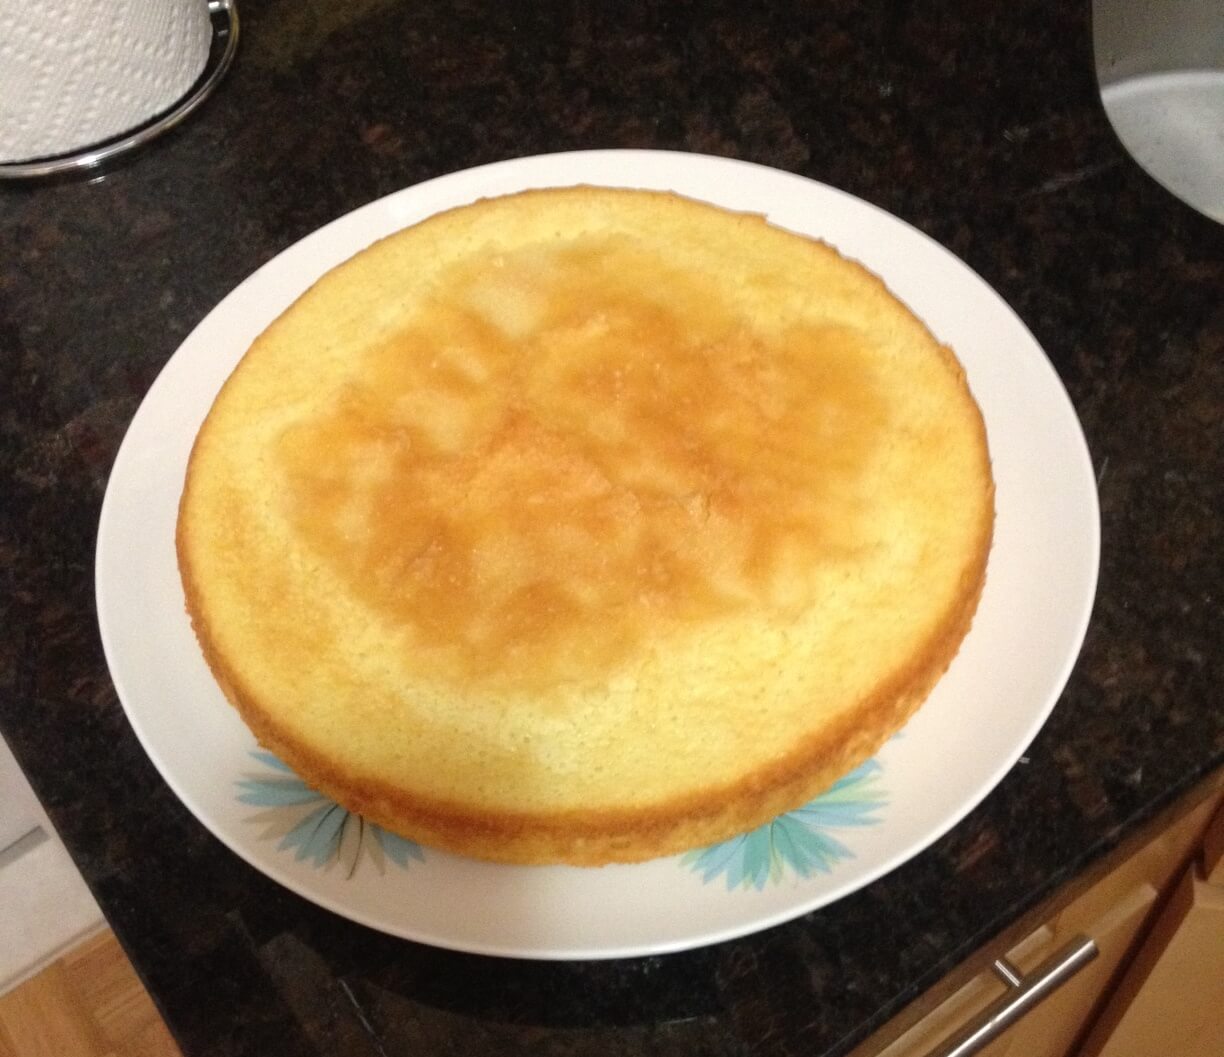
Consolation Cake


When bad things happen in life, everyone has their own coping mechanism. I don’t think it’s any huge surprise that my feel-better activity is baking. I got laid off from my job yesterday and needless to say, it feels pretty awful. If I was leaving my job because Food + Wine called up and said, “We need a new cake tester who can also write a column about it in a snarky way” then I would be over the moon*! Alas, no one but the unemployment office was calling me up. So I brushed up my resume and then I whisked up this cake.

On the menu:
Lemon olive oil cake
Serves 12
Adapted from Epicurious.com

NOTE: You’ll need a 9 inch spring form pan for this cake.

3/4 cup olive oil plus 2 Tbsp for greasing the pan
1 1/2 tsp lemon zest
2 Tbsp fresh lemon juice
1 cup flour
5 large eggs, separated
1/2 tsp salt
3/4 cup plus 2 Tbsp sugar

Preheat oven to 350. Grease spring form pan with 1 1/2 Tbsp of olive oil. Line the bottom of the pan with parchment paper. Grease the parchment paper with 1/2 Tbsp olive oil.

In a small bowl: whisk together flour and lemon zest.

In a large bowl: beat together egg yolks with half cup of sugar until thick and pale, around 3 minutes. While mixer is still beating, slowly add the olive oil in a steady stream. Beat in lemon juice until incorporated. Using a wooden spoon, fold in the flour/zest mixture until incorporated.

In a medium bowl: with clean beaters, beat together egg whites with salt until the mixture is foamy. A little at a time, add the remaining 1/4 cup of sugar and beat until soft peaks form.

Fold the egg whites into the large bowl egg yolk mixture until completely incorporated. Pour the batter into a greased spring form pan. Tap the pan on the counter a couple times to get rid of the bubbles within the batter. Sprinkle the cake with remaining 2 Tbsp sugar (this will form a nice crunchy crust on top).

Bake for 45 minutes or until a sharp knife comes out clean. Once baked completely, remove the spring form outer ring and let the cake cool for at least an hour before removing from the base of the pan and the parchment. Serve in wedges plain, or with a fruit compote.

NOTE: this cake is ALMOST eggy, but dense and tangy and absolutely delicious. As I’m never quite sure what’s dessert and what’s breakfast, I could see this being served at brunch with fresh fruit or freshly whipped cream alongside a bacon potato skillet dish. Are you drooling yet?

*Are you Food + Wine? Do you want to hire me? Then do it already! I’m totally free this month.

6 Comments

Filed under Cooking, Recipes

The Late Night Cake: Part Deux


I would tell you how many cakes I’ve baked in the past month or so, but frankly I’m embarrassed. My penchant for cake is second to none. I’m the only girl at the wedding who cannot WAIT for the cake to be served. I’m thinking there must be a 12 step program I can join, right?

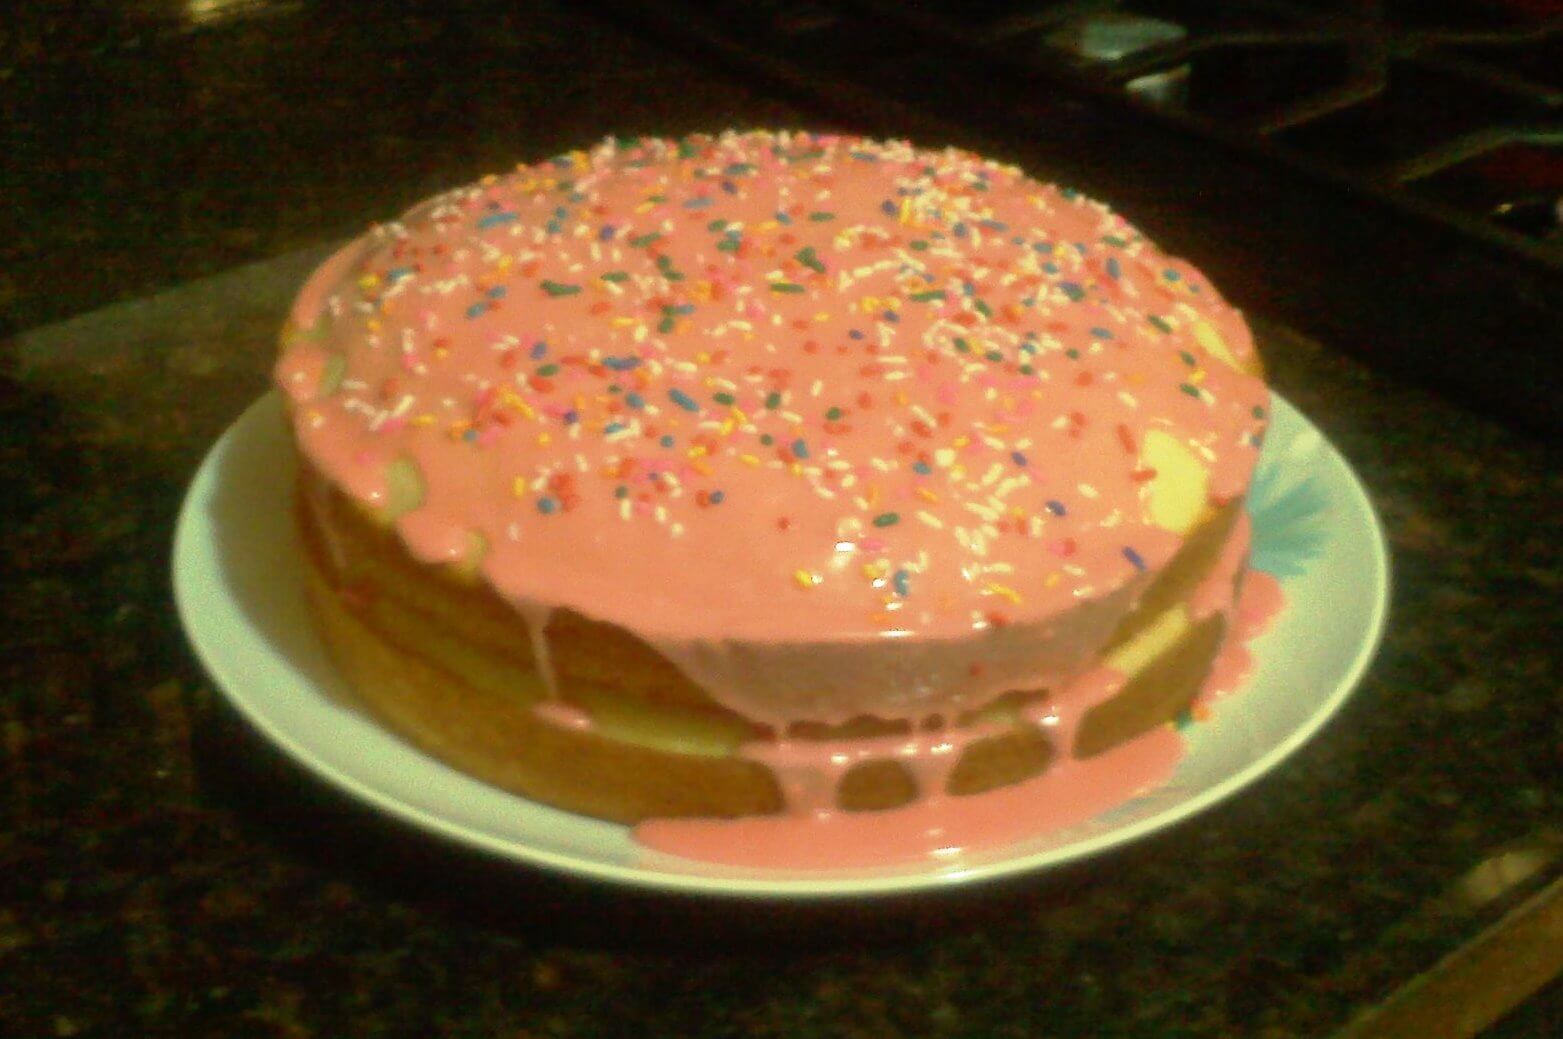
I had my sights set on vanilla cake this time and I looked to The Joy of Cooking to satisfy that need. I posted a recipe for vanilla cake before, but this one is a little bit different and just a tad bit lighter.

On the menu:
Vanilla cake with vanilla glaze
Adapted from The Joy of Cooking
Serves 12

3 1/2 cups cake flour (or regular flour sifted)
3 tsp baking powder
1/2 tsp salt
2 cups sugar (divided into: 1 2/3 and 1/3)
1 cup unsalted butter (softened to room temperature)
1 tsp vanilla
1 cup milk (I used 2%)
8 egg whites
1/2 tsp cream of tartar

Grease and flour 2 9-inch round baking pans. Preheat oven to 375.

You’ll need 3 different sized bowls for this recipe. In the middle sized bowl: sift together the flour, baking powder, and salt. Set aside.

In the largest bowl: cream the butter with an electric mixer. Add 1 2/3 sugar and mix until combined.

In the smallest bowl: add milk and vanilla and whisk until combined.

In the largest bowl: while mixing, gradually add 1/3 of the flour mixture, then add 1/2 the milk mixture, then add 1/3 of the flour mixture, then add the remaining milk mixture, then add the remaining flour mixture until the batter is completely combined.

In the medium bowl: with CLEAN beaters, beat the egg whites and the cream of tartar until soft white peaks form. Add the remaining 1/3 cup of sugar and continue beating until the mixture is firm but not dry. Using a rubber spatula, fold the egg white mixture into the large bowl with the batter. Continue folding until the batter is uniform.

Pour half the batter in one pan and half the batter in the other pan. Bake for 25 minutes or until the cake springs back when gently pressed.

NOTE: this frosting should be called “Lauren’s Lazy Layer Cake Liquid” because it’s the same lame-o glaze I use for my chocolate cake, only I leave out the cocoa and add a tsp of vanilla and a few drops of red food coloring so it’s pink, not grayish brown from the vanilla. This is not, I repeat, this is not good frosting. It’s war time frosting. It’s what you use if you don’t want to wait the 7845023653478026523780 hours until your cake is cool and you just want to eat it right. now. Add some jimmies to spice it up.

Yes. Jimmies.

3 Comments

Filed under Recipes