Tag Archives: how-to

Cake Decorating 101


This past weekend was my oldest and dearest friend’s bachelorette party and I wanted to make a special cake in honor of her last single girl hurrah. You can imagine what I found when I Google’d “bachelorette cakes.” Let’s just say unless you have Google Safe Search on, don’t check it at work.

I opted to go for simple and classy using one of the bride’s wedding colors, purple. Below is a step-by-step process for writing on a cake without it looking like you let your three year old child do it. Not that I’m speaking from experience just… well, just in case YOU have that problem. For all interested parties: the cake is chocolate with vanilla frosting.

Step 1: Get the right tools
I bought a $5 cake decorating kit from Bed, Bath and Beyond that includes a bunch of disposable pastry bags and 3 different tips. If I was making cakes for a living then I’d invest in something more serious but so far, this has done the job for me. I use the smallest, round holed tip for text.

Step 2: Prepare your text
I used the empty cake pan to trace a correctly-sized circle on notebook paper, typed out my message in bold text in Word on my computer, then traced those letters on my cake-pan-sized outlined notebook paper. Next, I used cuticle scissors (properly cleaned beforehand, of course) to cut out the letters, leaving me with a stencil of my message that I already know will fit on my cake (which is half the battle if you’ve ever tried to do this freehand).

Step 3: Creating the message on the cake
Once your cake is frosted and chilled (so that the frosting is firm), lay your stencil over the top of the cake and using the end of a chopstick, poke light impressions where all the letters should be. When you lift your stencil, you should be able to see the light impression of your text.

Step 4: Writing out the message on the cake
Fill your pastry bag with frosting (Tip: fold the top of the pastry bag over your hand for a more firm grip). Follow the impression you made on the top of the cake, making sure to apply enough pressure so that your frosting sticks. End each letter with a firm press, like a period at the end of each letter, so that each letter has a clean end and doesn’t trail off like it would if you dragged your pastry tip away.

The result is a message that looks almost professional (if you mess up, don’t worry, you can always either scrape it off or fix the letters with a toothpick) and way better than your typical childish chicken scratch.

Is this something you’d like to see in a video? Let me know! If I get a response, I’ll spend some time this week creating a step-by-step instruction on cake decorating.

Leave a comment

Filed under Tips

How to Make Pizza at Home

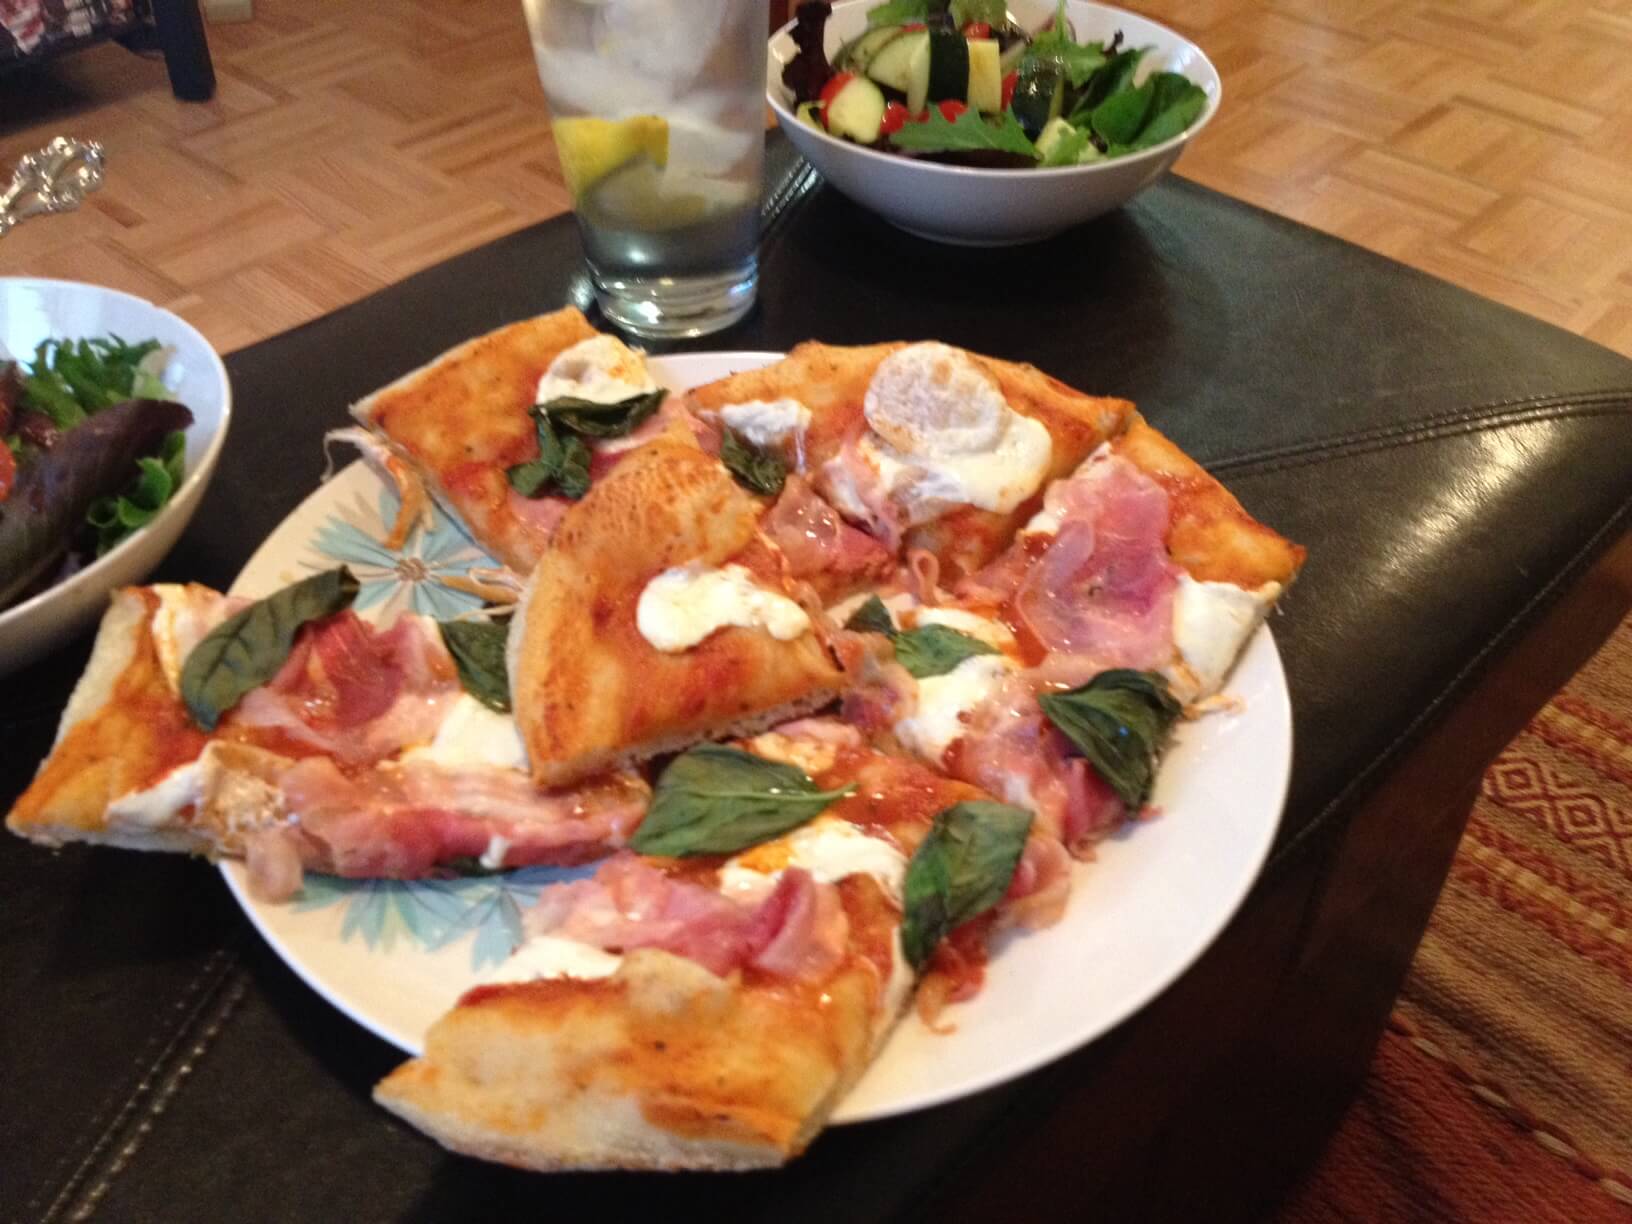
Today I posted over at Yumm.com on how to make delicious, crusty, pizzeria-style pizza at home! The above picture is a pie I made last week using prosciutto, mozzarella, and basil. It was so freakin’ easy and so, so delicious. Confession: I used store bought sauce. So sue me.

Actually, please don’t. I’m poor.

Leave a comment

Filed under Cooking

How to Throw a House Party and Make Friends While You’re At It

A month or so ago The BF and I threw a little housewarming party to show off our phat new pad (yes, phat. what of it?). I also used it as an excuse to wow my friends with my culinary talents. If you think that’s obnoxious and pompous, well, in the words of Andre 3000, “I’m… just being honest.”

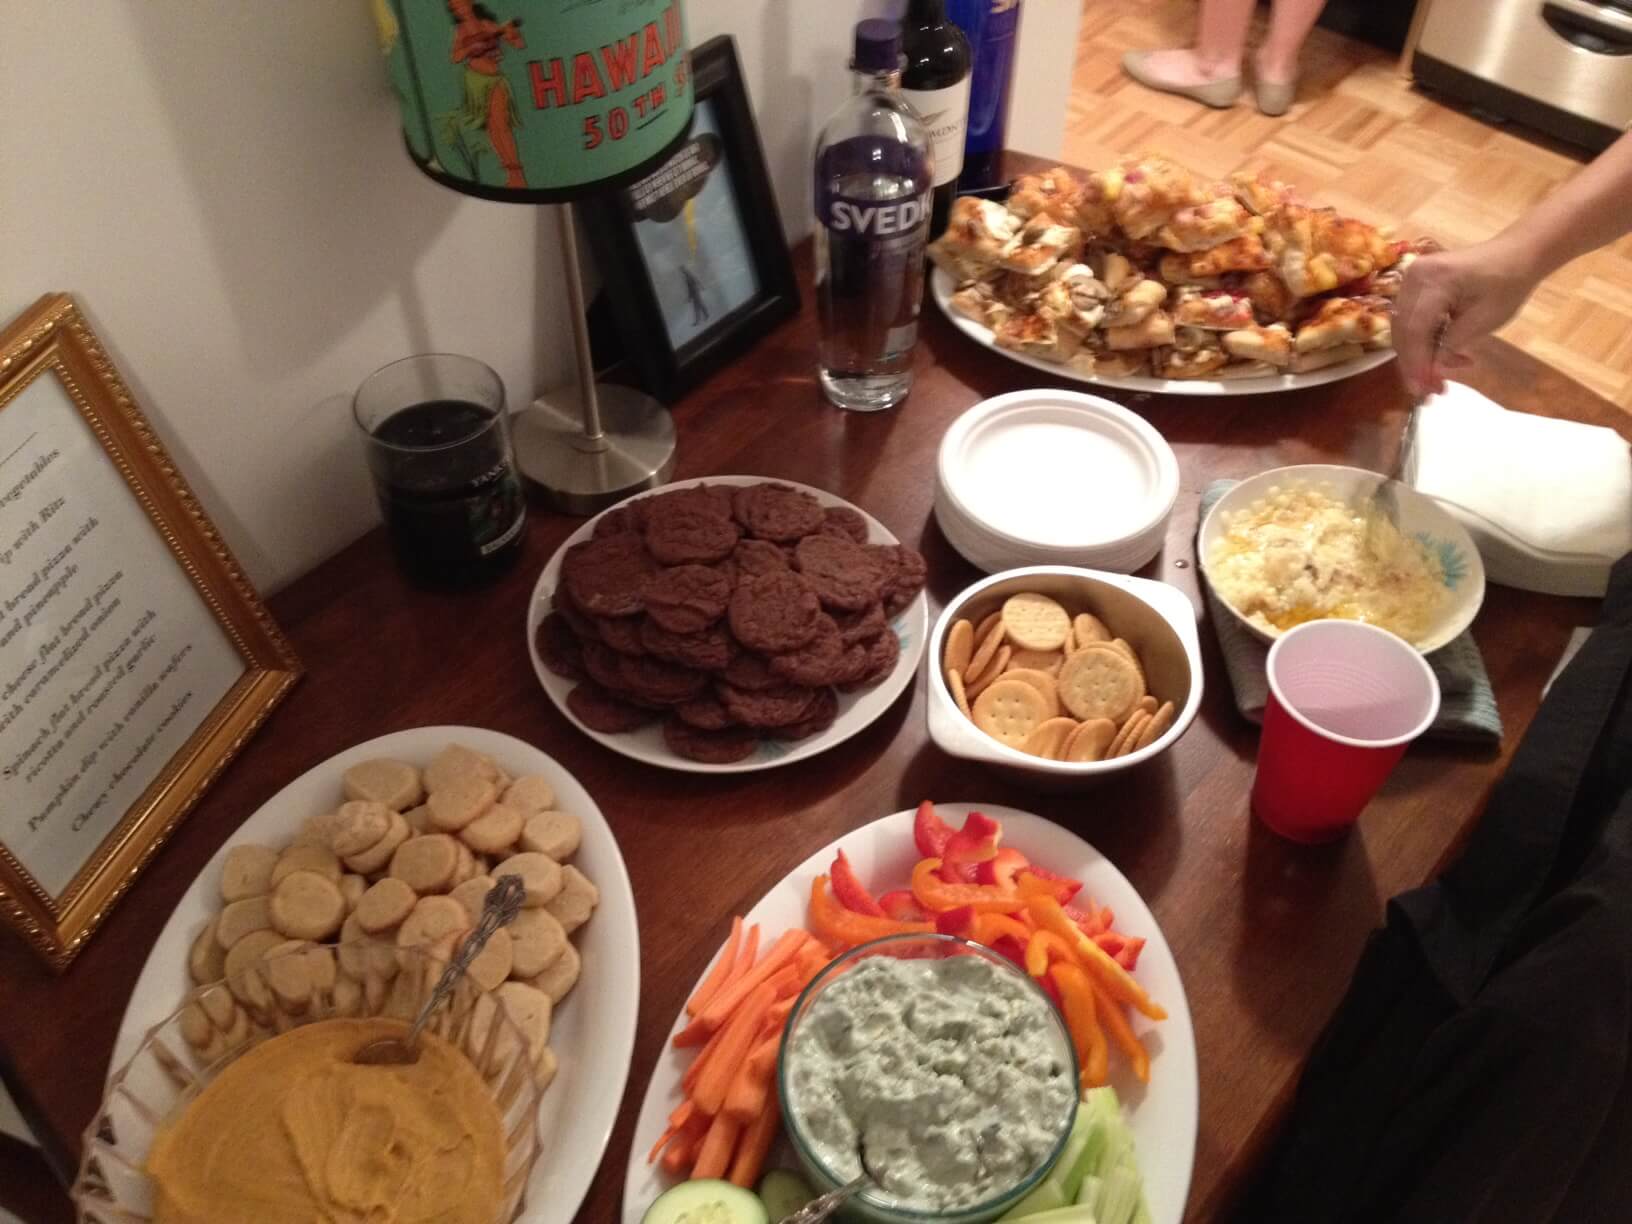
Sweet pumpkin dip with homemade vanilla wafers, blue cheese dip with veggies, chewy chocolate cookies, onion dip with Ritz, and pizza squares

Here are a few tips on preparing successful dishes for housewarming parties:

1. Finger foods: There’s nothing more awkward than carrying around a plate while you socialize, or trying to shovel salad into your face while hitting on a potential beau. You drop some on the carpet, you’re juggling the fork, the plate, and your beverage… it’s not cute. Enter finger foods. There are only a bajillion versions of utensil-free dishes and your spread should be full of them. My favorites are bite-sized squares of pizza, cookies, and cut up veggies. Which brings me to my next point…

2. Dips: I made 3 dips: sweet pumpkin for dipping cookies, tangy blue cheese for the veggies, and hot onion swiss for Ritz crackers. It’s interactive, it’s delicious, and it allows you to make literally everything the day before. Which brings me to my next point…

3. Make things in advance: I spent hours the night before the party baking cookies, chopping veggies, and mixing dips. Not only is most dip better after it’s had a chance to sit in the fridge overnight, but the day of the party all you have to do is pop it on the table and remove the plastic wrap. Easy as pie.

4. Room temperature foods: What’s grosser than hot food that’s been left to harden and coagulate on your dining room table for 6 hours? Well… lots of things. But during a party no one wants to see that. Try and stick to food that still tastes good at room temperature, or that tastes delicious both hot and cold (i.e. pizza squares).

5. Print out a menu: Everyone thought I was such a loser because I printed and framed my menu. Okay, maybe the frame was overboard… It cost $.99! And it looked sweet. Anyway, providing a menu allows your guests to know exactly what they’re eating before they taste it. Also avoids those pesky allergies. And saves you from having to say 809 times, “It’s sweet pumpkin dip! You eat it with the cookies!” Because after 10 beverages (just kidding, mom, I had THREE I said THREE beverages) it might not come out so nicely.

Starting next week I’ll be sharing with you some of the standout recipes from the party. In the meantime I served this onion dip to rave reviews, even though I accidentally microwaved instead of baking it. It separated… and it was gross.

Leave a comment

Filed under Cooking, Recipes

How to Chop an Onion… in yo FACE!

It’s me! Oh man, did I love doing this. Someone (cough Food Network Cooking Channel cough) snatch me up already!

3 Comments

Filed under Cooking