Category Archives: Cooking

Consolation Cake


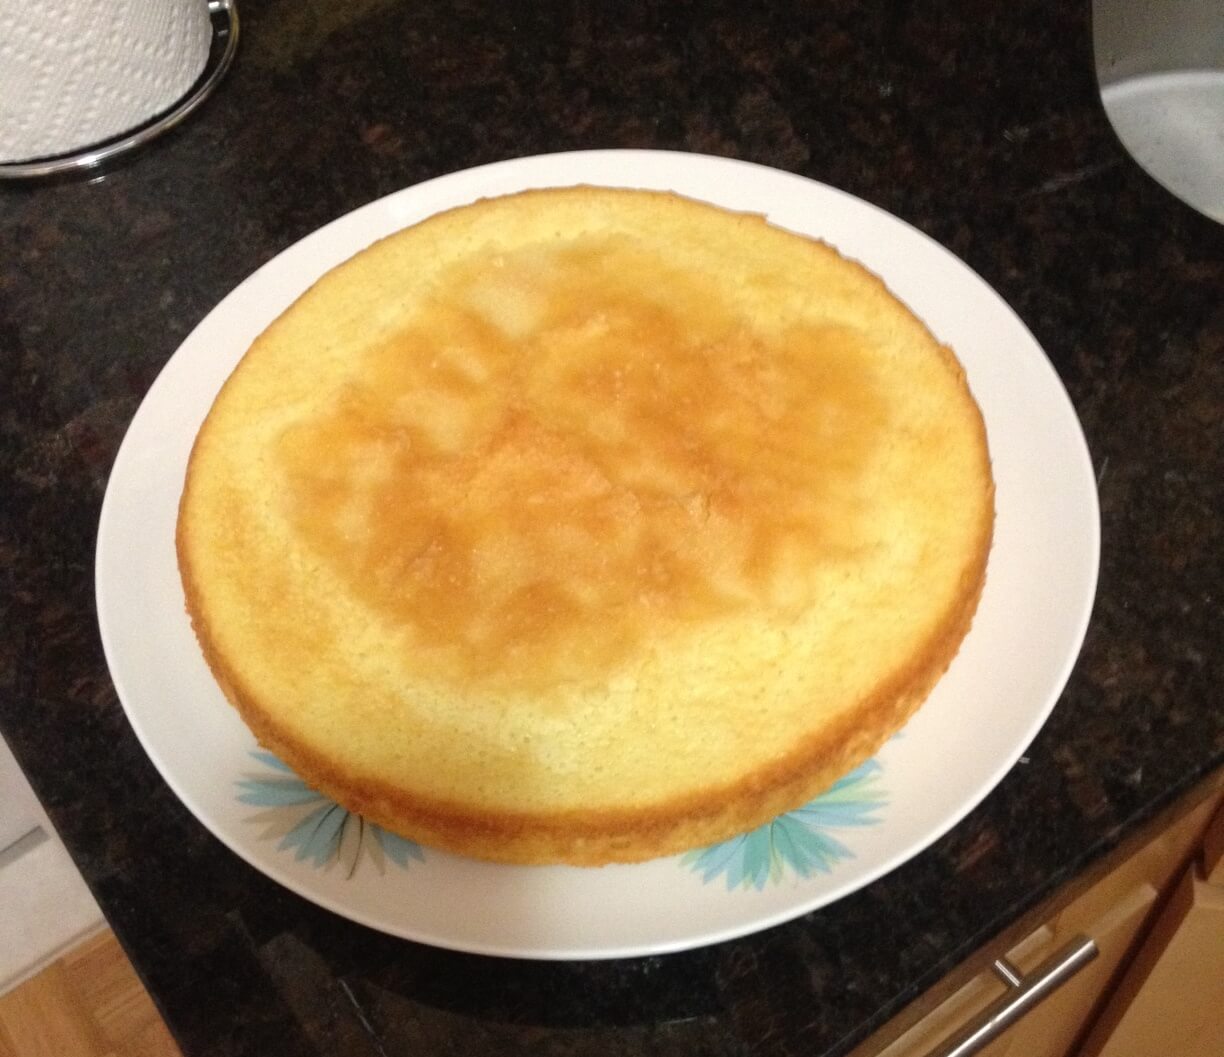
When bad things happen in life, everyone has their own coping mechanism. I don’t think it’s any huge surprise that my feel-better activity is baking. I got laid off from my job yesterday and needless to say, it feels pretty awful. If I was leaving my job because Food + Wine called up and said, “We need a new cake tester who can also write a column about it in a snarky way” then I would be over the moon*! Alas, no one but the unemployment office was calling me up. So I brushed up my resume and then I whisked up this cake.

On the menu:
Lemon olive oil cake
Serves 12
Adapted from Epicurious.com

NOTE: You’ll need a 9 inch spring form pan for this cake.

3/4 cup olive oil plus 2 Tbsp for greasing the pan
1 1/2 tsp lemon zest
2 Tbsp fresh lemon juice
1 cup flour
5 large eggs, separated
1/2 tsp salt
3/4 cup plus 2 Tbsp sugar

Preheat oven to 350. Grease spring form pan with 1 1/2 Tbsp of olive oil. Line the bottom of the pan with parchment paper. Grease the parchment paper with 1/2 Tbsp olive oil.

In a small bowl: whisk together flour and lemon zest.

In a large bowl: beat together egg yolks with half cup of sugar until thick and pale, around 3 minutes. While mixer is still beating, slowly add the olive oil in a steady stream. Beat in lemon juice until incorporated. Using a wooden spoon, fold in the flour/zest mixture until incorporated.

In a medium bowl: with clean beaters, beat together egg whites with salt until the mixture is foamy. A little at a time, add the remaining 1/4 cup of sugar and beat until soft peaks form.

Fold the egg whites into the large bowl egg yolk mixture until completely incorporated. Pour the batter into a greased spring form pan. Tap the pan on the counter a couple times to get rid of the bubbles within the batter. Sprinkle the cake with remaining 2 Tbsp sugar (this will form a nice crunchy crust on top).

Bake for 45 minutes or until a sharp knife comes out clean. Once baked completely, remove the spring form outer ring and let the cake cool for at least an hour before removing from the base of the pan and the parchment. Serve in wedges plain, or with a fruit compote.

NOTE: this cake is ALMOST eggy, but dense and tangy and absolutely delicious. As I’m never quite sure what’s dessert and what’s breakfast, I could see this being served at brunch with fresh fruit or freshly whipped cream alongside a bacon potato skillet dish. Are you drooling yet?

*Are you Food + Wine? Do you want to hire me? Then do it already! I’m totally free this month.

6 Comments

Filed under Cooking, Recipes

Garlic Parmesan Cream Sauce

When I was a single girl, living in a single world, I did my grocery shopping whenever I needed to. If I felt like cooking I’d pick up necessities on my way home from work because if I did weekly shopping then things went to waste (you know, because of those nights when you’re like, hmm this chocolate cake and red wine looks like dinner to me). But now that I am living with a S.O. (that’s significant other for you laypeople) we do our grocery shopping once a week. Not only does that mean that I have to plan nightly meals for a whole week, but it means that when single-Lauren would’ve eaten red wine and cake because she lacked the energy to grocery shop, S.O.’ed-Lauren tries to make due with what’s in the cupboard.

This is a sauce that you can put on pasta, pour over roasted vegetables, or even use as a pizza sauce beneath toppings like prosciutto or zucchini, and it’s a sauce that can be made with things you probably already have in your cupboard. As long as you’re a nice Italian girl, that is.

On the menu:
Garlic parmesan cream sauce
Serves 2

3 medium sized cloves of garlic, minced
2 Tbsp butter
1 Tbsp flour
1 cup milk (I used 1%)
1/2 cup half and half
1/2 cup parmesan cheese
1 tsp dried basil (or 1/4 cup fresh basil, chopped)

In a small sauce pan over low heat, melt the butter. Add garlic and saute for 2 – 3 minutes or until aromatic. Add the flour and stir into a paste. Add milk and cream and cook for around 5 – 6 minutes, until the mixture starts to thicken. Add the parmesan cheese and the basil and cook until desired thickness, around 5 – 6 more minutes. Toss with pasta and serve.

Leave a comment

Filed under Cooking, Recipes

Cherry Vanilla Waffles

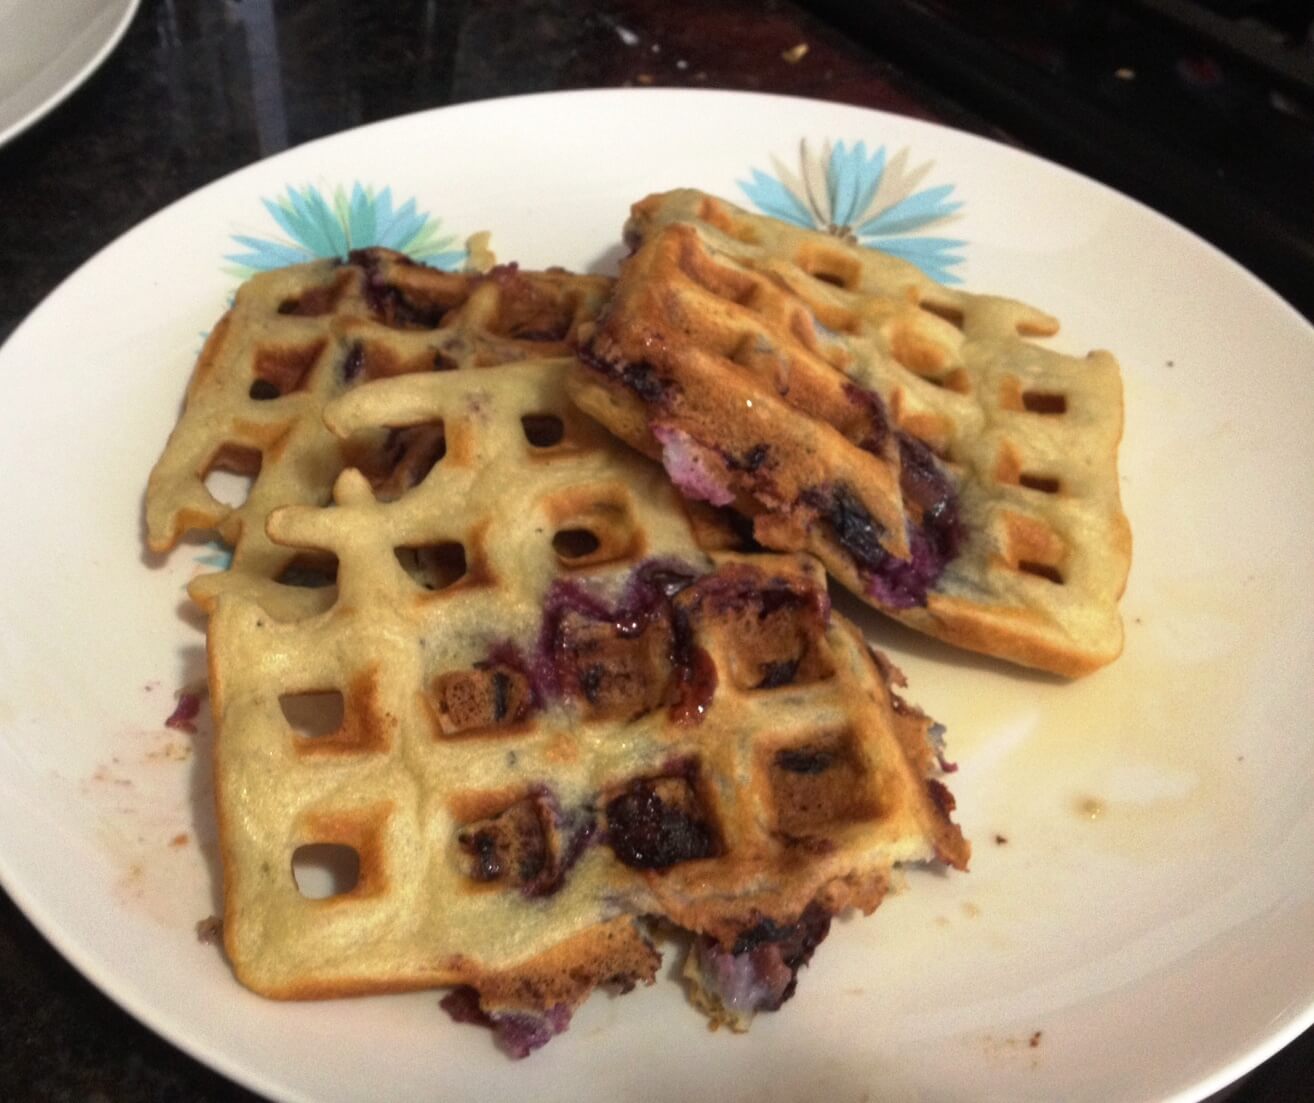
I feel I have to start off with an apology for this sad picture. These waffles do not look very appetizing, but lately I’ve had this food-blogger-problem where I eat everything before I photograph it. And honestly, who wants to read a post about food if they can’t see what it looks like first? I know this, friends, because I am of the same ilk. So while I missed out on sharing a zucchini, sun dried tomato, lemon ravioli, and a skillet lasagna, I couldn’t miss out on sharing this one, too.

I used cherries in this recipe because I found them at a little bodega for $1.25 a pound (A DOLLAR TWENTY FIVE A POUND! Thank you, Queens!) and had a surplus. But you could use any ripe, sweet berry.

On the menu:
Cherry vanilla waffles
Makes 2 full sized Belgian waffles

NOTE: You will need a waffle iron for this! I have no idea how you’d do it without one. Sorry Charlie.

1 1/3 cups flour
4 tsp baking powder
1/2 tsp salt
2 tsp sugar
8 Tbsp egg whites*
1/2 cup butter (1 stick) melted
1 3/4 cups milk
1 Tbsp vanilla extract
1 cup cherries, pitted and quartered

Preheat your waffle iron.

Combine dry ingredients in a large bowl and whisk together. Add melted butter, vanilla, and milk and blend until combined. In a separate bowl, beat egg whites with an electric mixture just until stiff peaks form. Fold egg whites into the batter just until incorporated. Add cherries and stir until evenly distributed in the batter.

Pour 2 full cups of batter onto the griddle, adding a bit of extra just so the batter reaches the far corners of the iron. Cook each waffle according to your iron’s specifications. Top with butter and maple syrup, or lemon curd, or powdered sugar, or just eat them straight off the griddle. Not that I would do that. Just saying.

*Note: the original recipe that I based this on (from Food.com) calls for 2 eggs, separated. I think using all egg whites gives the waffles a lighter texture and I usually have a carton of egg whites in my fridge. If you do want to use 2 eggs, just separate the egg and yolk, add the yolk into the dry ingredients during Step 1, and follow the rest of the directions as written regarding the egg whites. Still easy and still delicious!

Leave a comment

Filed under Cooking, Recipes

Sesame Crusted Tuna

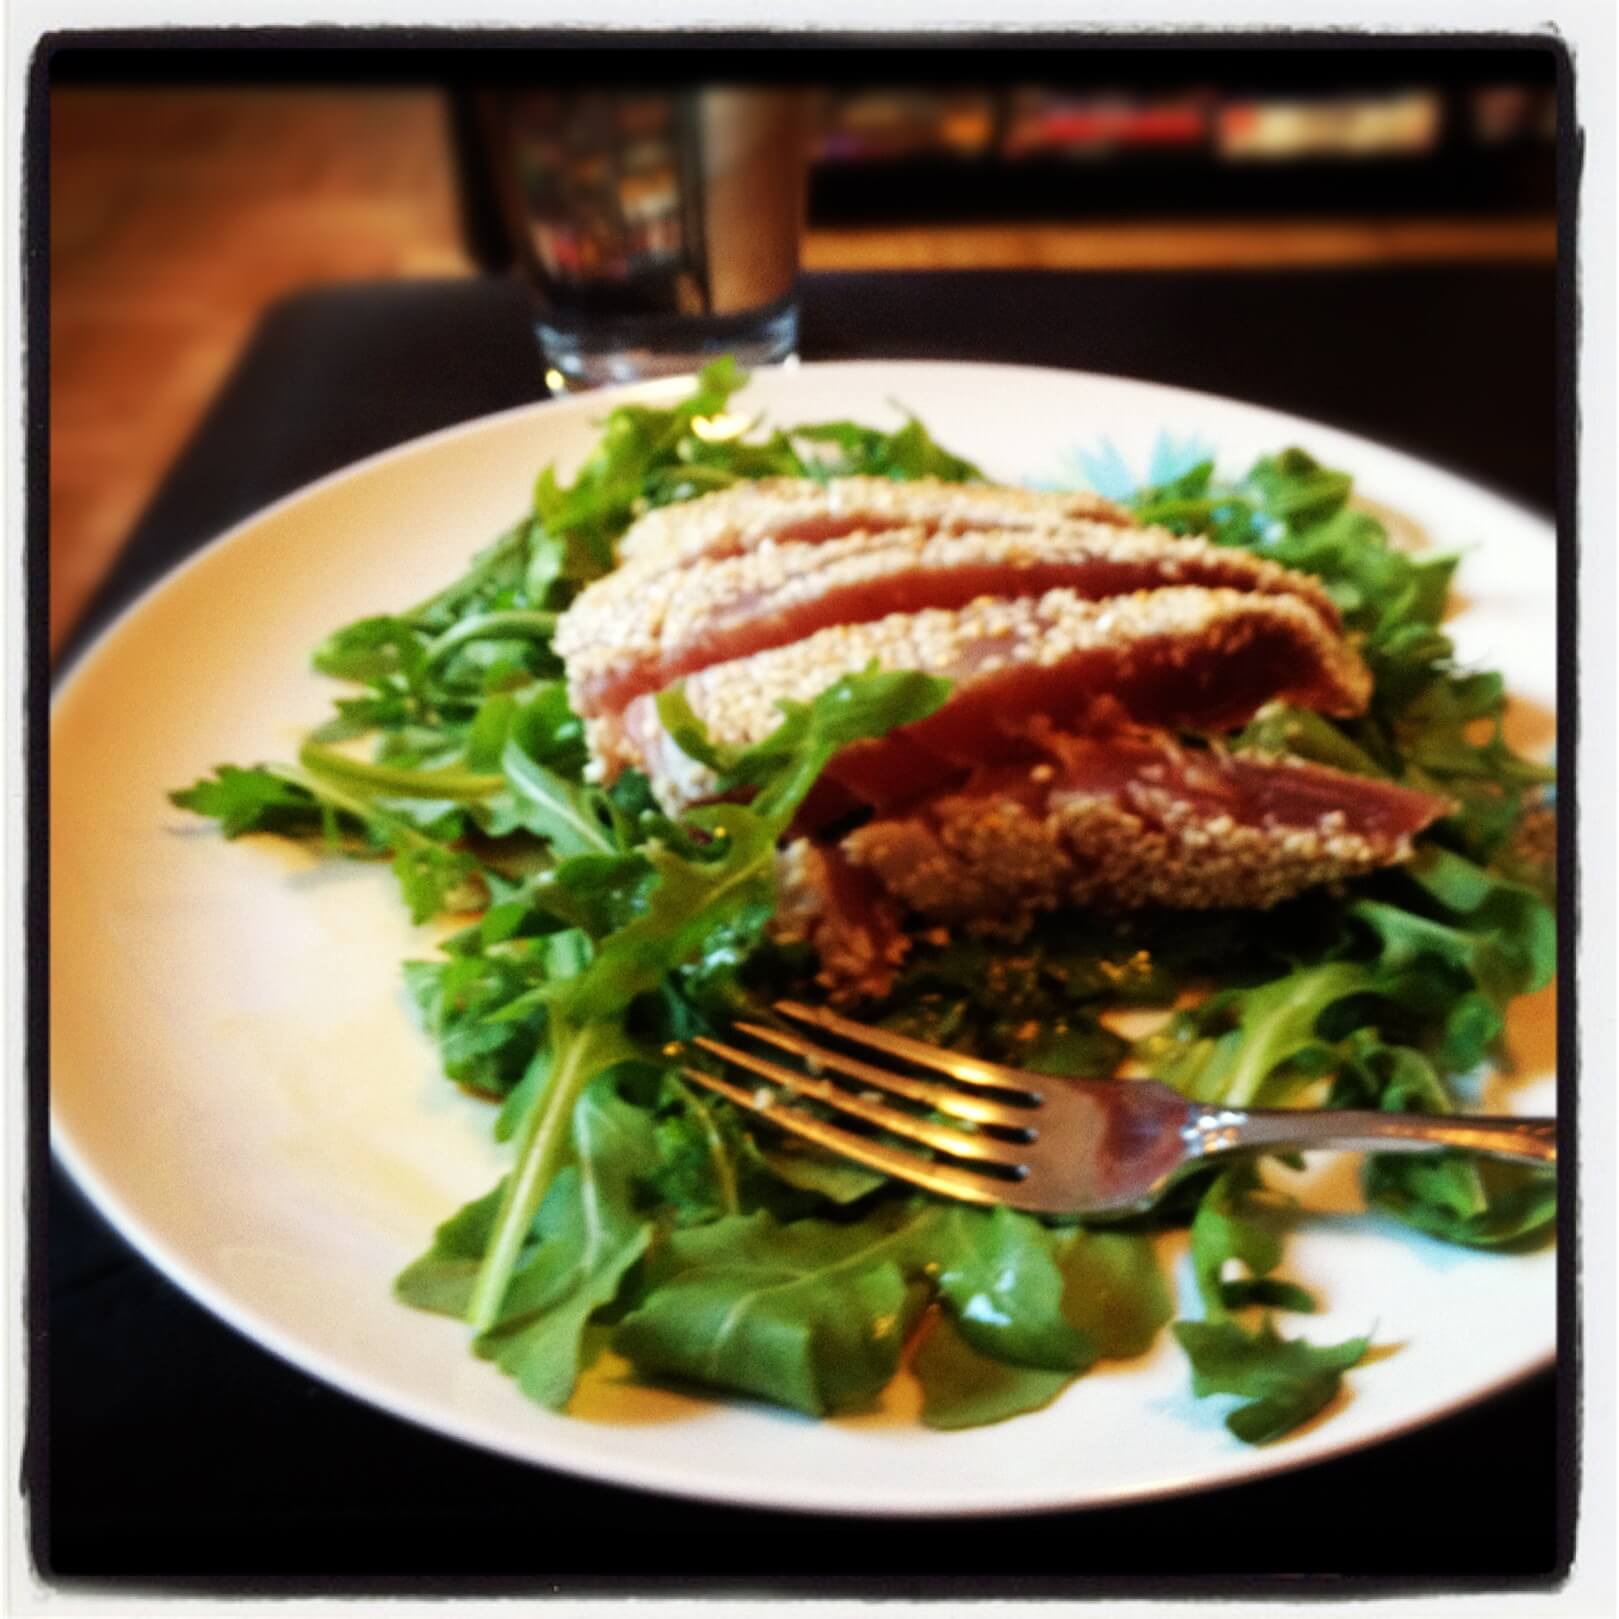
This meal is my idea of a pleasant surprise, meaning I had set aside an hour to cook dinner on Sunday and SURPRISE it took me 15 minutes. Also in my list of pleasant surprises: finding out my new sky-high heels are actually comfortable, and realizing I did not, in fact, drink all the wine in the house when I’m dying for a glass at 11am 5pm on a Saturday.

On the menu:
Sesame crusted tuna over arugula with ginger soy dressing
Serves 2

2 tuna steaks (around 1/2 pound each)
4 Tbsp sesame seeds
1/4 tsp salt
2 Tbsp olive oil
1 bunch of arugula (this is the bed if greens for your tuna so use as much as you like)

Dressing:
1 clove garlic, minced
1/4 tsp powdered ginger (or 1/4 tsp fresh ginger root, minced)
2 Tbsp olive oil
1 1/2 Tbsp rice vinegar
1 1/2 Tbsp low-sodium soy sauce
1 1/2 Tbsp honey
2 Tbsp water

With a paper towel, pat tuna steaks dry of any residual moisture. In a flat, shallow dish, pour sesame seeds in an even layer. Add salt and combine. Dredge tuna steaks in the sesame seeds so the steaks are coated on both broad sides AND the edges. In a medium sized skillet, heat the olive oil over medium heat. Sear each steak for around 60 seconds on each side, including the edges (use tongs for this part). Remove from heat and let sit for 1 to 2 minutes before serving (yes, the inside will be raw and no, you won’t get sick from it).

Whisk all ingredients for dressing in a small bowl. Heat in microwave for 1 minute so the honey melts a bit. Whisk again. Plate arugula over 2 plates, pour half the dressing over the greens, plate the tuna on top of the greens, and then top with remaining dressing.

NOTE: This recipe takes about 15 minutes from start to finish, a tiny bit longer if you’re slow in mincing the ingredients for the dressing. The clean up is minimal, the presentation is impressive, and the leftovers (should you have any…) are divine. Eat it cold so you’re not the smelly office girl.

Leave a comment

Filed under Cooking, Recipes

Vegetarian Week: Quinoa Salad with Red Pepper and Chickpeas


When preparing my vegetarian menu, I knew I need something to round out the vegetables and dairy. While staying away from traditional pastas, I thought I’d experiment with quinoa. Truth be told, the only reason I’ve never delved into this seed-that-functions-like-a-grain prior to my veg meal is because I can’t find it in my grocery store. And I’ve experienced the blank “I don’t know what the heck you’re talking about” stare at that store too many times to ask for something that sounds French but isn’t at all. “Keen-waaaaaaah?”

I found some organic quinoa at my produce market instead and went to town on this recipe. It ended up being way more delicious than I thought it would be and filling to boot.

On the menu:
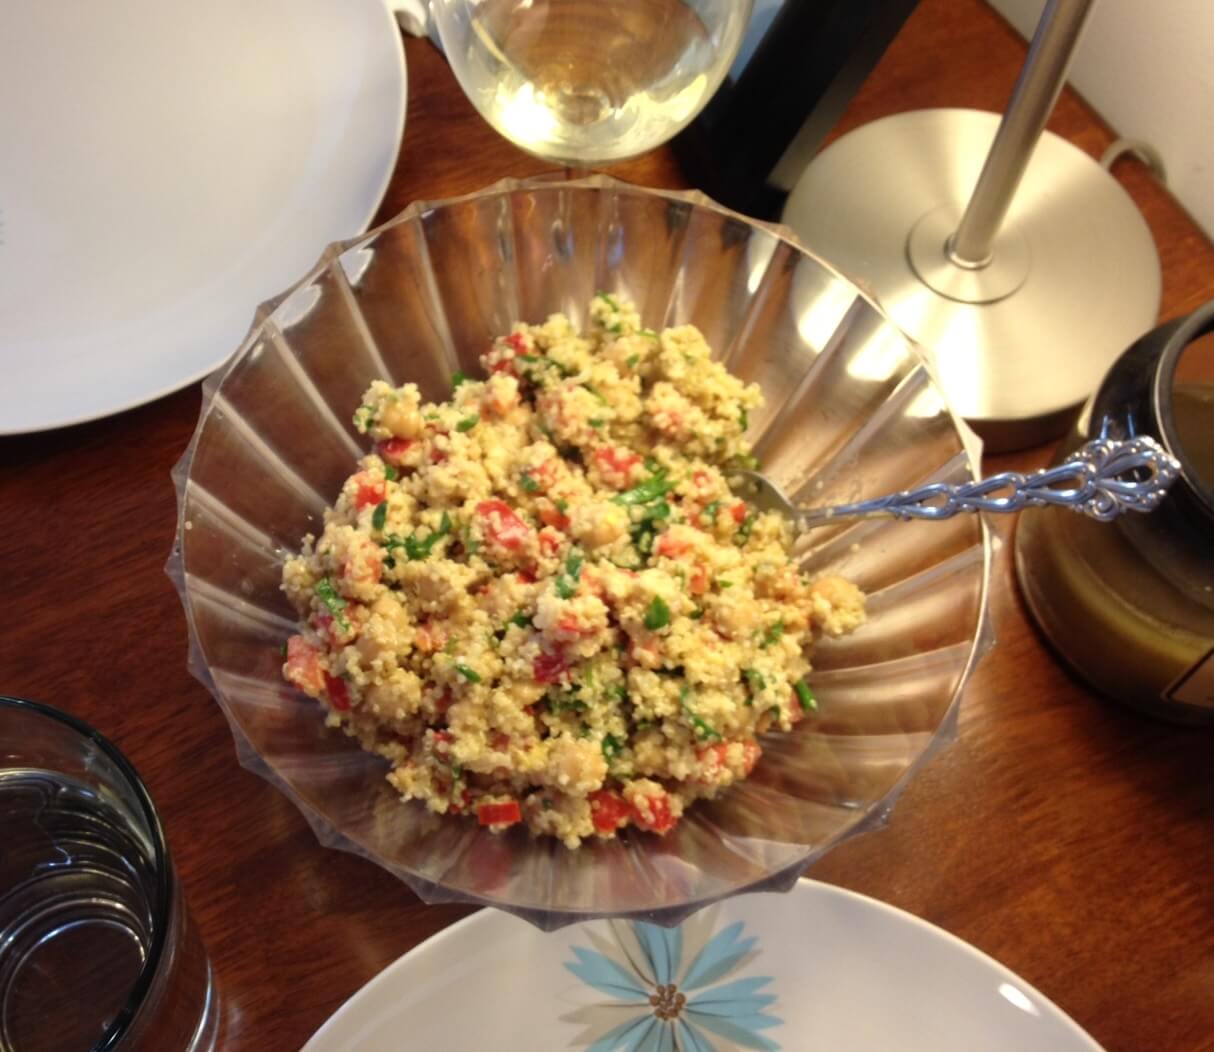
Quinoa salad with red pepper and chickpeas
Serves 4 as a side

1/2 cup dry quinoa
1/4 chopped fresh parsley
1/2 cup canned chickpeas
1 shallot, minced
1 clove garlic, minced
1/2 red bell pepper, chopped
3 Tbsp fresh lemon juice
2 Tbsp tahini
1 Tbsp olive oil
Salt and pepper to taste

Cook quinoa according to the directions on the package. Once completely cooked, remove from heat and stir in chickpeas, red pepper, and parsley. In a small bowl, whisk together the shallot, garlic, lemon juice, tahini, and olive oil. Add salt and pepper to taste. Drizzle dressing over the quinoa and chickpeas and stir gently until incorporated.

This can be served warm, or refrigerated for a later use and served cold.

2 Comments

Filed under Cooking, Recipes

Vegetarian Week: Zucchini Quiche


When it came to choosing the focal point of the meal I knew I did not want to serve pasta. If you are a vegetarian or know any vegetarians, you know that 75% of vegetarian entrees involve pasta in one way shape or form. Ignoring the fact that a steady diet of pasta is diabetes waiting to happen, how boring is that? Pasta with vegetables 24/7. Womp womp.

This dish is not ground breaking or even particularly new but it had even the meat eaters at the table going in for seconds. It’s hearty, it’s filling, it is by no means healthy, but it fits the bill of main dish quite nicely in this vegetarian meal.

On the menu:
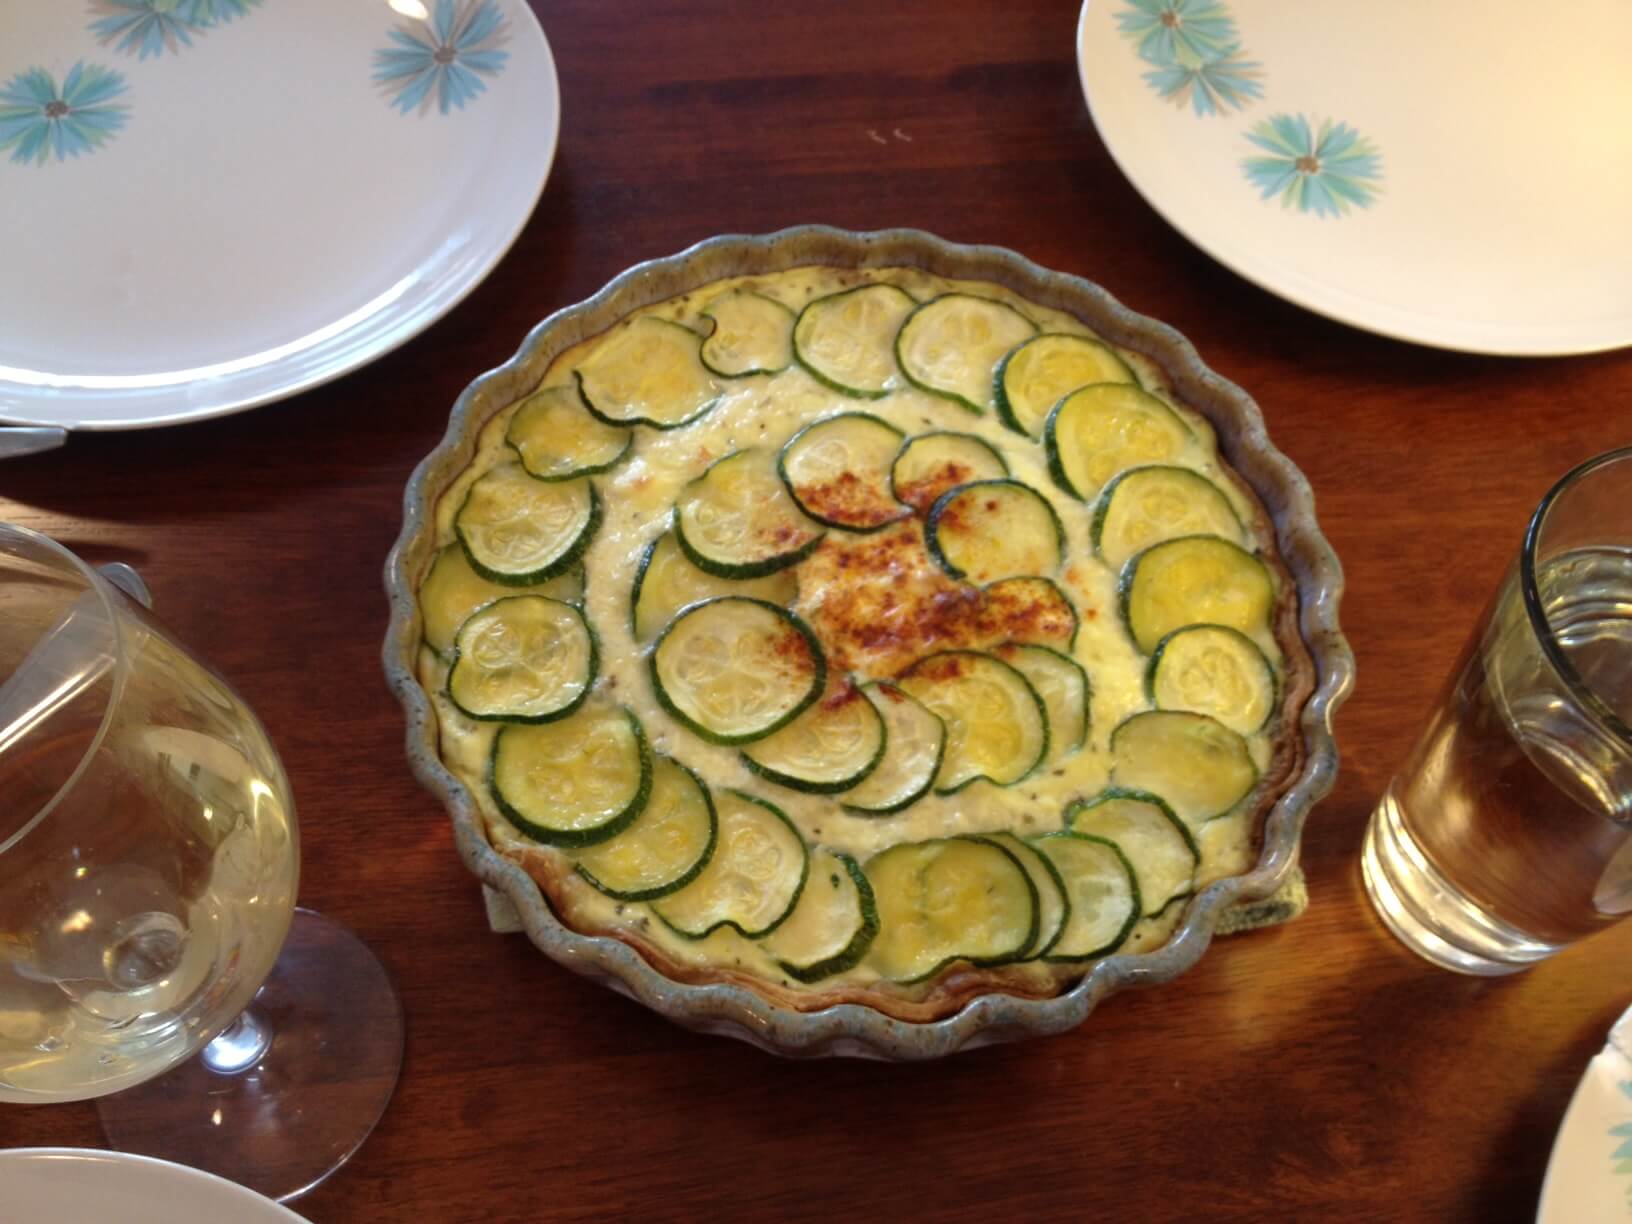
Zucchini quiche
Serves 4

1 pre-made pie crust or use this recipe for homemade
2 Tbsp butter
2 large zucchini, sliced into 1/8 inch thick rounds
1 cup shredded mozzarella
1 cup ricotta cheese
1/2 cup half and half
3 eggs
3/4 tsp salt
1/2 tsp dried oregano
1/2 tsp dried basil
1/4 tsp garlic powder
Pinch of pepper
Paprika

Bake pie crust as directed. If you’re using homemade pie crust, roll out the dough in your pie or tart pan, prick the bottom with a fork, and bake until lightly brown. Let cool.

Preheat oven to 350 degrees.

In a large skillet, sautee zucchini in butter until slices are softened. Drain the zucchini of all moisture (NOTE: this is important, as zucchini has a surprising amount of water in it and if you don’t cook it down and drain it, your quiche will be a soggy mess).

Fill your cooled pie crust with half the zucchini. Top with mozzarella cheese. In a small bowl, lightly beat the eggs together. Add salt, oregano, basil, garlic powder, and pepper and whisk until completely combined. Add ricotta cheese and half and half, and whisk until combined. Pour egg mixture into the pie tin and spread so it’s evenly distributed. Top with remaining zucchini slices in an aesthetically pleasing pattern. Top with a sprinkle of paprika.

Bake the quiche for 45 minutes or until firm. Let cool for 10 minutes before slicing.

1 Comment

Filed under Cooking, Recipes

Vegetarian Week: Peach, Tomato, and Corn Salad with Feta


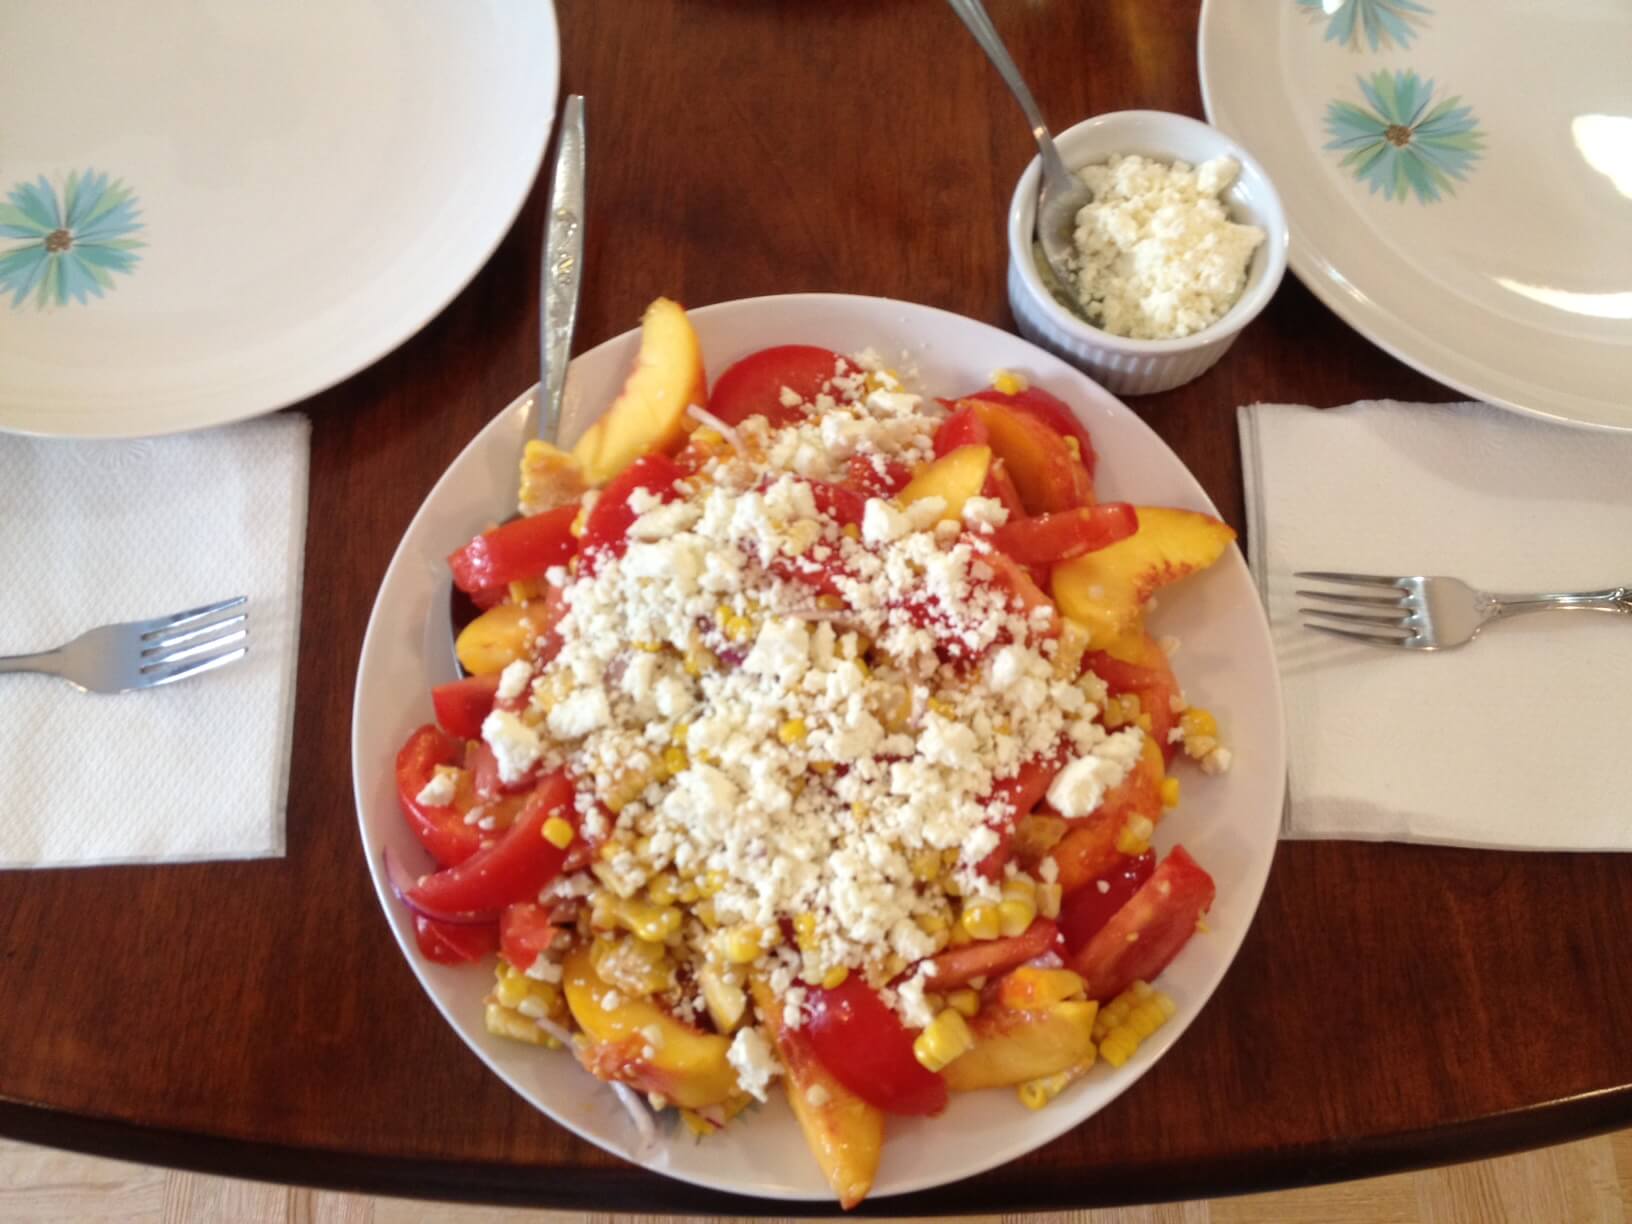
Prepare yourselves: this salad is a hit. I know, you’re like, “Seriously? An exciting salad?” But in the dead of summer, when fruit is at its ripest and heat is at its hottest and your pits are at their sweatiest (no? just me?), you want something cool and refreshing even if you’re sittin’ pretty in Arctic/office air conditioning. This salad is it. When I served it to my parents my dad said, “What made you think this would all go together?” But truthfully, the geniuses over at WSJ thought this would go together. And I trust them.

On the menu:
Peach, tomato, and corn salad with feta
Serves 4
Adapted from this recipe from Wall Street Journal

3 ripe, sweet tomatoes
3 ripe (but still semi-firm) peaches
2 ears corn, shucked and boiled, kernels cut off
1/4 cup red onion, sliced thin
3/4 cup feta cheese, crumbled
3 Tbsp extra virgin olive oil

Cut tomatoes and peaches into wedges of equal size. In a large bowl, add tomatoes, peaches, corn kernels, onion, and olive oil and toss until combined and coated. Plate salad. Crumble feta over the top. Serve any remaining feta on the side.

3 Comments

Filed under Cooking, Recipes